
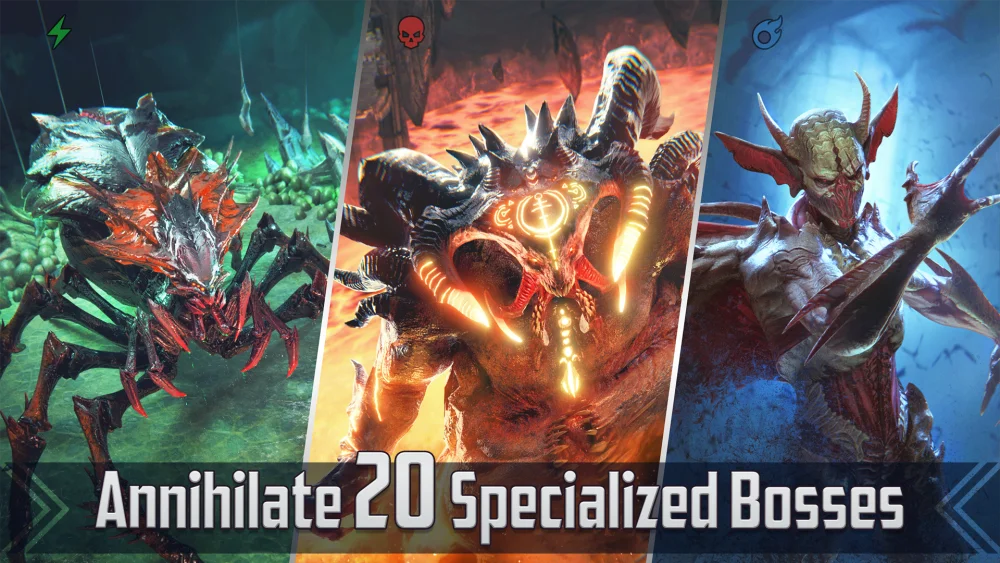
Farming the Fire Knight in RAID: Shadow Legends is a significant milestone for any player. Unlike other dungeons, the Fire Knight acts as a "gear check" that demands specific team compositions rather than raw power. To farm Stage 10 consistently on a budget, you must prioritize mechanical interaction over high-tier legendary champions. By utilizing reliable multi-hitters like The Cowardly Lion alongside turn-meter reduction (TMR) specialists, you can strip the boss's shield and prevent him from ever taking a turn.
Understanding the Fire Knight’s Mechanics
The Fire Knight is defined by his Hardened Shield. While this shield is active, the boss takes significantly reduced damage and is immune to most debuffs. To remove it, you must land a specific number of hits within a single turn.
If the Fire Knight takes a turn with his shield active, he refreshes it and strikes back with a counter-attack that can quickly eliminate squishy champions. Therefore, the core strategy for any RAID: Shadow Legends player—especially those on a budget—is to keep the shield down and the turn meter empty.
Building Around The Cowardly Lion
The Cowardly Lion serves as an excellent budget-friendly anchor for your Fire Knight team because of his ability to provide consistent multi-hit attacks. In RAID: Shadow Legends, consistency is king.
To make The Cowardly Lion effective:
- Prioritize Speed: Your shield breaker must be fast enough to cycle their multi-hit skills before the boss acts. Aim for at least 150–170 speed.
- Focus on Accuracy: If your champion’s multi-hit ability also carries a turn-meter reduction or debuff effect, accuracy is non-negotiable. Without it, you are effectively fighting the boss with half a kit.
- Skill Synchronization: Do not waste multi-hit abilities when the shield is already down. Time these skills specifically to drop the shield so your damage dealers can land their heavy hits during the window of vulnerability.
The Three Pillars of a Successful Fire Knight Team
To maintain a stable farm on Stage 10, your team needs to fulfill three specific roles. You do not need five legendary champions to do this; many Rare and Epic champions excel in these roles.
1. Multi-Hit Shield Breakers
These are your "unlockers." Their primary job is to land 3+ hits on their A1. Champions like The Cowardly Lion are ideal here because they reliably remove shield stacks, setting the stage for the rest of your team.
2. Turn Meter Controllers
Once the shield is down, the goal is to prevent the boss from ever moving again. Champions with turn-meter reduction on their A1 (like Armiger, an essential Rare for this dungeon) are vital. By repeatedly reducing the boss's turn meter, you keep the shield from regenerating.
3. Support and Sustain
The waves leading up to the boss can be grueling. You need a champion with either an AoE (Area of Effect) ability to clear mobs quickly or a reliable healer/shield provider to ensure your team arrives at the boss with full health.
Gear Strategies for Budget Progression
You do not need endgame gear to farm Stage 10. Instead, focus on efficient set bonuses:
- Speed Sets: Essential for ensuring your team cycles turns faster than the boss.
- Perception Sets: These are the best budget-friendly way to boost both Accuracy and Speed simultaneously. Accuracy is required for your turn-meter reduction to land; without it, the boss will resist your control, leading to a failed run.
- Accuracy Chests: If you are struggling to land debuffs, prioritize an Accuracy main-stat chest piece. It is often better to have a champion that lands their crowd control consistently than one that hits slightly harder but fails their utility role.
Wave Strategy and Boss Engagement
Many players fail not at the boss, but in the waves leading up to him. Because your boss team is specialized for single-target control, it may lack wave-clearing potential.
- Wave Management: Use your crowd control skills (stuns or freezes) on the tougher mobs in the waves so you can reach the boss with all your cooldowns ready.
- The Boss Opener: When you enter the boss chamber, do not auto-battle immediately if your team is struggling. Manually trigger your multi-hitters to break the shield first, then follow up with your turn-meter reduction champions to lock him down.
Common Mistakes to Avoid
- Ignoring Affinity: If your team is composed of champions that are weak against the boss's affinity, they will land "Weak Hits." Weak hits cannot critically strike and often fail to trigger secondary effects like turn-meter reduction. Always check the boss's affinity before adjusting your team.
- Over-valuing Attack Stats: On Stage 10, survivability and control are more important than raw damage. A team that stays alive and keeps the boss locked down will eventually win, whereas a team that tries to "nuke" the boss but gets countered will fail.
- Forgetting Speed Tuning: If your turn-meter reducer is slower than your shield breaker, you might accidentally waste your turn-meter reduction on a full shield. Ensure your team order is logical.
Transitioning to Higher Stages
Once you can farm Stage 10 consistently, the gear you collect will allow you to push into higher levels. As you progress, you will replace your budget support champions with specialized legendary units or high-tier Epics. However, the core philosophy remains the same: RAID: Shadow Legends Fire Knight progression is always about managing the shield and manipulating the turn meter. Use this setup to build your foundation, farm the necessary gear, and prepare your roster for the deeper, more rewarding challenges in the Fire Knight's Castle.
Free RAID: Shadow Legends Codes
Current active codes and how to redeem them.

Emily Johnson
Emily writes practical mobile strategy guides with a focus on resource planning, base progression, and the early decisions that shape a long-term account.
COMMUNITY
Player Comments
145 players commented on this guide.
This helped me understand strategy much better.
The explanation is clear, especially for beginners.
This guide answered the exact question I had.
This saved me time in the early game.