
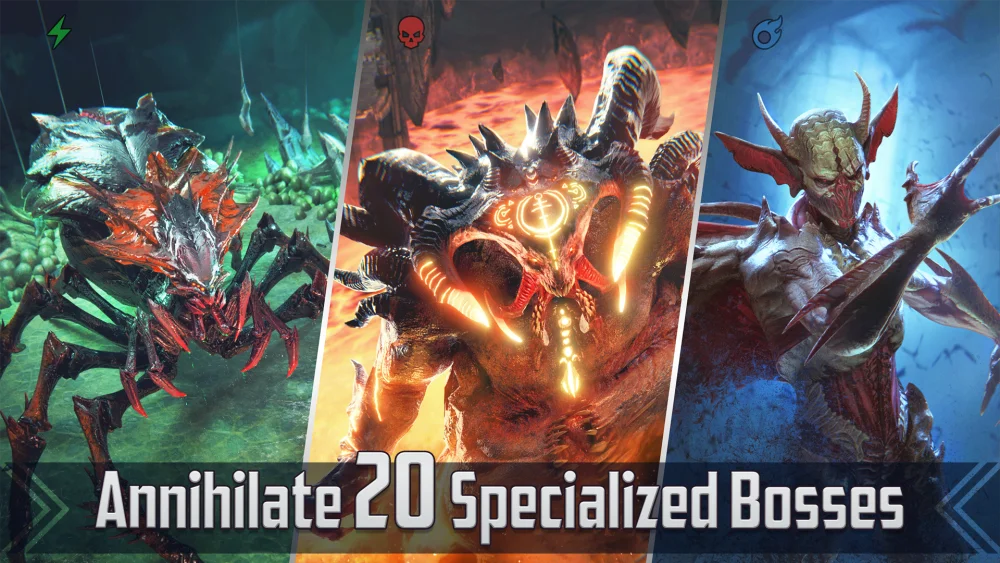
In RAID: Shadow Legends, the Proving Grounds represents a critical test of both your roster depth and tactical execution. Scoring high points in this dungeon is not merely about having the strongest Legendary champions; it is about efficiency, turn economy, and mitigating the specific threats posed by the dungeon’s waves and boss encounters. To maximize your points, you must transition from a "brute force" mindset to a "synergy-focused" approach, ensuring your team remains healthy, active, and capable of clearing encounters in as few turns as possible.
The Foundation of Success: Turn Meter Control
The single greatest differentiator between a mediocre run and a high-scoring masterclass in RAID: Shadow Legends is Turn Meter (TM) manipulation. In the Proving Grounds, enemy speed scaling can quickly overwhelm unprepared teams, leading to "stunlock" scenarios where your champions never get to act.
To counter this, your team composition must include reliable Turn Meter control. This serves two purposes: it prevents the enemy from cycling their dangerous abilities and allows your own team to cycle through cooldowns faster.
- The Speed Lead: Always prioritize a Speed Aura lead. Even a 15-19% Speed boost can be the difference between moving first and being wiped before your first skill triggers.
- Deceleration Tactics: Champions who can reduce enemy Turn Meter—whether via an A1 or a specialized crowd-control ability—are mandatory for higher stages.
- Consistency: Avoid "rng-dependent" TM reduction. Use champions with high Accuracy stats to ensure their abilities land consistently, preventing the enemy from regaining momentum.
Mastering Debuff Management and Cleansing
In higher stages of the Proving Grounds, the enemies are designed to cripple your damage output through debuffs like Poison, Decrease Defense, and Stun. If your primary nuker is stunned or your support has their healing blocked, your point potential per run drops immediately.
A dedicated cleanser is the unsung hero of a high-scoring RAID: Shadow Legends team. Do not rely on single-target healers to "heal through" debuffs; use a champion with a team-wide "Cleanse" ability. This allows you to reset your team’s state to neutral, ensuring your damage dealers remain at full HP—a metric often tied to hidden scoring bonuses and survivability requirements. Pair this cleanser with a Passive healer or a champion who provides "Continuous Heal" buffs to keep your team at peak efficiency across every wave.
Leveraging AOE Damage for Maximum Point Efficiency
Points in RAID: Shadow Legends are often rewarded based on the speed of completion and the preservation of team health. Single-target damage dealers, while effective against specific bosses, are inefficient for clearing the trash mobs that precede them.
To optimize your runs, build a team centered around "AOE Nukers." The goal is to clear each wave in 1–2 turns. To achieve this, your setup must follow a strict turn order:
- Buffer/Debuffer: A champion to apply "Decrease Defense" or "Weaken" to all enemies.
- Enabler: A speed buffer or Turn Meter booster to ensure your nukers move in sequence.
- Nukers: Champions with high-scaling AOE attacks that capitalize on the enemy’s lowered defense.
Remember that damage is secondary to Accuracy. If your "Decrease Defense" debuff does not land, your AOE nukes will fail to wipe the wave, leading to a prolonged combat phase that wastes time and increases the risk of your team taking unnecessary damage.
Strategic Adaptation for Boss Encounters
Boss encounters in the Proving Grounds require a shift from raw speed to sustained utility. While your wave-clearing strategy might rely on pure damage, the boss often features mechanics that punish glass-cannon teams.
- Shield and Defense Buffs: When facing bosses with high-impact single-target abilities, include a champion who provides "Shield" or "Increase Defense." This prevents the "one-shot" mechanic that often ends high-scoring runs prematurely.
- Respecting Boss Mechanics: Never trigger your primary nuke abilities if the boss has "Damage Immunity" or "Unkillable" buffs active. You are essentially wasting your most powerful cooldowns. Wait for the boss's defensive cycle to pass, or use a "Buff Stripper" to remove their protection before unleashing your full rotation.
- Affinity Awareness: The most common mistake in RAID: Shadow Legends is ignoring affinity matchups. If your damage dealer is "Weak" against the boss (e.g., Force vs. Magic), you will suffer a 20% chance to Weak Hit, which cannot crit and drastically lowers your total damage output. Always build a team that is neutral or strong against the dungeon boss's affinity.
Common Mistakes That Kill Your Score
Even with top-tier champions, poor decision-making can sabotage your score. Avoid these frequent pitfalls:
- Over-investing in Damage: If your champions are dying, they aren't dealing damage. If you find yourself struggling to survive, swap one damage dealer for a support champion. A 3-minute run that finishes with a full team is worth more than a 2-minute run that ends in a failure.
- Ignoring Accuracy Thresholds: In high-level RAID: Shadow Legends content, Accuracy is as important as Critical Damage. If your debuffs consistently fail to land, your gear is not optimized for the dungeon level.
- Ignoring Skill Cooldowns: Do not use your best AOE abilities on the final mob of a wave if the next wave is about to begin. Manage your cooldowns so that you enter every wave with your key abilities ready to fire.
Conclusion: The Path to High Scores
Maximizing your score in the RAID: Shadow Legends Proving Grounds is a process of refinement. Start by benchmarking your team's current speed and survivability. If you are failing to progress, focus on your support champions' Speed and HP stats first. Once your team can consistently survive the waves, tune your damage dealers for maximum AOE output. By focusing on turn economy, reliable cleansing, and smart cooldown management, you will find your point totals rising steadily as you master the nuances of the Proving Grounds.

Free RAID: Shadow Legends Codes
Current active codes and how to redeem them.

Emily Johnson
Emily writes practical mobile strategy guides with a focus on resource planning, base progression, and the early decisions that shape a long-term account.
COMMUNITY
Player Comments
93 players commented on this guide.
I wish I had read this before upgrading the wrong thing.
Nice guide. I am checking the other RAID: Shadow Legends articles next.
The explanation is clear, especially for beginners.
Good guide for RAID: Shadow Legends players. The strategy part was useful.