
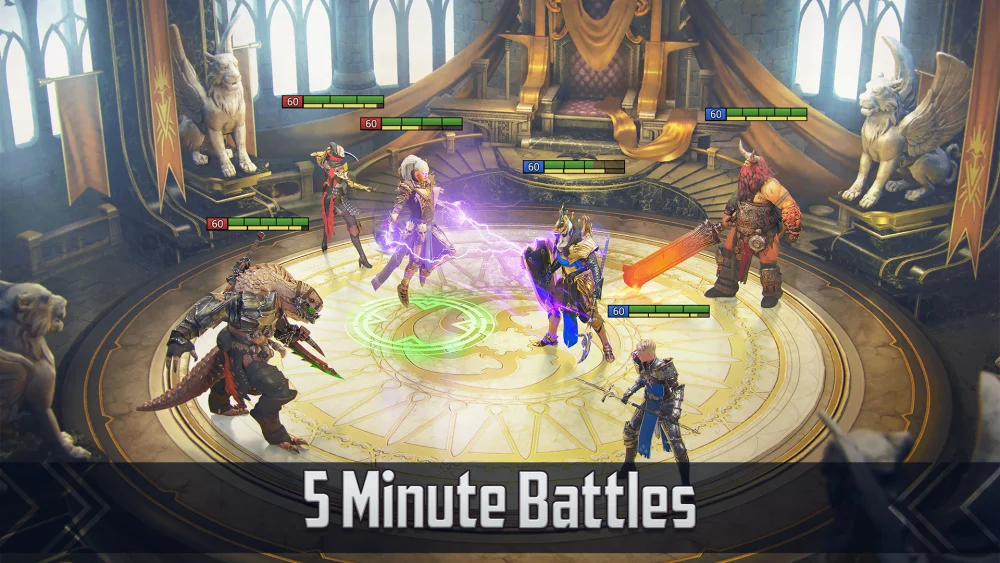
Defeating Bommal the Dreadhorn on Floor 90 of Hard Doom Tower is widely considered one of the most punishing gear checks in RAID: Shadow Legends. The encounter is designed to punish buff-heavy teams and players who cannot manage the constant onslaught of bomb detonations. However, players who possess Haggibah the Nestmaid have a distinct advantage. By utilizing a specialized solo build, you can bypass the need for complex team compositions and reliably farm one of the hardest stages in the game.
Understanding the Solo Strategy for Bommal
Bommal’s primary threat comes from his "Dread Bomb" passive, which triggers based on the number of buffs on your champions and the duration of the fight. In a traditional five-champion team, Bommal detonates bombs rapidly, often overwhelming even the best healers.
By taking a solo champion like Haggibah, you minimize the number of buff triggers and force the boss into a predictable cycle. Haggibah’s kit allows her to maintain constant self-sustain, effectively turning the fight into an attrition battle where she out-heals the damage output of the Dreadhorn. The strategy is simple in theory: survive the bomb damage, resist the boss’s crowd-control debuffs, and slowly whittle down his health pool while keeping your own HP topped off.
Essential Artifact Sets: The Foundation of Survival
You cannot solo Bommal 90 Hard with "leftover" gear. The success of this strategy is entirely dependent on two specific artifact sets that provide the necessary passive healing to offset bomb damage.
- Regeneration Set: This is the non-negotiable cornerstone of the build. Because it heals you at the start of every turn, it ensures that even if you take a massive hit from a bomb, you are constantly recovering HP.
- Immortal Set: This set provides a vital 15% HP boost and an additional 3% healing per turn. When combined with the Regeneration set, it creates a "healing floor" that allows Haggibah to survive the boss's most punishing mechanics.
If you are struggling to hit the required stat thresholds, you may use a Resilience or Speed set as your two-piece filler, provided your primary stats (HP%, DEF%, and Speed) remain high enough to meet the encounter requirements.
Stat Thresholds: The Numbers You Must Hit
Success in this encounter is a game of math. If your stats are even slightly below the required threshold, the boss will eventually overwhelm your healing. Aim for the following targets:
- Speed: You need high speed to cycle your turns. Aim for at least 220–250 Speed. If you are too slow, the boss will overlap your turns, preventing you from using your healing abilities before a bomb detonates.
- Resistance: Bommal’s stun and freeze mechanics are run-killers. To ensure you never miss a turn due to crowd control, aim for 300+ Resistance. This makes your run consistent and prevents the boss from locking you out of your self-heal rotation.
- HP and Defense: Prioritize HP% on your Chest and Boots (or Speed boots if you can reach the speed target via substats). Aim for at least 65,000–70,000 HP and 3,000+ Defense. This ensures you are tanky enough to withstand a stray hit if your turn timing gets slightly desynced.
Masteries and Skill Management
Your masteries should prioritize survivability and turn-meter manipulation. Focus on the Defense and Support trees. Key masteries include Lore of Steel to boost your gear set bonuses and Cycle of Magic or Rapid Response to help manage your ability cooldowns.
When engaging the boss:
- Prioritize Self-Healing: Never hold your healing skills for a "perfect" moment. If the ability is off cooldown, use it.
- Avoid Unnecessary Buffs: If your champion has skills that apply buffs, be extremely careful. Each buff you place increases the boss's damage or triggers additional bombs. Use only what is necessary to survive.
- Manual Play: While you might get away with an auto-battle if your gear is god-tier, manual play is highly recommended for your first few clears. It allows you to time your heals specifically to counter the boss’s "Dread Bomb" detonation window.
Managing the Boss Encounter Mechanics
The biggest mistake players make is trying to speed-run the boss. Soloing Bommal 90 Hard is a marathon, not a sprint. The boss has massive HP, and your goal is to stay alive long enough to see his bar reach zero.
- The "Dread Bomb" Rhythm: Pay attention to the boss’s turn meter. As he nears his turn, be prepared for the bomb detonation. If you have high resistance, ignore the boss's attempts to debuff you and focus entirely on your health bar.
- Patience is Key: If your HP drops below 50%, do not panic. Your Regeneration set is designed to bring you back up over the course of two or three turns.
- The "One-Shot" Risk: If you find you are being one-shot, you have a gear deficiency. You either lack enough HP to survive the initial impact or enough Speed to ensure you are healing between his attacks.
Common Pitfalls and Troubleshooting
If you find your Haggibah dying consistently, audit these three areas:
- Speed Syncing: If you are dying exactly after the boss moves, you are likely failing to rotate your skills fast enough. Increase your speed or use a speed-aura champion if you are running a slightly different variation.
- Lack of Resistance: If you are losing because you are frozen or stunned, you do not have enough Resistance. Your gear must prioritize this stat over offensive stats like Attack or Critical Damage.
- Artifact Leveling: Ensure all gear is upgraded to level 16. The difference between level 12 and 16 artifacts can be the difference between a successful clear and failing at 10% boss HP.
This solo strategy turns one of the most frustrating encounters in RAID: Shadow Legends into a reliable, consistent farming method. By focusing on the math behind the Regeneration gear and prioritizing defensive stats, you can conquer the Dreadhorn and progress through your Doom Tower climb with ease.
Free RAID: Shadow Legends Codes
Current active codes and how to redeem them.

Sarah Williams
Sarah specializes in RPG and collection games, explaining team building, character growth, and beginner-friendly ways to avoid expensive early mistakes.
COMMUNITY
Player Comments
105 players commented on this guide.
Good guide for RAID: Shadow Legends players. The strategy part was useful.
The explanation is clear, especially for beginners.
I wish I had read this before upgrading the wrong thing.
This saved me time in the early game.