
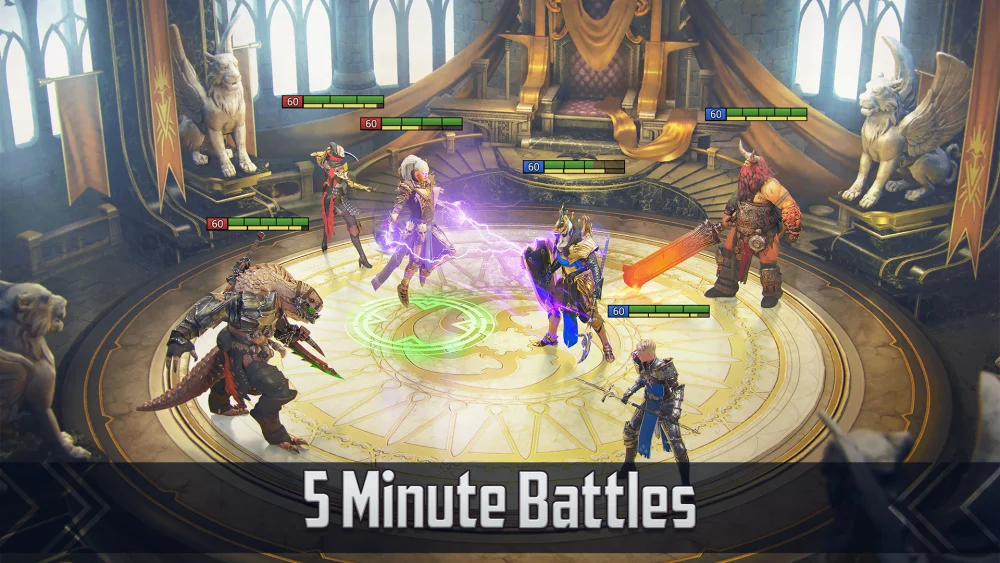
The Champion Proving Grounds in RAID: Shadow Legends serves as one of the most notoriously difficult content gates in the game. Designed for players who have already mastered standard dungeon farming, the Proving Grounds presents a "brutal" difficulty curve that often leaves even veteran rosters struggling to maintain a 100% win rate. Before you commit your precious energy to these encounters, it is essential to understand the underlying mechanics, the true value of the rewards, and whether your account is truly ready to tackle the challenge.
Understanding the Difficulty Spike: Why Proving Grounds Feels Different
Unlike the predictable tuning of Dragon’s Lair or the Spider’s Den, the Proving Grounds is calibrated to punish generic, high-damage compositions. The enemy champions here possess inflated base stats, including higher-than-average Speed, Resistance, and Accuracy, allowing them to cycle turns rapidly and land debuffs that can cripple your team in a single rotation.
The primary "wall" players encounter is the effective health pool of these enemies. While standard dungeon mobs can often be nuked down by a well-geared AOE champion, the Proving Grounds enemies are built with high defensive stats and passive mitigation, requiring you to pivot toward sustained control or specialized nuke setups. If your team relies on standard "speed-farm" compositions, you will likely find your team wiped by turn three.
Analyzing the Value of Gear Rewards
The most common question regarding this content is simple: Is the gear worth the pain? The Proving Grounds offers specific artifact sets that are highly specialized, often designed for specific niche applications in high-level Arena or Hydra Clan Boss battles.
However, the "cost-per-gear" ratio is significantly higher here than in other dungeons. You must weigh the following factors:
- Energy Efficiency: Because these stages take longer to clear and require more specialized (and often slower) teams, your energy-per-hour efficiency is lower compared to farming Stage 20 or 25 of standard dungeons.
- The RNG Factor: Getting a usable piece of gear requires the correct set, the correct primary stat, and at least two desirable sub-stats. Because the difficulty is higher, the "failed run" rate can be a silent killer for your energy economy.
- Opportunity Cost: Every piece of energy you spend here is energy not spent on leveling Champions, farming Masteries, or collecting silver in more reliable locations.
Verdict: Only engage with the Proving Grounds if you are specifically hunting for a piece of gear to complete a core build for your Arena offense or your primary Hydra team. If you are still in the process of building your account’s foundation, skip this content entirely.
Strategic Team Composition: What You Need to Succeed
Because the Proving Grounds punishes "brute force" tactics, you must build a team that prioritizes utility and survivability. If you cannot clear these stages on Auto, you are wasting resources. Focus your team building on these three pillars:
1. Crowd Control (CC)
You cannot afford to let the enemy team take consecutive turns. Bringing a Champion with a reliable AOE Stun, Freeze, or Provoke is mandatory. In the Proving Grounds, "crowd control is the best damage mitigation." If the enemies are stunned, they aren't cycling their devastating skills.
2. Damage Mitigation
Even with perfect control, resistance checks will happen. You need layers of protection to survive when the AI inevitably breaks through your CC.
- Shield Sets: Essential for starting the battle with a buffer.
- Ally Protection: The single most important buff for high-difficulty PVE in RAID: Shadow Legends. It spreads incoming damage across your team, preventing your squishier units from being one-shot.
- Decrease Attack: Always maintain this debuff on the primary targets to ensure your survivability.
3. Turn Meter Control
Controlling the enemy’s turn meter is how you prevent "death spirals." By combining decrease speed, turn meter reduction, and turn meter boost, you can ensure your team gets two turns for every one turn the enemy takes.
When to Avoid the Proving Grounds
The Proving Grounds is not a catch-all solution for your gear needs. You should avoid this content if any of the following apply to your account:
- Low Success Rate: If your runs fail more than 5% of the time, the energy loss is not sustainable.
- Manual-Only Runs: If you have to play on manual to win, you are losing the ability to farm efficiently during your time away from the game.
- Mid-Game Progression: If you haven't yet reached a 100% win rate on Level 20+ dungeons, you are not ready for the Proving Grounds. The gear you find in standard dungeons will be more than sufficient to carry you through the mid-game.
- Lack of Specialized Gear: If you aren't sure why you need a specific set from the Proving Grounds, you probably don't need it yet.
Making the Decision: A Resource Management Checklist
Before entering the Proving Grounds, perform a quick audit of your resources and goals:
- Define the Goal: Are you looking for a specific item to complete a set for a specific Champion? If yes, proceed. If you are just "farming for upgrades," go back to the Dragon or Fire Knight.
- Evaluate the Roster: Do you have a dedicated CC/Support champion ready to go? If your team is purely damage-focused, expect failure.
- Check Your Energy Budget: Can you afford to lose 100–200 energy on failed runs if the RNG doesn't go your way? If you are low on gems or energy refills, the risk is too high.
By treating the Proving Grounds as an "endgame luxury" rather than a "staple dungeon," you protect your account’s progression. Save the frustration for when you truly have the specialized toolkit to dismantle the encounter, and stick to the proven, energy-efficient dungeons for your daily farming needs. RAID: Shadow Legends is a marathon, not a sprint; prioritize efficiency today so you can dominate the endgame tomorrow.

Free RAID: Shadow Legends Codes
Current active codes and how to redeem them.

Michael Smith
Michael covers live-service games, events, reward systems, and efficient daily routines, turning frequent updates into clear actions for players.
COMMUNITY
Player Comments
110 players commented on this guide.
I wish I had read this before upgrading the wrong thing.
Good guide for RAID: Shadow Legends players. The resources part was useful.
This helped me understand resources much better.
This saved me time in the early game.