
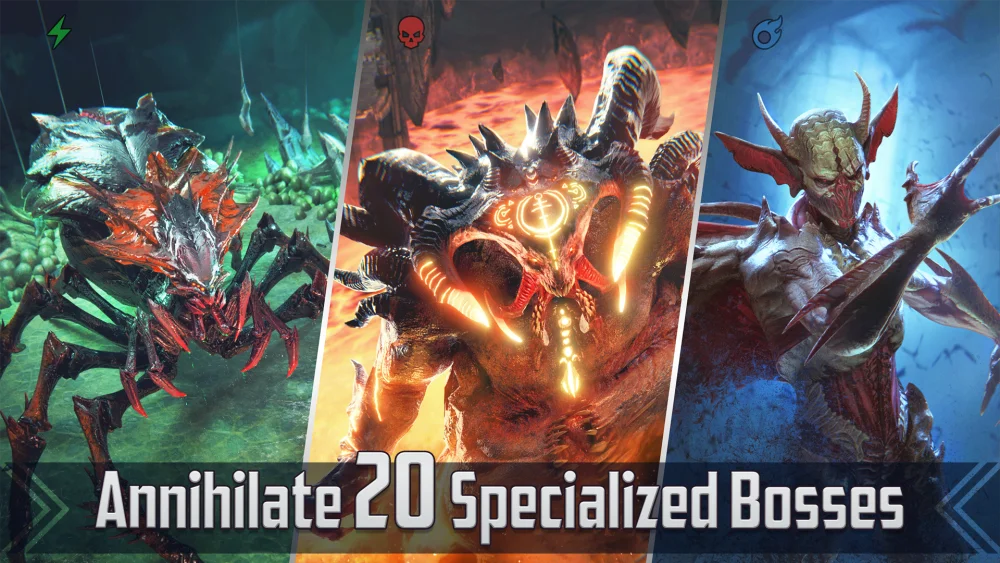
In RAID: Shadow Legends, your account's power is dictated less by the Champions you pull and more by the Artifacts you equip. As a new player, your goal is to transition from the basic gear found in the Campaign to the specialized sets hidden within the three primary Dungeons: Dragon’s Lair, Ice Golem’s Peak, and Fire Knight’s Castle. Farming these locations efficiently is the difference between stalling at level 30 and progressing deep into the mid-game.
The Golden Rule: Why Dragon’s Lair is Your First Priority
If you only farm one dungeon in the early game, make it the Dragon’s Lair. The Dragon is the single most efficient dungeon for establishing a baseline account strength because it provides two critical sets: Speed and Lifesteal.
- Speed Sets: In RAID: Shadow Legends, Speed is king. It determines turn order and turn frequency. A champion with high Speed acts more often, cycling through skill cooldowns and forcing the enemy to react to your pressure.
- Lifesteal Sets: Early on, you likely lack a top-tier healer. Lifesteal gear allows your damage dealers to sustain themselves by healing a percentage of the damage they deal. This is the key to clearing Campaign stages and Dungeons solo or with minimal support.
Strategic Advice: Do not worry about farming the highest possible stage immediately. Focus on reaching Stage 13 as your first major milestone, as this is the point where the game stops dropping Common (Grey) artifacts, significantly increasing the average value of your energy expenditure.
Decoding Artifact Stats: Primary vs. Set Bonuses
One of the most common mistakes new players make is obsessing over set bonuses while ignoring the underlying stats. A four-piece set bonus is helpful, but it cannot compensate for an artifact with poor primary stats.
The Stat Priority Checklist
When evaluating whether to keep or sell an artifact, use this hierarchy:
- Boots: Always prioritize Speed as the primary stat. A pair of Boots with a Speed primary stat is almost always better than any other stat, regardless of the set.
- Chest and Gauntlets: Prioritize percentage-based stats (ATK%, DEF%, or HP%) over flat values (e.g., +50 Attack). Flat stats provide negligible power compared to the percentage growth of your champion’s base stats as they level up.
- Sub-stats: Once you reach mid-game, look for "desirable" sub-stats like Speed, Critical Rate, and Accuracy.
Mastering Ice Golem’s Peak for Tankiness
Once you have equipped your core team with Speed and Lifesteal gear from the Dragon, shift your focus to Ice Golem’s Peak. This dungeon is home to the Reflex and Retaliation sets, which are essential for specific champion roles.
- Reflex Set: This provides a chance to reduce the cooldown of a random skill. It is incredibly powerful on support champions or debuffers who rely on long-cooldown abilities to control the battlefield.
- Retaliation Set: This grants a chance to counter-attack when hit. This is excellent for champions with powerful "On-Hit" effects or those who benefit from being attacked (often referred to as "Tanks").
Expert Tip: The Ice Golem boss deals significant AOE damage. Ensure your team has a source of "Decrease ATK" to mitigate the boss's damage output, or bring a champion with a "Cleanse" or "Shield" ability to survive the boss’s freezing strikes.
Fire Knight’s Castle: The Accuracy Threshold
The Fire Knight’s Castle is often viewed as the "gatekeeper" of the early game. The boss has a permanent shield that must be broken by landing a specific number of hits. You will need multi-hit champions (like your starter champion, if applicable) to strip this shield effectively.
This dungeon is the primary source of Accuracy gear, which is non-negotiable for any champion applying debuffs (Poison, Stun, Decrease DEF). If your debuffer has 0% Accuracy, their debuffs will be resisted by bosses 100% of the time.
- Accuracy Sets: Essential for your debuffers. Having two pieces of Accuracy gear provides a massive boost, helping you hit the necessary thresholds for higher-level bosses.
- Savage Sets: This set allows you to ignore a portion of the enemy's DEF. Save these for your primary "Nuke" or damage dealer to maximize their impact in both Arena and Dungeons.
Inventory Management and Clearing Junk
You will accumulate hundreds of artifacts quickly. If your inventory is full, you cannot farm. To maintain an efficient workflow:
- Clean House: Sell all Common, Uncommon, and Rare artifacts that have flat primary stats (except for Speed Boots).
- Quality Over Quantity: Do not upgrade low-quality gear to level 16. It is a waste of Silver. Only invest heavily in Epic or Legendary gear that has at least two "good" sub-stats.
- Filter System: Use the in-game filter tool to sort by "Rank." As you progress, progressively sell off 3-star gear to make room for 4-star and 5-star pieces.
Strategic Progression: How to Spend Energy
Energy is your most finite resource. To maximize your return on investment:
- Event Synergy: Always check the current In-Game Events. If there is a "Dungeon Divers" event or a "Tournament" active, only farm the specific dungeon required to earn points. This "double-dips" your energy spend, giving you both artifacts and event rewards.
- Don't Overreach: If you cannot clear a stage in under 3-4 minutes, drop down to a lower stage that you can clear faster. The goal is to maximize the number of artifacts you see per day, not the quality of a single drop.
- The Campaign Bridge: If you are failing Dungeons entirely, go back to the Campaign. Use the Campaign to level up your Champions to 6-stars and improve your current gear levels. A 6-star champion with decent gear will clear Stage 10 of a dungeon faster than a 5-star champion with "perfect" gear.
By focusing on the Dragon’s Lair first to secure Speed and Lifesteal sets, you build the necessary foundation to survive the Fire Knight and Ice Golem. Keep your stat priorities clear—Speed on boots and percentage-based stats on chests—and your roster will be ready for the challenges of the mid-game in no time.
Free RAID: Shadow Legends Codes
Current active codes and how to redeem them.

James Brown
James focuses on Android gaming on PC, emulator setup, controls, performance tuning, and practical troubleshooting for longer play sessions.
COMMUNITY
Player Comments
89 players commented on this guide.
I wish I had read this before upgrading the wrong thing.
This guide answered the exact question I had.
I tried this today and it worked better than my old setup.
This helped me understand early game much better.