
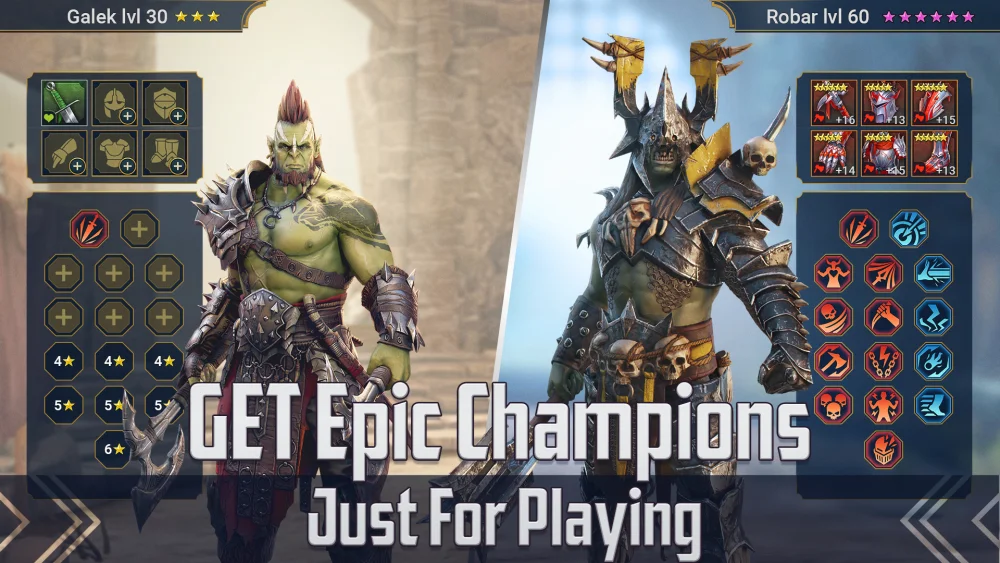
To clear high-difficulty Undead Hordes Faction Wars stages with Skartorsis in RAID: Shadow Legends, build him as a fast, durable cleanser and crowd controller. Prioritize survival attributes and cycling speed over personal damage, equipping him in a Stun set so his default area-of-effect attack regularly disables enemy waves.
Stat Targets and Primary Gear Choices
Skartorsis provides utility through debuff cleansing, turn meter acceleration, and offensive buffs. Because his impact depends on staying alive to cycle his cooldowns, aim for the following baseline attributes:
| Stat | Target Benchmark | Tactical Role |
|---|---|---|
| Speed | 210–230+ | Cycles cooldowns rapidly to keep cleansing and buffs available. |
| HP | 65,000–80,000+ | Absorbs single-target burst damage from high-stage crypt enemies. |
| Defense | 3,200–3,800+ | Mitigates incoming physical and skill damage across long wave fights. |
| Accuracy | 220–250+ | Allows his default attack to reliably steal buffs from enemy waves. |
| Resistance | 300+ (Optional) | Prevents crowd control from disabling Skartorsis before his turn. |
For primary stats on bottom-row artifacts, equip HP% or Defense% gloves, an HP% chest piece, and Speed boots. Equip an HP or Defense banner to stabilize his survival; use an Accuracy banner only if his secondary substats cannot reach the 220 threshold needed to strip enemy buffs.
Recommended Artifact Sets
Skartorsis uses an all-enemy basic attack, which makes set effects that apply debuffs on hit unusually effective.
- Stun Set (4 pieces): The most reliable setup for wave management. Each hit on his A1 (Desecration) provides an unresistable 18% chance per enemy to inflict Stun, disabling multiple threats across five-champion waves without burning an active cooldown.
- Relentless Set (4 pieces): Grants an 18% chance to take an extra turn. This set accelerates the cooldown on his A2 (Revenge) cleanse and maintains high uptime on his offensive buffs during drawn-out battles.
- Bolster or Shield Set (4 pieces): Generates early shields that protect fragile damage dealers against burst damage during the first two waves.
- Speed or Perception Sets (2 pieces): Fill remaining accessory slots to hit Speed and Accuracy benchmarks without compromising survivability.
Choose between Stun and Relentless based on where your team fails. If your squad dies to incoming wave attacks, use Stun for crowd control. If your team survives wave hits but collapses under continuous debuff stacks, use Relentless to reset his cleanse faster.
Masteries for Wave Control
Pair the Defense and Support mastery trees to maximize his crowd control rates and turn cycling:
- Support Tree: Progress down to Lore of Steel to increase attribute bonuses from artifact sets. If using a Stun set, select Fearsome Presence as your tier-six mastery to raise your Stun placement chance by an additional 5%.
- Defense Tree: Take defensive nodes such as Tough Beard and Improved Parry to soften incoming burst damage. Continue toward Deterrence or counter-hit masteries to trigger extra basic attacks when allies take heavy damage.
- Alternative Offense Route: If you bypass the Stun set and build pure Speed and Perception, take Warmaster in the Offense tree to deal percent-based damage and shorten boss encounters.
Team Role and Turn Order
Tune Skartorsis to act immediately before your primary damage dealers. His A3 (Warmonger) applies a 50% Increase Attack buff and a 30% Increase Critical Rate buff, lowering gear requirements for damage dealers like Vlad the Nightborn or Rotos the Lost Groom so they can focus on Critical Damage.
When dealing with debuff-heavy opening waves, allow the enemy debuffers to act first, then use his A2 (Revenge) to wipe the afflictions, heal the team, and push ally Turn Meters forward for an immediate counterattack. Pair him with a reviver such as Gorgorab or a passive damage mitigator like Vogoth to secure your team's survival through the final crypt boss.

Free RAID: Shadow Legends Codes
Current active codes and how to redeem them.

Emily Johnson
Emily writes practical mobile strategy guides with a focus on resource planning, base progression, and the early decisions that shape a long-term account.
COMMUNITY
Player Comments
79 players commented on this guide.
This saved me time in the early game.
Good guide for RAID: Shadow Legends players. The strategy part was useful.
This helped me understand strategy much better.
Nice guide. I am checking the other RAID: Shadow Legends articles next.