
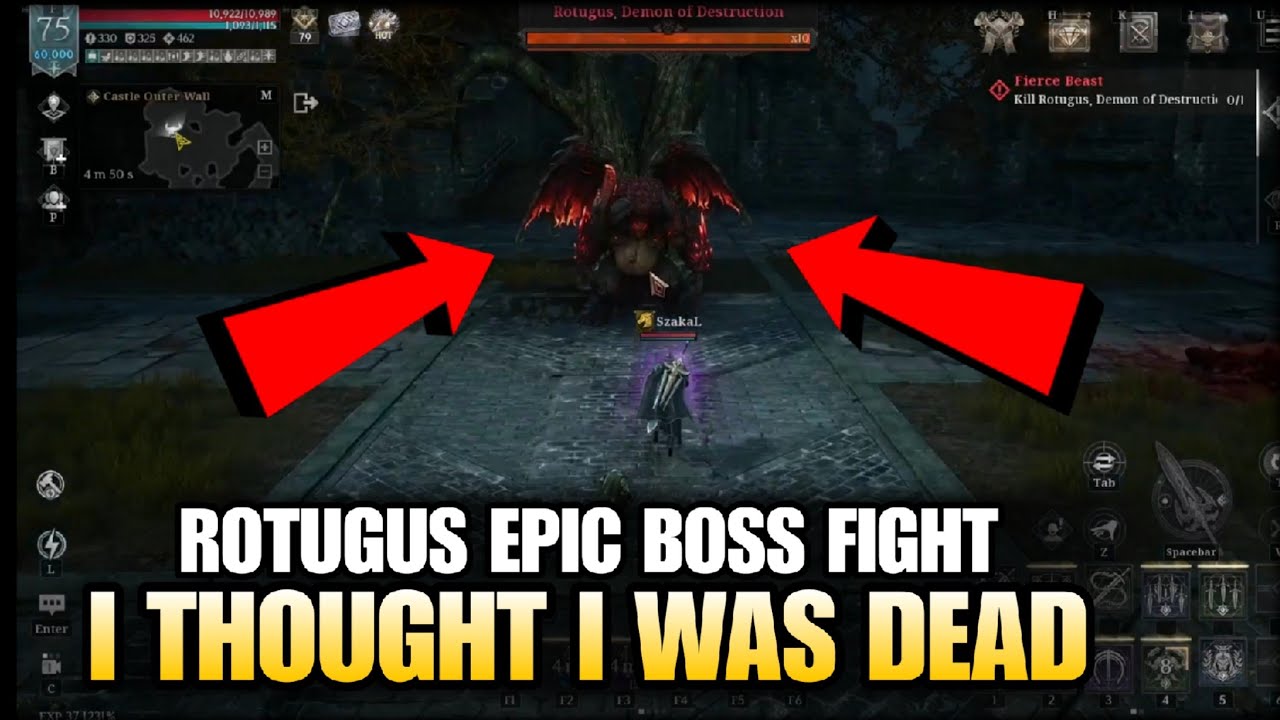
Defeating Rotugus in the "Demon of Destruction" quest is a definitive skill check in RAVEN2. This mid-tier boss is designed to punish players who rely on static "stand-and-deliver" combat tactics. To secure victory, you must shift your focus from maximizing your DPS uptime to maintaining constant, rhythmic movement. Success in this encounter is rarely about having the highest gear score; it is about respecting the boss's telegraphed AoE attacks and managing your recovery resources with discipline.
Anatomy of the Rotugus Encounter
Rotugus is a "Demon of Destruction" archetype, meaning his toolkit is heavily weighted toward high-impact, area-of-effect (AoE) damage. Understanding his patterns is the first step toward survival.
- Frontal Cleaves: Rotugus typically initiates these with a slight physical wind-up. Avoid standing directly in front of him unless you are forced to tank for a party.
- Ground Slams: These are your primary threat. When the ground begins to glow or crack, you have a split-second window to dash or move out of the radius. Failing to dodge these will often result in a stacking debuff that drains your health over time.
- The Enrage Phase: At approximately 20–25% health, Rotugus will enter his enrage state. You will see a visual change in his aura, and his attack speed will increase significantly. This is when most players fail, as they become impatient and stop moving to finish the boss off quickly.
Mastery of Kiting and Tactical Positioning
In RAVEN2, if you stand still, you are effectively choosing to take damage. Kiting is the most reliable way to mitigate the boss's massive damage output.
The Circular Kiting Strategy
Instead of backpedaling—which is often slower in the game’s movement engine—you should strafe in wide, circular arcs around the boss. This forces Rotugus to constantly adjust his pathing, causing him to "whiff" his melee strikes as he tries to close the gap. By maintaining this orbit, you stay at the edge of his threat range, giving you more reaction time when he begins a wind-up animation for a ground slam.
Animation Canceling
Do not commit to full attack chains if you see the boss beginning a telegraph. If you are mid-swing, prioritize movement over completing the animation. In RAVEN2, the time lost by canceling a single attack is negligible compared to the time lost—or the death penalty—incurred by taking a full-force slam.
Optimal Health and Potion Management
Many players struggle with Rotugus because they treat potion usage as a reactive necessity rather than a proactive strategy.
- The 60% Rule: Do not wait for your HP bar to hit the "danger" threshold. If your health drops below 60%, consume a potion immediately. Because Rotugus can chain attacks, waiting until you are near death often leads to being "one-shot" before your next potion cooldown refreshes.
- Inventory Preparation: Ensure you are carrying the highest tier of health potions available for your level. The cost of a few extra potions is far cheaper than the time lost to a failed quest attempt.
- Manual Control: While RAVEN2 features robust auto-battle systems, they are often insufficient for boss mechanics. During the Rotugus fight, disable "Auto-Chase" if possible, or at least be ready to take manual control. Allowing the AI to path your character will inevitably lead you into the center of the boss’s AoE zones.
Strategic Phases and Combat Discipline
The transition into the final 20% of the boss's health is where most players lose their composure. The boss moves faster, hits harder, and telegraphs less clearly.
Why Players Fail at the Finish Line
The "Desperation Trap" is the most common reason for failure. When the boss is low on health, players tend to stop kiting and try to burst the boss down. However, because Rotugus is faster in this phase, standing still is a death sentence.
Expert Advice: Play the final 20% exactly like the first 80%. If you have offensive cooldowns or burst skills, use them only when the boss is locked into a long, non-threatening animation. If he is actively chasing you, prioritize movement. A fight that takes two minutes longer because you played safe is a victory; a fight that ends in a death because you tried to shave off ten seconds is a loss.
Recommended Class-Specific Tips
While the core strategy remains the same across all RAVEN2 classes, your execution will vary slightly:
- Melee Classes: Focus on "hit-and-run" tactics. You have high natural defenses, but you cannot out-tank Rotugus's enrage phase. Use your movement abilities (dashes or leaps) to escape the AoE zones, then immediately engage once the effect dissipates.
- Ranged Classes: Your advantage is distance, but don't become complacent. Some of the boss's slams have a larger range than they appear. Keep your maximum possible distance, and always keep an "escape path" clear behind you so you don't get cornered against a wall or environmental obstacle.
Final Checklist for Victory
Before you engage Rotugus again, confirm you have checked these requirements:
- Gear Check: Ensure your armor is repaired. Even a small drop in defensive stats can change how many hits you can take.
- Buffs: Utilize any food or elixir buffs available. Every point of HP or damage reduction helps dampen the sting of his AoE hits.
- Camera Settings: Zoom your camera out as far as possible. Seeing the entire arena allows you to spot the telegraphs for his ground slams much earlier.
- Patience: If you find yourself frustrated, take a break. The Rotugus fight requires high focus and reaction time; fatigue will lead to simple mistakes.
By mastering the rhythm of the arena, keeping your potions flowing, and refusing to succumb to the urge to stand still, you will conquer the "Demon of Destruction" and progress deeper into the dark fantasy world of RAVEN2.

Free RAVEN2 Codes
Current active codes and how to redeem them.

Emily Johnson
Emily writes practical mobile strategy guides with a focus on resource planning, base progression, and the early decisions that shape a long-term account.
COMMUNITY
Player Comments
113 players commented on this guide.
I wish I had read this before upgrading the wrong thing.
The explanation is clear, especially for beginners.
This guide answered the exact question I had.
The tips are practical and easy to follow.