
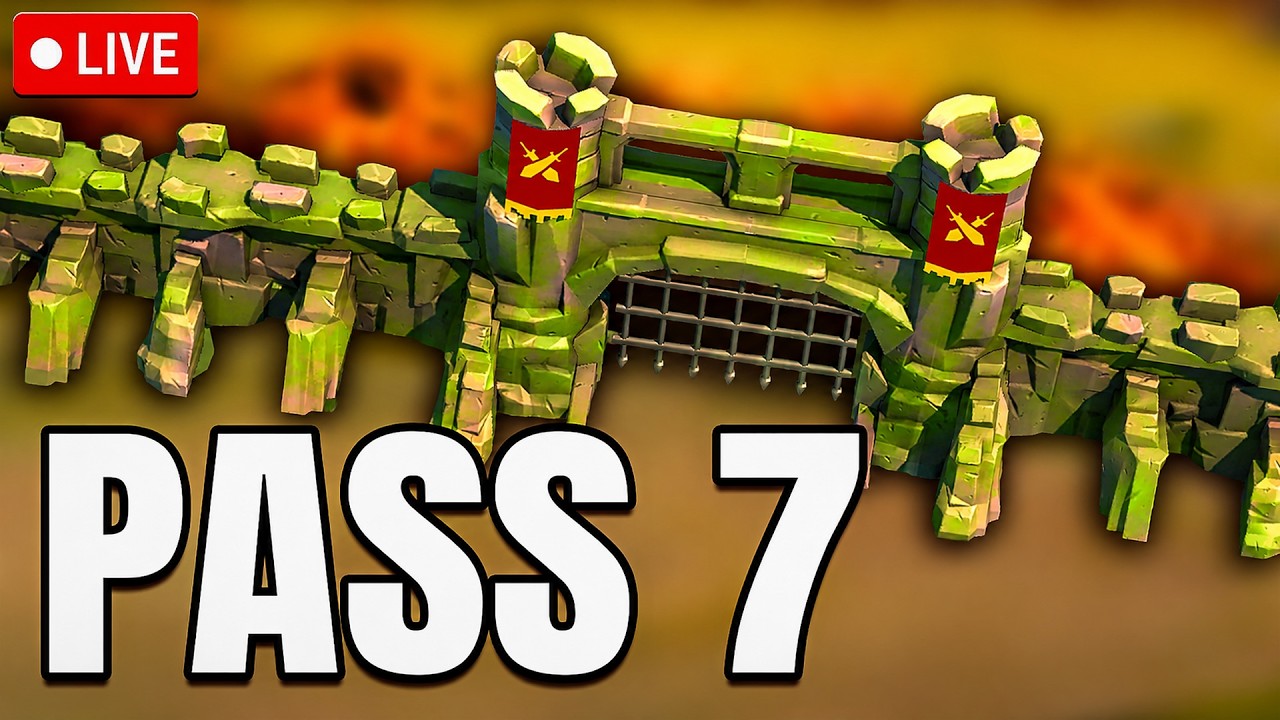
Securing a Pass 7 opening in Rise of Kingdoms is the ultimate test of a governor’s tactical proficiency. It is rarely won by the player with the highest raw power, but rather by the player who can maintain discipline across four simultaneous marches while navigating the chaotic, high-density environment of a contested chokepoint. To succeed, you must move beyond "auto-attack" habits and embrace a mindset of active, micro-managed warfare.
The Strategy: Why 4-March Control Matters
In Rise of Kingdoms, a Pass 7 opening often acts as a server-defining moment. When hundreds of players converge on a single tile, the game engine struggles with pathing, and individual units become trapped in "death balls." If you manage your four marches as a single entity, you invite disaster; if you manage them as a cohesive, multi-layered strike force, you can dominate the kill-feed and force the enemy into a retreat.
Effective 4-march management allows you to:
- Divide Enemy Attention: Force opponents to split their AOE targets.
- Maximize Damage Density: Rotate fresh marches into the fight while pulling wounded ones to safety.
- Control Territory: Use your four units to surround enemy clusters, cutting off their pathing and trapping them for your alliance’s AOE nukes.
Prioritizing Target Selection in Crowded Combat
The most common mistake in Rise of Kingdoms field combat is allowing your marches to "auto-target" the nearest enemy. In a Pass 7 brawl, this often leads to your units walking directly into the center of an enemy death ball, where they will be focused down in seconds.
Expert Target Selection Rules:
- Isolate the Weak: Scan the periphery for enemy marches that are already low on health or isolated from their alliance's healing support.
- Avoid AOE Clusters: Never send a march into a cluster of three or more enemy units unless you are specifically baiting them into your own alliance’s AOE.
- Prioritize High-Value Targets: If you see an enemy rally leader or a high-ranking player’s march, coordinate with your alliance to focus-fire that specific target.
- Flank, Don’t Front-Load: Use two marches to occupy the front line and two to flank the sides. This forces the enemy to rotate their camera and re-target, creating a "decisive advantage" window where they are not effectively fighting back.
Mastering Micro-Positioning and March Spacing
Spacing is your best defense against AOE-heavy commanders like Yi Seong-Gye or Zhuge Liang. If your four marches are clumped together, a single enemy skill hit will damage all four of them, causing your healing costs to skyrocket and your total combat duration to plummet.
- The "Loose Formation" Technique: Keep your marches separated by at least 3–5 tiles. This ensures that an enemy AOE skill aimed at one march does not overlap with the others.
- Terrain Usage: Pass 7 environments often feature narrow corridors. Stagger your marches in a line rather than a square. If the terrain is narrow, lead with your tankiest march (e.g., Guan Yu/Scipio Prime) and keep your squishier support or nuker marches slightly behind or to the sides.
- The Rotate-and-Retreat Loop: Monitor health bars religiously. As soon as a march hits 40–50% health, move it to the rear. Wait for it to stabilize or use a secondary march to "swap" positions, drawing the enemy's attention away from your wounded unit.
Coordinating Skill Timing for Maximum Impact
Your ability to cycle skills effectively is what separates a novice from an expert. In a 4-march setup, you want to avoid "skill-dumping"—where all four commanders fire their active skills at the exact same time on the same target.
- Staggered Nukes: If you are running multiple AOE nukers, trigger their skills 2–3 seconds apart. This creates a sustained "damage over time" effect that makes it impossible for enemy healers to keep up.
- Synergy Check: Ensure your support commander (e.g., Flavia or Huo Qubing) is positioned where their skills can hit the most friendly units or debuff the most enemies.
- Baiting Skills: If you know an enemy commander has a high-damage nuke ready, move your march momentarily out of range. Once they waste their skill on an empty tile, dive back in. This "juke" tactic can effectively negate the enemy’s primary damage source.
Navigating the Trade-offs of High-Intensity Swarming
Swarming is inevitable at Pass 7. When your march is surrounded, you are effectively trading your troop count for enemy time and resources.
Decision-Making Under Pressure:
- When to Sacrifice: If you are holding a choke point, sometimes it is better to let a low-health march get swarmed to allow your other three marches to flank the enemy and wipe them out.
- When to Reset: If your total hospital capacity is nearing its limit, do not be afraid to pull back. A total retreat to the nearest alliance flag to "refresh" your marches is better than losing all your T5 troops in a losing battle.
- Hospital Management: Always keep an eye on your hospital queue. If you are close to capacity, swap to a more defensive pairing to slow down your losses while you wait for the hospital to clear.
Final Tactics for Long-Term Sustainability
Field combat at a Pass 7 opening is a marathon. To remain a relevant force for the duration of the fight:
- Conserve Your Best: Do not commit your strongest, most expensive march pairs until the "final push" phase of the pass opening.
- Resource Discipline: Combat in Rise of Kingdoms is resource-intensive. Keep a close watch on your healing speedups. If you run out of speedups, your ability to stay in the field ends, regardless of your tactical skill.
- Communication: Use your alliance pings. If you are going to focus on a specific target, let your nearby allies know. A coordinated focus-fire from three players is significantly more lethal than a solo player trying to play hero.
By applying these discipline-based tactics, you turn your four marches from a simple resource drain into a precision instrument of war, ensuring your alliance secures the pass while you maintain your combat readiness for the rest of the campaign.

Free Rise of Kingdoms Codes
Current active codes and how to redeem them.

Michael Smith
Michael covers live-service games, events, reward systems, and efficient daily routines, turning frequent updates into clear actions for players.
COMMUNITY
Player Comments
76 players commented on this guide.
The tips are practical and easy to follow.
I wish I had read this before upgrading the wrong thing.
This helped me understand strategy much better.
Can you add more details about strategy in a future update?