
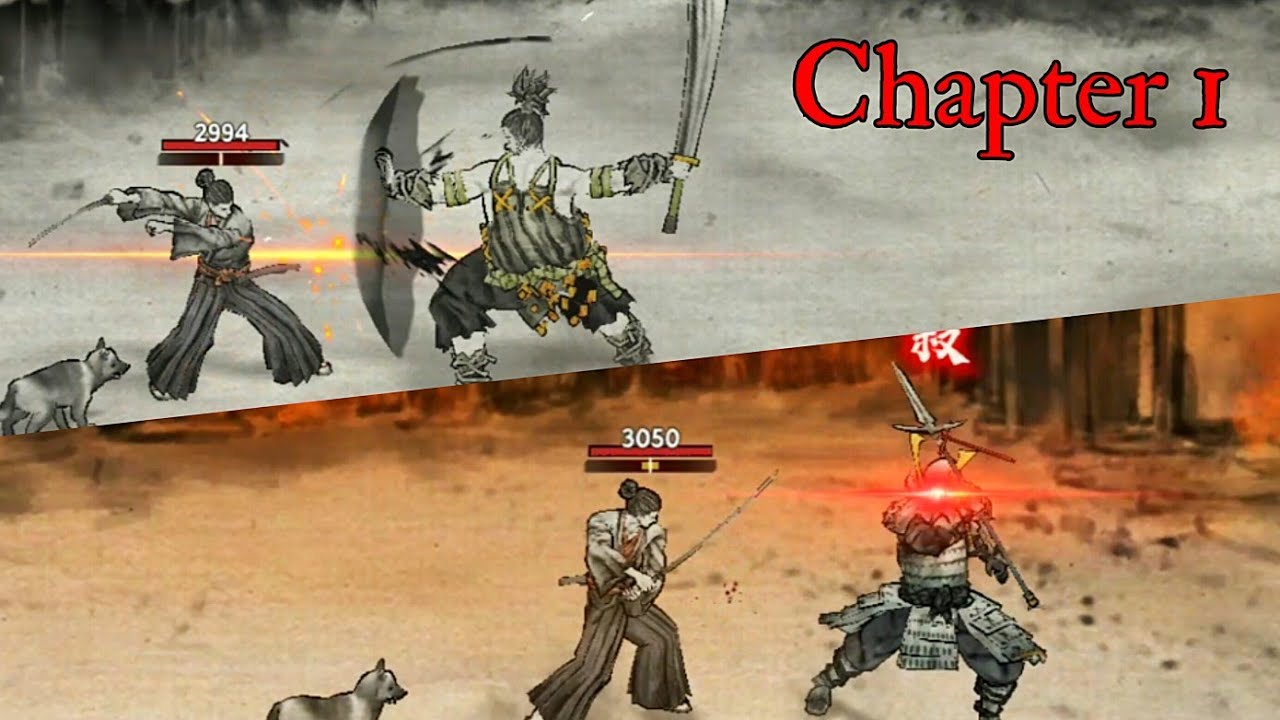
To clear Chapter 1 in Ronin: The Last Samurai, you must survive 20 consecutive enemy waves, defeating a mid-boss at Wave 10 and the final boss at Wave 20. Consistent clears require eliminating ranged archers first, deflecting melee strings to break enemy posture, and timing Counter Flash attacks against unblockable red thrusts.
Enemy Threat Priorities and Wave Tactics
Multi-enemy waves combine front-line melee bandits with backline archers and spearmen. Rushing melee targets while archers remain alive exposes you to projectile stagger that interrupts your attack animations and breaks defensive timing.
- Bandit Archers: Eliminate immediately. Dash in to kill them in one or two slashes, or deflect arrows as they arrive if you are pinned down by melee enemies.
- Bandit Swordsmen: Deflect their rapid light attack strings to fill their posture gauges rather than relying on standard blocks.
- Bandit Spearmen: Watch for weapon thrusts. Avoid standard blocking against their perilous attacks.
- Heavy Brutes: Avoid static guarding, which fills your posture meter rapidly. Time deflects against their delayed downward swings.
Countering Red Glint Thrusts
When an enemy weapon flashes with a red warning symbol, they are winding up an unblockable perilous thrust. Holding block against this attack results in a guard crush that leaves you immobilized and open to heavy damage.
- Wait for the forward lunge: Do not hit attack during the startup flash, as enemy hyper-armor prevents flinching.
- Execute Counter Flash: Tap attack right as the enemy initiates their forward lunge. A successful Counter Flash interrupts the thrust, deals significant posture damage, and often leaves common enemies open to an instant execution.
- Dodge if the timing is lost: If you miss the reaction window, dodge backward or sideways. Do not attempt a standard deflect against a red thrust.
Defeating the Wave 10 Mid-Boss
Wave 10 introduces an armored brute wielding a heavy two-handed weapon. Standard slashes will not interrupt his swings, and holding guard against his strikes will fill your posture gauge almost immediately.
- Wait out the startup delay: The brute has an extended wind-up animation designed to trigger premature parries. Press deflect only when the weapon starts descending.
- Reset posture between swings: If you miss a deflect and absorb a hit with a standard block, back away immediately to let your posture recover.
- Punish after two hits: Deflect his two-strike rotation, land two quick counter-slashes during his recovery, and return to neutral defense.
- Execute on posture break: Once the boss's posture meter turns red and fills completely, land a strike to trigger an execution finisher.
Defeating the Wave 20 Final Boss
The Chapter 1 final boss pairs rapid two-hit sword flurries with sudden perilous thrusts.
- Deflect the opening flurry: Deflect the boss's initial two slashes from a neutral guard stance.
- Read the combo ender: If the boss winds up a normal heavy swing, time a third deflect and counter with two slashes. If a red flash appears, hold position and tap attack as he lunges forward to trigger a Counter Flash, which strips roughly one-third of his posture gauge.
- Limit counterattacks to two hits: Over-committing to three or more attacks locks you into recovery frames, preventing you from raising your guard in time for the boss's next strike.
- Disengage during high posture buildup: If your posture meter enters the flashing red danger zone, create distance across the arena to allow the meter to drain fully before re-engaging.
Recommended Between-Wave Skills
Between waves, prioritize perks that stabilize health and shorten boss encounters over conditional damage bonuses:
- Sustain Perks: Take Restoration or Life Steal on kill whenever offered. Health does not regenerate automatically between waves, making sustain critical for arriving at Wave 20 with full HP.
- Posture Perks: Select traits that boost posture damage dealt through deflects and Counter Flashes to break boss posture meters quickly.
- Avoid Low-Health Traits: Skip situational damage buffs that rely on low health thresholds, as survival consistency is required to finish the 20-wave run.

Free Ronin: The Last Samurai Codes
Current active codes and how to redeem them.

Emily Johnson
Emily writes practical mobile strategy guides with a focus on resource planning, base progression, and the early decisions that shape a long-term account.
COMMUNITY
Player Comments
39 players commented on this guide.
Nice guide. I am checking the other Ronin: The Last Samurai articles next.
I tried this today and it worked better than my old setup.
This helped me understand early game much better.
This guide answered the exact question I had.