
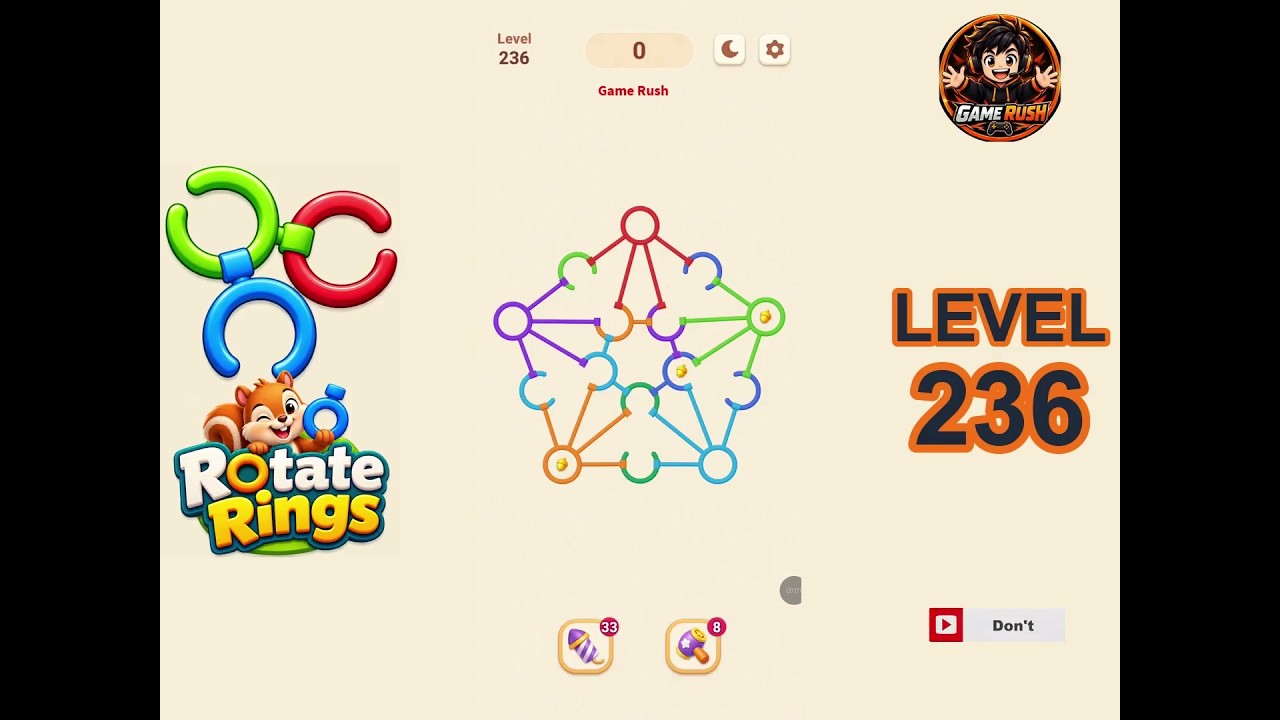
To clear Level 236 in Rotate Rings, align the circular pathways from the outside inward to open a vertical escape channel for the central core. Rotating the outer ring first clears space for the middle ring, preventing solid boundary tabs from seizing against the inner core. Once the outer and middle cutouts line up, turn the core clockwise to slide it free.
Step-by-Step Rotation Sequence
Level 236 consists of three concentric layers: an outer protective rim, a segmented middle band, and an internal core ring. The rings must be moved in sequence to prevent protruding tabs from blocking adjacent tracks.
| Step | Target Layer | Direction | Objective |
|---|---|---|---|
| 1 | Outer Ring | Clockwise | Align the primary outer gap with the vertical escape point |
| 2 | Middle Ring | Counter-Clockwise | Turn the notch to meet the outer gateway without jamming the solid arc |
| 3 | Outer Ring | Fine Adjustment | Nudge slightly to ensure the release corridor is completely flush |
| 4 | Inner Core Ring | Clockwise | Guide anchoring lugs through the aligned opening to drop the core |
- Position the outer rim: Turn the outermost ring clockwise until its primary cutout sits at the top vertical axis. This clears the outer boundary tabs so the middle layer can rotate freely.
- Rotate the middle band counter-clockwise: Turn the middle ring counter-clockwise until its open notch aligns with the outer ring's gap. Turning counter-clockwise is mandatory here; turning clockwise drives a wide solid barrier directly into the core's retention catch.
- Check corridor alignment: Verify that the middle channel sits flush against the outer opening. If the edges overlap slightly, make small micro-adjustments to the outer ring to create a seamless passage.
- Extract the central core: Drag the inner ring clockwise. Because the core has higher rotational sensitivity than the heavier outer rings, use a slow, controlled drag to slide the anchoring lugs along the open corridor until the core detaches.
Avoiding Alignment Traps on Level 236
Two specific design traps cause most failed attempts on this stage:
- The middle ring solid arc: The middle band contains an asymmetrical solid section. If rotated clockwise, this section wedges into the retention pegs of the center core, locking all movement. Always rotate this layer counter-clockwise toward the exit corridor.
- The false notch: The middle ring features a shallow secondary indentation that resembles an exit slot. Aligning this notch with the outer ring will cause the core to jam halfway through the exit. Use only the fully hollowed cutout, which offers an unobstructed view straight through to the background.
Correcting Misalignments Without Resetting
Rotate Rings does not penalize mistakes or impose hard fail states, so full stage restarts are unnecessary if a ring shifts out of sequence.
- Realigning an over-rotated outer ring: If you spin the outer layer past the vertical exit axis, visually locate its widest notch and sweep it back toward the twelve o'clock position to re-establish the baseline corridor.
- Separating multi-touch inputs: If dragging one ring accidentally shifts an adjacent band, place your thumb along the extreme outer edge of the screen. Keeping your touch away from the seams between rings prevents unintentional multi-layer drag and allows you to adjust each ring individually.
- Clearing exit friction: If the core gets caught on an edge during extraction, avoid dragging it forcefully. Lightly nudge the middle ring by a fraction of a millimeter to eliminate edge clipping, allowing the core to drop through cleanly.

Free Rotate Rings Codes
Current active codes and how to redeem them.

Sarah Williams
Sarah specializes in RPG and collection games, explaining team building, character growth, and beginner-friendly ways to avoid expensive early mistakes.
COMMUNITY
Player Comments
72 players commented on this guide.
This saved me time in the early game.
The explanation is clear, especially for beginners.
This helped me understand strategy much better.
I tried this today and it worked better than my old setup.