
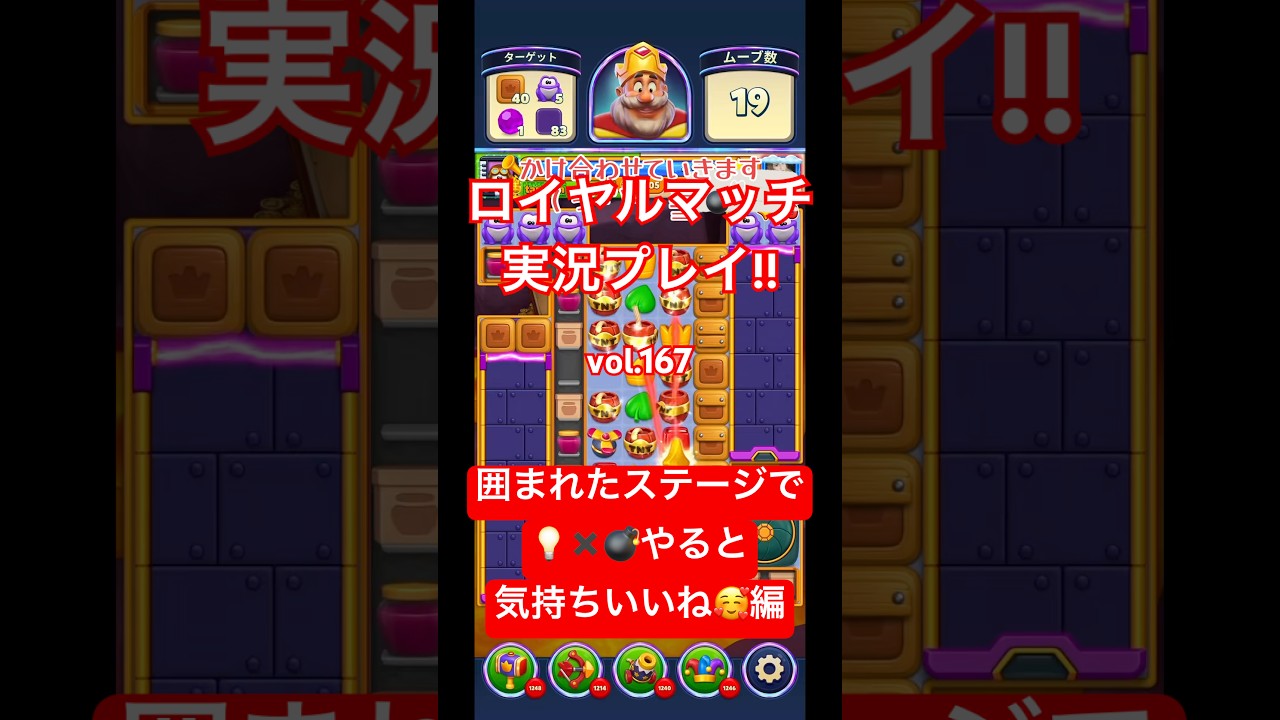
To clear Royal Match stages encircled by outer targets, swap a Light Ball with an adjacent Bomb. This combination identifies every tile on the board sharing the Bomb's color, converts those tiles into active Bombs, and detonates them simultaneously. Each transformed tile produces an overlapping 3x3 explosion, dealing radial damage to hard-to-reach perimeter obstacles such as crates, mailboxes, and cupboards while instantly expanding your playable interior space.
Why the Light Ball and Bomb Combo Solves Perimeter Layouts
Board layouts ringed by perimeter barriers severely restrict interior movement. When outer targets frame the edge of the board, standard three-tile matches along the inside cannot make contact with the periphery, quickly burning through your move count.
While pairing a Light Ball with a Rocket only fires thin vertical and horizontal clearing beams, pairing a Light Ball with a Bomb creates board-wide radial concussions. Because converted Bombs scatter across the entire grid, their 3x3 blast zones hit multi-layered edge obstacles from multiple angles in a single turn.
Forming Light Balls and Bombs in Restricted Spaces
Constructing power-ups in a boxed-in board requires managing vertical columns to engineer matches without causing premature detonations.
- Prioritize central columns: Make matches in the middle columns rather than near the edges. Interior matches maximize tile refill rates from top dispensers, providing the tile flow needed to set up combinations.
- Build the Light Ball: Look for five tiles of the same color aligned with a one-tile gap or offset by a single row. Dropping the blocking piece snaps the five tiles into a straight line to generate the booster.
- Build the Bomb: Watch for intersecting lines of three tiles that form natural T-shapes or L-shapes.
- Protect uncombined boosters: Once one booster is created, avoid making adjacent casual matches. Unintended cascades can detonate an uncombined Bomb or knock a Light Ball out of alignment.
How to Align Separated Boosters
When a Light Ball and a Bomb do not spawn adjacent to each other, use gravity and controlled column drops to bring them together.
| Booster Separation Setup | Required Adjustment Action | Primary Risk to Avoid |
|---|---|---|
| Adjacent columns, different rows | Clear tiles strictly underneath the higher booster | Triggering lower cascades that shift the bottom booster |
| Same row, separated by buffer tiles | Make vertical three-tile matches between the boosters | Creating horizontal matches that pull one booster away |
| Diagonal offset by one square | Clear the single supporting tile beneath the upper piece | Detonating the Bomb early via unintended chain reactions |
Evaluating Color Density Before Swapping
The clearing power of the combination depends on how many tiles match the Bomb's color when the swap occurs:
- Fewer than 5 matching tiles: If the board has low color presence, spend one or two turns clearing unrelated colors to allow more tiles of the target color to fall into place.
- 6 or more matching tiles: Execute the swap immediately. This density ensures widespread, overlapping explosions across the board.
- Perimeter placement check: Verify that at least two or three matching tiles sit near the outer borders so their 3x3 blast radiuses directly strike the surrounding obstacles.
Do not spend excessive turns hunting for the perfect color count if your remaining move reserve is low.
Post-Detonation Clean-Up
After the explosion clears, switch your focus from survival to efficient target cleanup:
- Hit cracked obstacles directly: Perimeter targets that survived the blast usually have only one layer remaining. Clear these immediately before shifting tiles block access.
- Capitalize on open cascades: Removing outer barriers allows tiles to drop freely into corners, naturally creating automatic cascades and generating free Propellers and Rockets.
- Use guided boosters for remaining edges: Direct newly formed Propellers toward isolated edge objectives instead of wasting regular moves trying to match tiles on the perimeter.
- Preserve excess moves: Clearing the remaining objectives quickly leaves unused moves on your counter, which convert into bonus coins upon completing the stage.

Free Royal Match Codes
Current active codes and how to redeem them.

Sarah Williams
Sarah specializes in RPG and collection games, explaining team building, character growth, and beginner-friendly ways to avoid expensive early mistakes.
COMMUNITY
Player Comments
67 players commented on this guide.
I wish I had read this before upgrading the wrong thing.
Can you add more details about strategy in a future update?
This guide answered the exact question I had.
Good guide for Royal Match players. The strategy part was useful.