
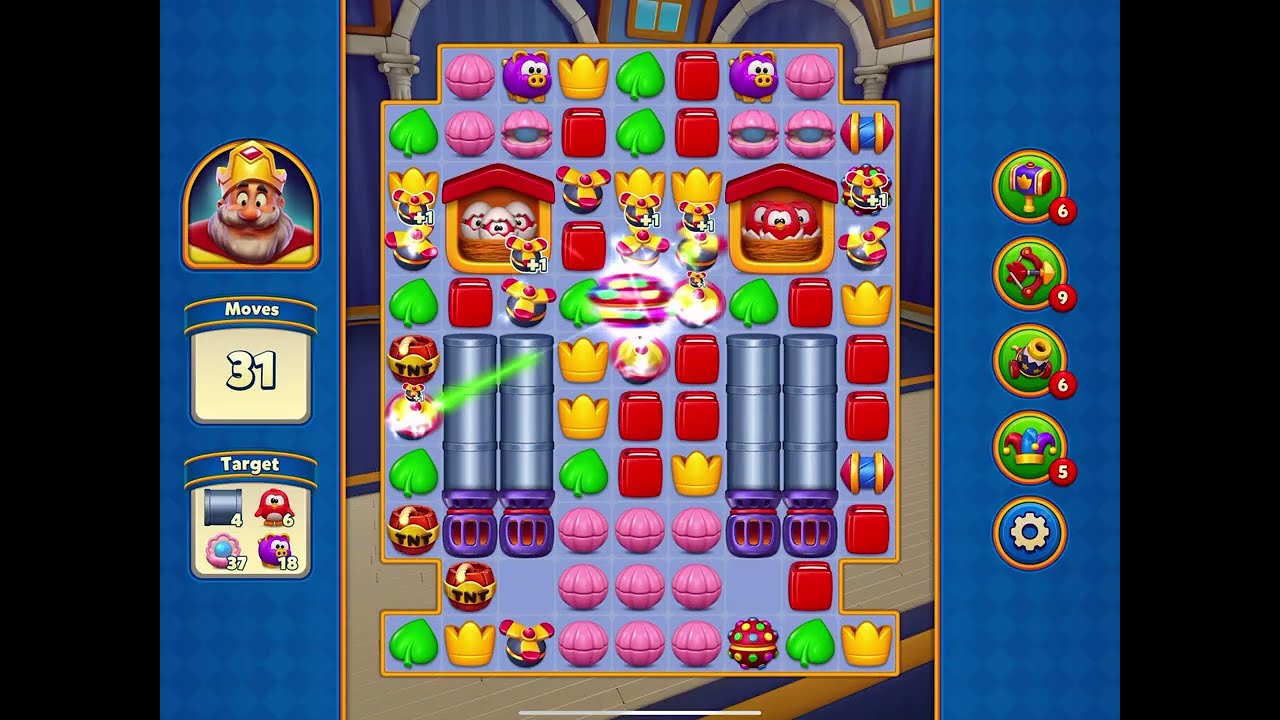
In the mid-game progression of Royal Match, levels 1450 through 1460 represent a significant spike in complexity. These stages are designed to test your ability to manage limited moves while navigating high-density hazards such as multilayered glass, stubborn chains, and locked chests. Succeeding in this bracket requires moving beyond simple matching; you must transition into a mindset of board manipulation and strategic resource conservation.
The Core Philosophy: Why Central Obstacles Matter
The most frequent mistake players make in these levels is clearing pieces on the periphery before addressing the center. In Royal Match, the board’s "gravity" and flow are dictated by the middle columns. Levels 1450–1460 often trap you with blockers clustered in the center, which prevents the board from refreshing effectively.
When you leave central glass or crates intact, you restrict the potential for the game engine to generate 4-match or 5-match combinations. By dedicating your first 5–10 moves to clearing the center, you create a "vertical corridor." This corridor allows pieces to fall from the top of the screen to the bottom, significantly increasing the probability of automatic, unintended matches—or "cascades"—that clear secondary objectives without costing you a single move.
Maximizing Power-up Synergies
In the 1450 range, your primary goal is to create and combine power-ups. A single Rocket or TNT barrel is rarely sufficient to clear the board requirements. Instead, look for these specific interactions:
- Propeller + Rocket: This is your best tool for reaching isolated corners. The Propeller will travel to the target, and the Rocket will clear an entire row or column, often hitting multiple objectives in a single turn.
- Light Ball + Rocket/Propeller: This combination is essential for the later stages in this bracket (specifically 1455–1460). By turning all pieces of one color into Rockets, you can simultaneously clear multiple layers of glass across the entire board.
- The "Double" Strategy: If you have the opportunity to place two Light Balls next to each other, prioritize this over any other move. It will clear the entire board of all obstacles, which is often the only way to overcome the final, most punishing layouts without using extra moves.
Managing Board Flow and Bottom-Heavy Logic
Royal Match mechanics dictate that tiles drop from the top to fill empty spaces. To exploit this:
- Always match at the bottom: Clearing pieces at the bottom of the board forces a total reshuffle of the columns above. This is the most effective way to trigger cascades.
- Avoid "Bait" Matches: The game frequently presents easy 3-matches at the top of the board. If these matches do not directly contribute to your objective or lead to the creation of a power-up, ignore them. They are traps that keep the board static.
- Forcing a Reshuffle: If the board becomes stagnant and no objective-based matches are available, make a move that clears the most pieces possible, even if they aren't your primary target. This clears the clutter and forces the game to drop new pieces, refreshing your options.
Tactical Breakdown of Hazards
Levels 1450–1460 introduce specific hazard densities that require different approaches:
Dealing with Chests
Chests require multiple hits to open. Do not waste moves hitting a chest once if you can hit a different chest that is already partially damaged. Use Rockets or TNT barrels to hit multiple chests at once. Never use a single move to hit a chest if that move could instead create a Propeller.
Navigating Chains and Glass
Chains are "multi-turn" inhibitors. If a piece is chained behind glass, your priority is to remove the chain first. A common failure point is spending moves trying to match pieces under glass while forgetting that the chain is preventing the match from ever occurring. Always scan for the "primary inhibitor"—the specific blocker preventing the most potential matches.
The Strategic Checklist for Mid-Level Success
Before every move, run through this mental checklist to ensure you are playing at an expert level:
- Identify the "Bottleneck": Which specific obstacle is preventing your largest cluster of pieces from matching?
- Calculate the Cost: Is this move helping me reach the objective, or is it just clearing "easy" pieces?
- Check for Power-ups: Can I sacrifice a match to set up a 4-match or 5-match in the next turn?
- Assess Board State: If I clear this row, will it trigger a cascade that helps my goal?
When to Use Your Inventory
At this level, you should be judicious with your boosters.
- Pre-Game Boosters: If you are struggling with a specific level, use the Rocket or TNT starter. These are most effective when they create immediate space at the start of the level.
- In-Game Tools (Hammer/Boxing Glove): Only use these when you have 5 moves or fewer remaining and you are within reach of the objective. If you need more than 5 moves to win, it is better to lose the life and reset the board than to waste premium resources on an unwinnable state.
- The "Last-Minute" Save: If you are one piece away from clearing the level, the 5-extra-move purchase is a valid strategy to maintain your win streak. However, do not purchase moves if you still have 10+ tiles to clear; the odds of completion are statistically too low to justify the cost.
By focusing on the center, prioritizing cascades, and hoarding your power-ups for high-impact combinations, you will clear the 1450–1460 stretch with significantly higher move efficiency. Remember that Royal Match is a game of patience; the best move is often the one that sets up a massive combo rather than the one that clears the most immediate targets.

Free Royal Match Codes
Current active codes and how to redeem them.

Sarah Williams
Sarah specializes in RPG and collection games, explaining team building, character growth, and beginner-friendly ways to avoid expensive early mistakes.
COMMUNITY
Player Comments
67 players commented on this guide.
Nice guide. I am checking the other Royal Match articles next.
This saved me time in the early game.
The explanation is clear, especially for beginners.
I wish I had read this before upgrading the wrong thing.