
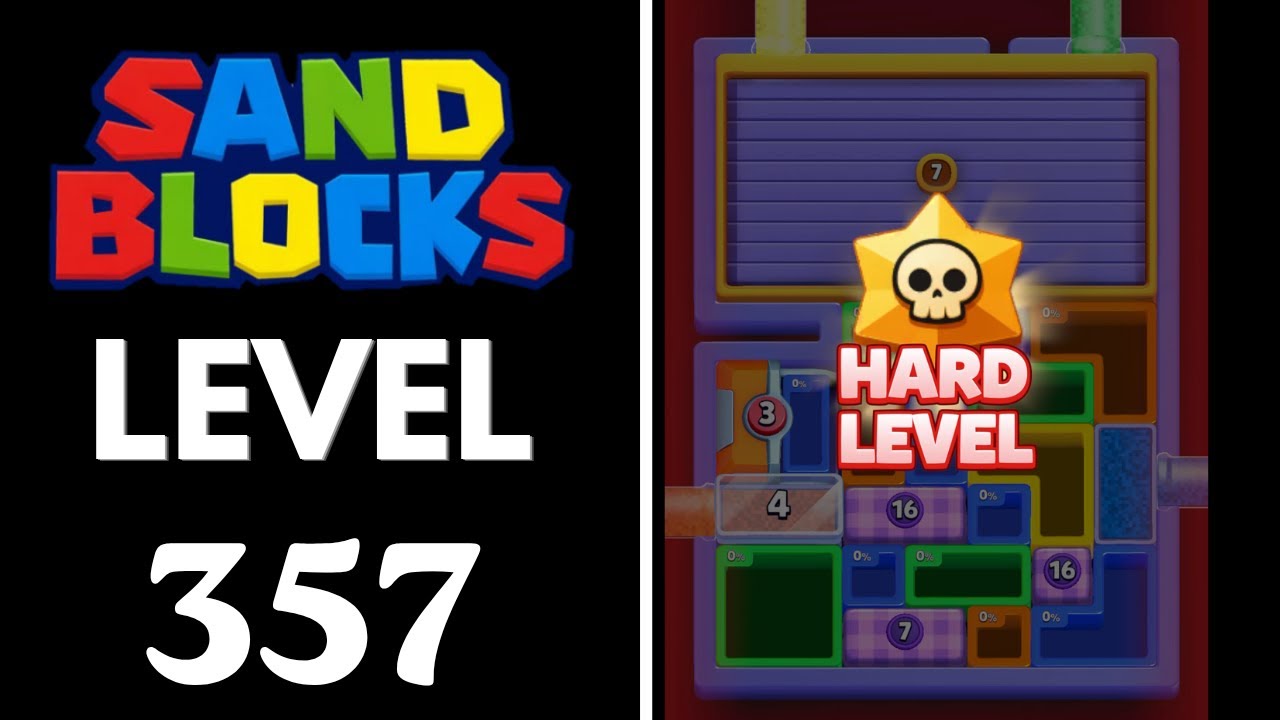
To beat Level 357 in Sand Blocks: Drop Puzzle, you must prevent the grid from filling to the top threshold by continually clearing horizontal bands of matching sand from wall to wall. Because blocks crumble into loose sand upon landing, you win by banking sand against the side walls, keeping the center low, and grouping multi-colored pieces so that falling grains complete full rows rather than scattering into steep, unusable mounds.
How the Level 357 Grid Operates
In Level 357, blocks do not remain rigid. The moment a piece touches the floor or an existing stack, it crumbles into physics-driven grains that flow into open dips.
To clear sand and regain board space:
- A single color must form an unbroken, continuous line spanning entirely from the left boundary to the right boundary.
- When a full row clears, the sand stacked directly above it drops into the vacated space, which can trigger chain reactions.
- If any sand pile breaches the upper boundary line, the run fails immediately.
The main challenge on Level 357 is the mix and drop speed of multi-colored shapes. Dropping mixed colors without a plan contaminates partially built rows and pinches off lower layers.
Shape Placement and Elevation Control
Maintaining a concave surface—higher on the sides, lower in the middle—gives you control over where loose sand slides. When sand forms a peak in the center, new drops roll unpredictably toward both edges, splitting colors and spiking board height.
- Bank outer edges first: Aim bulkier shapes toward the left and right walls. Building up slight banks along the boundaries funnels subsequent drops toward the center.
- Keep the center low: A slight dip in the middle ensures that rolling sand settles inward to bridge gaps instead of spilling over perimeter boundaries.
- Lay solid blocks flat: Rotate single-color blocks horizontally to spread the color broadly across the grid rather than creating a tall pillar.
- Isolate two-tone shapes: Rotate mixed pieces so each color faces an existing bank of the same color.
- Dump trash grains on outer edges: When a drop includes an unusable color, rotate it so the unwanted grains land near the outer walls, away from active horizontal lines.
Move Priorities for Multi-Line Cascades
Clearing one row at a time is often too slow to keep up with incoming blocks. Prioritize your placements to clear lower lines and drop matching sand from above.
| Placement Priority | Board Target | Strategic Purpose |
|---|---|---|
| High | Incomplete gap on an active layer | Completes the wall-to-wall connection to trigger an immediate clear. |
| Medium | Same-color layer resting above an active row | Prepares an automatic secondary clear when the bottom row disappears. |
| Low | Deep outer corner | Discards unneeded sand without blocking the central drop corridor. |
| Avoid | Contrasting color over open row gaps | Caps unfinished lines, requiring multiple clears to expose them again. |
Always track the lowest active line. If a nearly completed line only lacks a few grains of one color, use the matching portion of your next shape to finish the connection. The resulting collapse immediately lowers your overall pile height.
Recovering from Contaminated Rows
If an off-balance piece scatters the wrong color across an incomplete line:
- Stop trying to fix the buried row immediately. Forcing sand into a capped line usually pushes surrounding debris toward the top failure threshold.
- Shift focus to the layer directly above the mistake. Build a clean, single-color horizontal band across the top of the contamination.
- Clear the new top band. Clearing the top row removes the ceiling, letting you access or settle the messy lower grains.
- Shave tall side spikes. If sand stacks too close to the upper threshold on the flanks, drop flat pieces directly onto the spires to flatten the surface before continuing horizontal clears.
Free Sand Blocks: Drop Puzzle Codes
Current active codes and how to redeem them.

Sarah Williams
Sarah specializes in RPG and collection games, explaining team building, character growth, and beginner-friendly ways to avoid expensive early mistakes.
COMMUNITY
Player Comments
46 players commented on this guide.
This helped me understand strategy much better.
The tips are practical and easy to follow.
I wish I had read this before upgrading the wrong thing.
Can you add more details about strategy in a future update?