
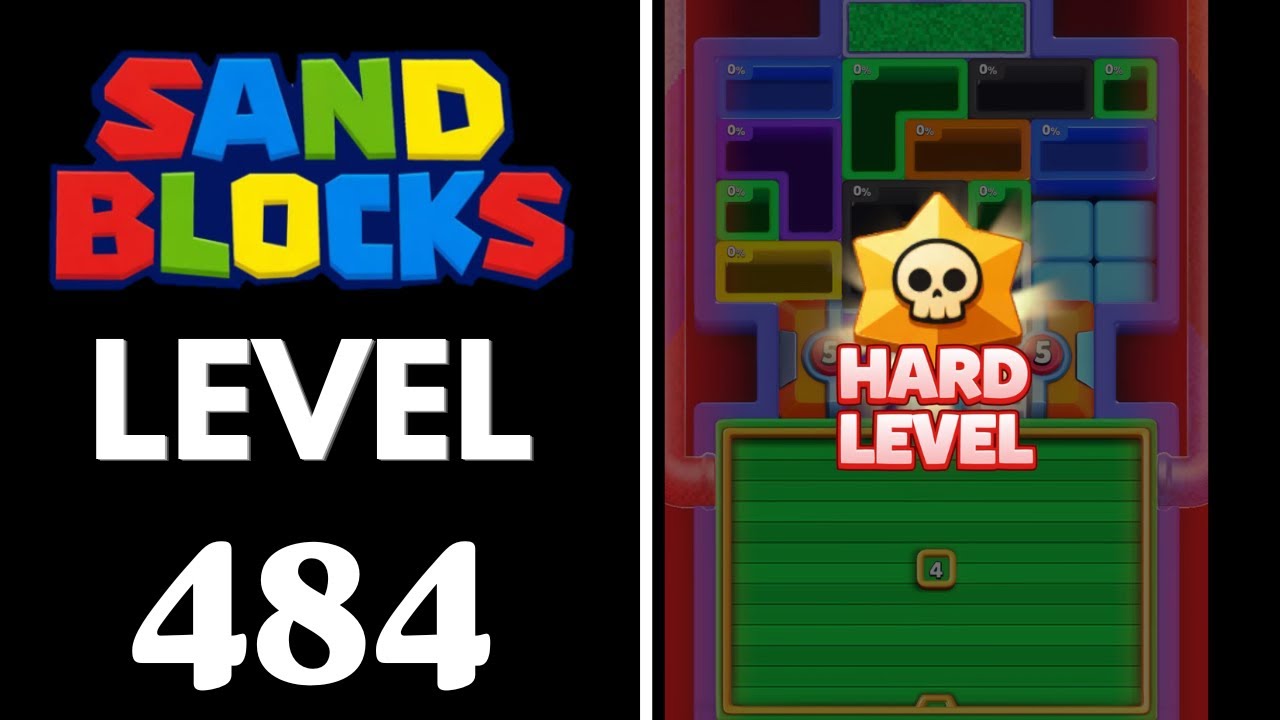
To beat Level 484 in Sand Blocks: Drop Puzzle, keep the board flat by directing incoming blocks toward the side walls and building continuous, single-color bands from the left boundary to the right boundary. The stage fails if accumulated sand crosses the top boundary line, making slope control and color isolation your top priorities.
Board Mechanics and Block Dispersion
Falling tetromino shapes do not stay solid after landing. Instead, they immediately collapse into loose sand grains that roll down slopes according to gravity. A horizontal line clear triggers only when a single color forms an unbroken path between the left and right walls. If even a tiny deposit of another color interrupts that connection, the line remains on the board and consumes vertical space.
How you orient a block before it lands controls how wide the sand spreads across the grid:
| Piece Shape | Drop Orientation | Sand Dispersion Pattern | Strategic Application |
|---|---|---|---|
| I-Block (Line) | Horizontal | Wide, shallow layer | Bridges wide gaps across the board base |
| I-Block (Line) | Vertical | Steep, concentrated spire | Pierces deep pockets or fills narrow edge gaps |
| O-Block (Square) | Standard | Medium pyramid mound | Anchors corner foundations without wide scatter |
| T-Block / L-Block | Flat base down | Moderate slope dispersion | Funnels particles evenly into adjacent valleys |
Managing Slopes to Prevent Center Mounds
Repeatedly dropping pieces into the center columns creates steep mounds that make Level 484 unmanageable. When sand piles high in the middle, incoming blocks roll uncontrollably down the left and right slopes. This uncontrolled slide scatters mismatched colors across your working lanes and breaks horizontal lines.
To keep the board level:
- Drop incoming pieces flush against the left and right borders.
- Allow the collapsing sand to spill inward toward the center, naturally filling recessed depressions.
- Alternate placements between opposite walls so lateral piles do not climb too high on one side.
Color Clustering Rules
Placing blocks quickly without grouping identical colors will clutter the field with thin layers that require multiple separate clears to fix. Take time to inspect the queue before placing the active block.
- Isolate off-colors: Deposit colors that do not match your current clearing layer into isolated corner pockets.
- Reinforce active bands: Drop matching colors directly onto existing deposits of that same shade so gravity pushes them outward toward both edges.
- Avoid thin stratification: Do not stack alternating single-layer colors on top of one another, as resolving them requires too many separate drop cycles.
Bottom Clears and Cascade Recovery
Target your first completed line at the lowest possible layer on the board. When an unbroken bottom band clears, all the sand sitting above it drops straight down into the emptied area. This collapse compresses uneven peaks, flattens the terrain, and often brings matching color pockets together to trigger automatic chain reactions.
If sand rises near the top boundary, immediately stop trying to build multi-tier cascades:
- Identify whichever color currently holds the widest horizontal spread across the board.
- Orient upcoming pieces horizontally to spread the sand as thinly as possible across high mounds.
- Drop matching pieces directly into the remaining gaps along that single band to trigger an emergency clear and restore vertical space. Avoid vertical drops into the center during high-risk moments, as vertical orientations add instant height and trigger a stage loss.
Free Sand Blocks: Drop Puzzle Codes
Current active codes and how to redeem them.

Michael Smith
Michael covers live-service games, events, reward systems, and efficient daily routines, turning frequent updates into clear actions for players.
COMMUNITY
Player Comments
84 players commented on this guide.
This helped me understand updates much better.
This saved me time in the early game.
The tips are practical and easy to follow.
This guide answered the exact question I had.