
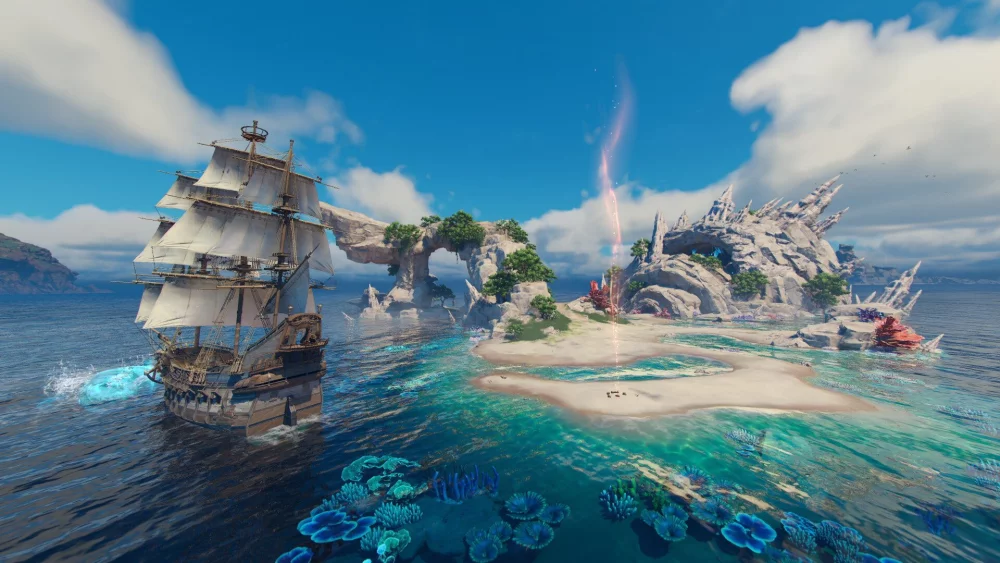
In Sea of Remnants, Orbtopia is far more than a scenic backdrop; it is the strategic heart of your operation. As the primary social and logistical hub, this pirate city serves as the essential pivot point between the chaos of the open ocean and your next mission. Successful captains do not merely "dock" in Orbtopia—they utilize its facilities to repair ships, stabilize crew morale, and acquire rare resources that determine the outcome of their next expedition.
This guide breaks down how to navigate the city’s complex infrastructure, manage your logistical downtime, and transform Orbtopia from a simple waypoint into your most powerful tactical asset.
Understanding the Logistics of Orbtopia’s Merchant Zones
Orbtopia is designed as a tiered marketplace where resource management begins the moment you step off your vessel. The city is divided into specialized zones, each catering to different aspects of fleet upkeep. To maximize your time, you must categorize your shopping list based on the merchant districts:
- The Harbor Docks: Focus on raw material procurement, such as hull plating, wood, and basic repair kits. These vendors are high-volume, low-cost options that should be cleared out before any long-haul voyage.
- The Central Plaza: Home to high-end equipment vendors and rare component traders. Their inventories often rotate based on your voyage cycles. Always check these NPCs first, as the "Best in Slot" upgrades for your ship’s cannons or navigational instruments are rarely found anywhere else.
- Black Market Alleys: Hidden in the lower tiers, these merchants deal in illicit cargo and experimental ship upgrades. While risky, they provide unique items that can bypass standard stat caps, giving you a distinct advantage in combat.
Pro-Tip: Never leave Orbtopia without checking the "Merchant Reset" timers. If your current voyage was particularly lucrative, prioritize visiting the Central Plaza immediately upon return to capitalize on your capital before the inventory cycles.
Managing Crew Morale and Combat Readiness
One of the most common mistakes players make in Sea of Remnants is ignoring the mechanical necessity of crew recovery. After intense oceanic combat, your crew accumulates fatigue and stress, which directly impacts their combat efficiency and the success rate of ship maneuvers.
Orbtopia provides dedicated social spaces that act as a "soft reset" for your party. Engaging with the tavern NPCs and rest areas is not just a narrative flourish; it is a critical maintenance step.
- The Tavern Mechanics: Interacting with specific NPCs within the tavern can trigger morale-boosting events. These events often provide temporary buffs to crew accuracy or evasion that persist for the first few encounters of your next voyage.
- Debuff Mitigation: If your crew has suffered from "Sea Sickness" or "Battle Fatigue" status effects, spending time in the city’s upper-tier resting zones is the only way to clear these negative modifiers. Failure to do this before departing will result in a significant handicap, particularly during high-difficulty boss encounters.
Mastering Vertical Navigation for Time Efficiency
Orbtopia features a complex, multi-layered vertical architecture. The city is built across various platforms, walkways, and staircases that connect the lower docks to the upper administrative tiers. Novice players often waste valuable gameplay time wandering the congested ground-level streets, but expert captains utilize the city’s verticality to shave minutes off their preparation time.
- The Dock-to-Market Shortcut: Utilize the cargo lifts located near the main harbor entrance. These lifts bypass the residential districts and drop you directly into the Central Plaza.
- Roof-Level Paths: Many of the high-end vendors have auxiliary entrances on the upper walkways. By traversing the rooftops and connecting bridges, you avoid the NPC congestion of the main thoroughfares, allowing for a much faster circuit of the city’s essential services.
- Efficiency Mapping: As your progression deepens, you will find yourself needing to visit specific vendors in a specific order (e.g., selling raw materials at the docks before buying upgraded cannons in the plaza). Mapping a "flow" through the city—moving from the bottom up—will significantly streamline your return-to-sea cycle.
Strategic Preparation: The Pre-Voyage Checklist
Before you commit to leaving the safety of the harbor, you must treat your final moments in Orbtopia as a formal inspection. The game creates a sharp distinction between the "safe" city environment and the "hostile" ocean. Treating your city time as a dedicated preparation phase is what separates high-level players from those who find themselves stranded at sea.
Follow this audit before every departure:
- Cargo Audit: Confirm that your cargo hold has a 20% buffer for fuel and repair materials. Never sail at maximum capacity, as you need room for loot found during your expedition.
- Status Verification: Check your crew’s morale bars in the main menu. If any member is below 70%, spend more time in the tavern.
- Gear Check: Ensure your primary support characters (like Gale) have the correct loadout for the specific biome you are visiting. Swapping your support character’s utility items while in the hub is significantly cheaper than attempting to compensate for a bad setup mid-voyage.
Why This Cycle Matters
The loop of "Voyage -> Return to Orbtopia -> Optimize -> Repeat" is the fundamental rhythm of Sea of Remnants. By mastering the logistical, social, and navigational aspects of the hub, you reduce the "downtime friction" that prevents many players from reaching the end-game content.
When you treat Orbtopia as a base of operations rather than a simple waypoint, you stop playing reactively and start playing strategically. You will find that by properly prepping your ship and crew, you can take on more dangerous routes, secure better loot, and ultimately progress through the game’s narrative with much higher efficiency. Orbtopia is not just a place to rest—it is where the next victory is forged.

Free Sea of Remnants Codes
Current active codes and how to redeem them.

Emily Johnson
Emily writes practical mobile strategy guides with a focus on resource planning, base progression, and the early decisions that shape a long-term account.
COMMUNITY
Player Comments
115 players commented on this guide.
The explanation is clear, especially for beginners.
I tried this today and it worked better than my old setup.
This saved me time in the early game.
This helped me understand strategy much better.