
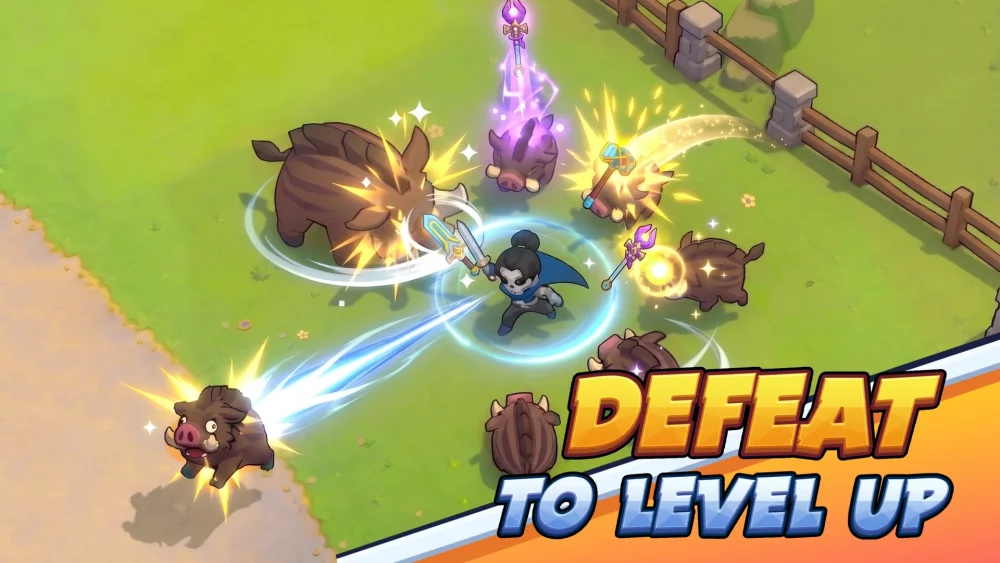
Defeating the diverse roster of bosses in Skull Hero requires more than just high-level equipment; it demands a deep understanding of unique attack telegraphs, arena management, and phase-shifting mechanics. Whether you are facing early-game gatekeepers or the final, high-intensity encounters, the difference between victory and defeat often lies in knowing when to commit to a strike and when to prioritize your survival. This guide breaks down the essential engagement tactics for major bosses to ensure you conquer the game’s mysterious lands.
Mastering Early-Game Bosses: The Ogre and Rookie Hero
Early boss encounters in Skull Hero are designed to teach you movement efficiency and the importance of recovery windows.
The Ogre
The Ogre acts as a heavy-hitting introductory boss. His attacks are slow but devastating.
- Telegraphs: Watch for the wind-up animation before his ground slam. This is his most dangerous move because it covers significant area.
- Strategy: Never jump when the Ogre slams; his hitboxes often catch you mid-air. Instead, dash behind him.
- Recovery Windows: Only commit to your full skill rotation after the ground-slam animation finishes. This is his longest vulnerable period.
The Rookie Hero
Unlike the Ogre, the Rookie Hero is agile and focuses on closing the gap.
- Movement: Avoid staying in the center of the arena. Use the stage’s verticality to force him to reposition.
- Defensive Swapping: If you find yourself cornered by his rapid sword combos, use your swap skill. The invincibility frames (i-frames) provided by the swap will allow you to pass through him and reach a safer zone.
- Visual Cues: Always look for the glint on his weapon before he initiates a combo. If you see the flash, prepare to dash immediately.
Crowd Control and Spatial Awareness: Elder Ent and Vanger
As you progress, bosses begin to utilize the arena to restrict your movement.
The Elder Ent
This fight is less about direct combat and more about managing the battlefield.
- Minion Priority: The Ent summons environmental obstacles and minions. Clear these immediately. If you leave them up, you will eventually be "sandwiched" between the Ent’s sweeping branches and projectile attacks.
- Burst Phase: The Ent’s core is vulnerable only when it retracts its limbs. Save your high-cooldown skills for this specific window to maximize your damage output.
Vanger
Vanger represents a shift toward high-speed, projectile-heavy combat.
- Baiting Tactics: Stay near the periphery of the arena. This baits Vanger into jumping toward you. Once he lands, he is stationary for a brief moment—that is your window to strike.
- Avoid Long Animations: Do not commit to long-cast skills while Vanger is in the air. If you are mid-animation when he lands, you will likely take counter-damage.
Managing Phase Transitions and Late-Game Hazards
Late-game bosses in Skull Hero are characterized by their multi-phase transformations. Once a boss drops below 50% health, they typically gain a new, more aggressive set of attack patterns.
- Invulnerability Windows: During phase transitions, bosses are often invulnerable. Do not waste your skills or mana during these moments. Instead, use this time to reset your positioning and observe the boss’s new movement cues.
- The Swap Gauge: Your swap gauge is your most vital defensive resource. If a boss triggers a screen-wide ultimate ability that you cannot outrun, use your swap to trigger i-frames.
- Prioritize Survival: When a boss enters their "enrage" phase, they often output more damage than your health pool can sustain. Avoid the temptation to "greed" for extra damage. It is better to dodge for five extra seconds than to die while trying to finish a boss off.
Strategic Loadouts: Burst vs. Sustain
Your success against a boss often starts before the fight begins. Choosing the right "skull" or loadout is a strategic decision that depends on your current mastery of the boss.
Burst-Damage Loadouts
- When to use: Use these when you are confident in your ability to dodge. Burst skulls allow you to deal massive damage in short windows, effectively skipping the most dangerous parts of a boss's phase transitions.
- Risk: These loadouts often lack defensive utility, making them high-risk if you miss your timing.
Sustain-Focused Loadouts
- When to use: Ideal for learning new bosses. These loadouts often include shields, healing over time, or damage reduction.
- Benefit: While the fight will take longer, the increased survivability gives you more time to study the boss’s patterns. Use this to your advantage; once you know the telegraphs, you can switch back to a higher DPS build for faster farming.
Common Mistakes to Avoid
- Over-committing: The most common cause of death is finishing a combo while the boss is already starting their next attack. Always leave yourself a "dash" worth of stamina or cooldown space.
- Ignoring the Minions: Players often hyper-focus on the boss and ignore the adds. In Skull Hero, chip damage from minions is the primary reason players lose the "war of attrition" during long boss fights.
- Panic Swapping: Do not use your swap randomly. Save it for when you are truly trapped or need to avoid a high-damage attack. Using it early just to move across the screen often leaves you defenseless when the boss unleashes a screen-wide wipe.
By applying these strategies—prioritizing defensive i-frames, managing adds, and choosing the right loadout for your skill level—you will significantly improve your success rate in Skull Hero. Mastery is a process of observation; once you learn the rhythm of a boss’s patterns, you will find that even the most difficult encounters become predictable and manageable.

Free Skull Hero Codes
Current active codes and how to redeem them.

James Brown
James focuses on Android gaming on PC, emulator setup, controls, performance tuning, and practical troubleshooting for longer play sessions.
COMMUNITY
Player Comments
146 players commented on this guide.
Nice guide. I am checking the other Skull Hero articles next.
Good guide for Skull Hero players. The heroes part was useful.
This helped me understand heroes much better.
This guide answered the exact question I had.