
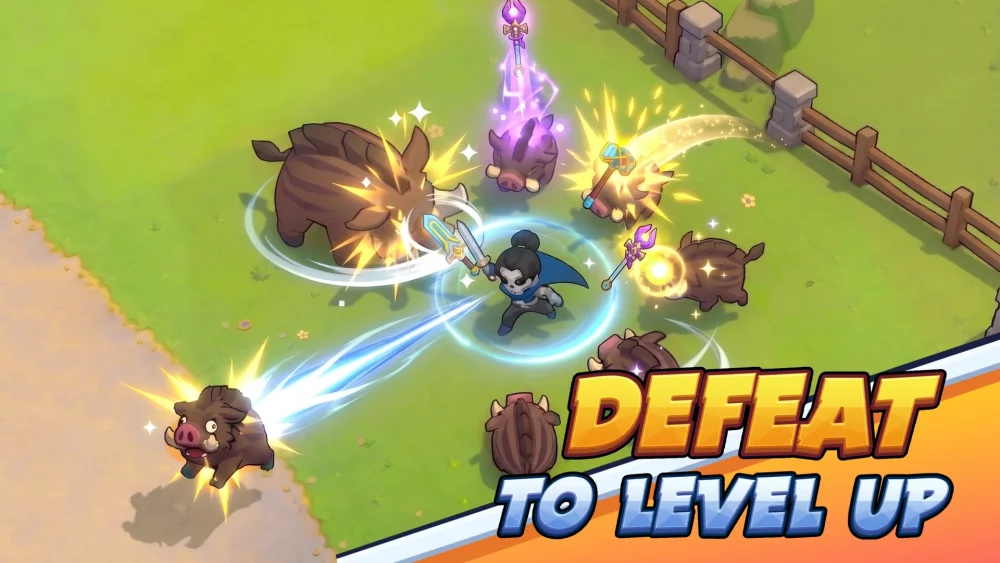
The Hunter in Skull Hero is the definitive "glass cannon" archetype, capable of trivializing even the most difficult boss encounters if played with precision. Unlike melee-focused heroes that rely on attack speed and survivability, the Hunter thrives on the "Sniper" playstyle: maintaining maximum distance to exploit innate damage scaling modifiers. To dominate with this hero, you must treat every stage like a tactical firing range, prioritizing projectile travel time and critical hit optimization.
Understanding the Hunter’s Damage Mechanics
The core of the Hunter’s power in Skull Hero is its unique distance-based damage scaling. The internal logic is straightforward: the further a projectile travels before making contact, the higher the damage multiplier applied to that hit.
- The Sweet Spot: You are not looking to fight in the center of the arena. You are looking to fight from the extreme edges.
- Projectile Velocity: While it may seem counterintuitive, some gear that increases projectile speed can actually be a hindrance if it reduces the "travel time" required to hit the maximum distance multiplier. Always prioritize raw distance-based items over velocity.
- Piercing Potential: Because the Hunter’s primary shots often pierce through multiple enemies, a single well-placed sniper shot can clear an entire corridor of mobs if you are positioned correctly at the end of the map.
Prioritizing Critical Hit Synergies
In Skull Hero, scaling your damage is not just about raw power; it is about consistency. Because the Hunter relies on high-impact, deliberate shots rather than rapid-fire patterns, your critical hit chance is your most valuable secondary stat.
- Flat Crit vs. Multipliers: Early in the run, prioritize items that offer flat "Critical Hit Chance" percentages. Once you have crossed the 40–50% threshold, pivot your itemization toward "Critical Hit Damage" to ensure your long-distance shots are hitting for lethal numbers.
- Synergy Gear: Look for items labeled as "Sniper" or "Long-Range" gear. These items often possess unique triggers that grant bonus damage when an enemy is at least two-thirds of the screen away from you.
- The "Slow but Deadly" Rule: Avoid items that grant high attack speed at the cost of damage per hit. The Hunter’s mechanics favor heavy, single-instance damage numbers. If you are forced to choose between 20% attack speed and 10% damage, always take the damage.
Tactical Positioning and Map Awareness
The Hunter is the most vulnerable character when forced into melee range. If an enemy closes the gap, your effectiveness drops significantly, as your distance-based scaling is nullified.
- Kiting and Retreating: Never stand still. Your movement should be a constant cycle of firing, dashing, and retreating. Always move toward the corner of the map that provides the longest line of sight.
- The "Reset" Strategy: If a boss or a wave of mobs forces you into a corner, use your utility skills to reposition instantly. Do not try to "tank" your way out. If you find yourself surrounded, your positioning has already failed. Use defensive dashes or crowd-control skills to create a "no-man's-land" between you and the enemy.
- Trap Navigation: In stages with traps, the Hunter is actually at an advantage. Because you can engage from the opposite side of the screen, you can often bait enemies into walking through floor spikes or trigger hazards while you remain safely at distance.
Managing Cooldowns for Survivability
Your cooldown management should be focused exclusively on utility. Since the Hunter has lower baseline health, you cannot afford to waste your escape skills.
- The Escape Reserve: Keep at least one mobility or crowd-control skill off cooldown at all times. This is your "panic button." If a boss executes an area-of-effect attack or a fast-moving mob closes the distance, this skill is the only thing that will prevent a run-ending mistake.
- Skill Rotation: Initiate encounters with your highest-damage cooldowns, then transition into standard shots while waiting for the cooldowns to refresh. This creates a rhythm of burst-damage followed by sustained long-range pressure.
Addressing Strategic Limitations
The Hunter is not a universal solution for every map layout.
- Cramped Environments: In narrow, vertical, or highly cluttered maps, the Hunter struggles. If you find yourself in a room where you cannot maximize your distance, rely on your secondary skull or items that provide area-of-effect (AoE) status effects like burn or poison.
- The Glass Cannon Dilemma: You will likely take high damage if you get hit. If you find your runs ending prematurely, sacrifice one "damage-only" item for an item that provides a "Shield on Dash" or "Damage Reduction at Distance." A dead sniper deals zero damage; sometimes, a minor defensive investment yields a higher overall success rate than pure offense.
Expert Tips for Boss Encounters
Bosses in Skull Hero are the ultimate test of your spacing. When facing a boss:
- Identify the Firing Lanes: Every boss arena has a "safe" zone. Find it early in the fight.
- Telegraph Reading: Because you are far away, you have a better view of the boss's animations. Use this visual advantage to dodge patterns before they reach you.
- Prioritize Target Selection: If a boss summons minions, ignore them unless they are blocking your line of sight to the boss. Your goal is to maximize the distance multiplier on the boss itself.
By focusing on these principles—maintaining extreme distance, stacking crit damage, and treating your movement skills as life-saving cooldowns—you will master the Hunter and make short work of the challenges Skull Hero throws your way.

Free Skull Hero Codes
Current active codes and how to redeem them.

Michael Smith
Michael covers live-service games, events, reward systems, and efficient daily routines, turning frequent updates into clear actions for players.
COMMUNITY
Player Comments
109 players commented on this guide.
This saved me time in the early game.
I wish I had read this before upgrading the wrong thing.
Nice guide. I am checking the other Skull Hero articles next.
I tried this today and it worked better than my old setup.