
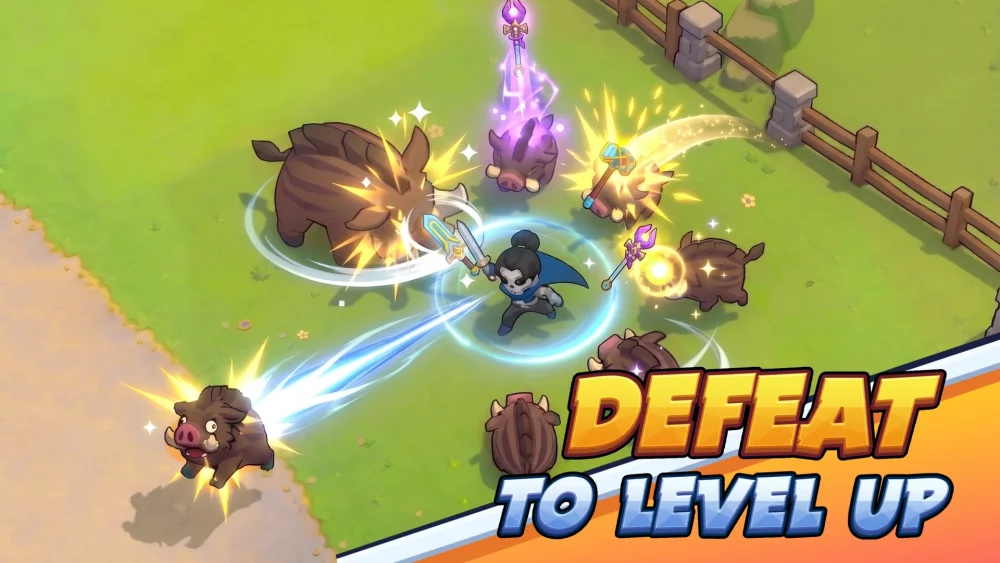
In Skull Hero, your early-game success is defined not by finding the rarest gear, but by mastering the foundational combat styles of your starting skeleton forms. While many players rush to find legendary skulls, the basic Spear, Sword, and Shield variants provide the essential mechanical training required to survive the game’s increasingly difficult monster waves. By understanding the specific hitboxes, attack recovery frames, and defensive utility of these three archetypes, you can maximize your damage output and survivability, setting a solid foundation for your hero's progression.
The Spear Skeleton: Precision and Spacing
The Spear Skeleton is the premier tool for players who prioritize safety and control. In Skull Hero, where being surrounded often leads to a quick death, the spear’s primary utility is its linear thrust. Unlike melee weapons that require you to step into an enemy's danger zone, the spear allows you to poke from a distance.
Tactical Mechanics
- Linear Hitboxes: The spear’s attack is narrow. While this requires more precise aiming than a wide-swinging sword, it is highly effective at piercing through enemy lines.
- Kiting Strategy: Always utilize the edge of your screen. Initiate a thrust, then immediately dash backward or sideways. This "poke-and-retreat" rhythm allows you to thin out enemy hordes without ever taking chip damage.
- Crowd Control: Use the spear’s knockback to push enemies into traps or against walls, where they become easier targets for follow-up attacks or environmental damage.
The Sword Skeleton: Aggression and DPS
The Sword Skeleton is designed for high-frequency damage. It is the most efficient form for clearing out weak minions before they can cluster, making it an essential tool for maintaining momentum during fast-paced encounters.
Maximizing Combo Potential
- Animation Canceling: You can weave short dashes between your sword strikes. This not only keeps you mobile but also resets your positioning, ensuring you don't get stuck in a long attack animation while an enemy prepares a counter-attack.
- Staggering Enemies: Because the sword offers rapid multi-hit combos, you can often stagger enemies before they finish their own attack animations. If you see an enemy starting a wind-up, aggressive sword play can interrupt them entirely.
- Finisher Awareness: Always commit to the final hit of your sword combo, which typically deals higher damage and provides significant knockback. Use this to clear space when you find yourself overwhelmed by melee mobs.
The Shield Skeleton: Defensive Stability
The Shield Skeleton is the most tactical form in your starter kit. It acts as a damage-mitigation engine, allowing you to survive encounters that would otherwise deplete your health pool.
Defensive Cycling
- The Block-Retaliate Loop: Hold your ground against incoming projectiles or lunges. Once the enemy strikes your shield, they are often left in a vulnerable recovery state. Immediately drop the shield and counter-attack during this window.
- Safety Net Swapping: Keep the Shield Skeleton as your secondary slot. If you find yourself caught in a "bullet hell" segment or surrounded by elite mobs, swap to the Shield to weather the incoming damage while you reposition.
- Tanking Bosses: When facing early-game bosses, use the Shield to safely learn their attack telegraphs. Once you understand the rhythm, you can swap to a higher-damage skeleton to punish their missed attacks.
Optimizing Swap Rotations
The true skill in Skull Hero lies in how you combine these forms. You should never treat your skeletons as isolated units; instead, view them as a combined combat suite. Mastering the "Swap Rotation" is the key to high-level play.
Strategic Swap Combinations
| Rotation | Intended Purpose |
|---|---|
| Shield to Sword | Use the Shield to block an attack, then swap to the Sword to punish the staggered enemy for maximum DPS. |
| Spear to Shield | Use the Spear to kite at range, then swap to the Shield if you need to close the distance or survive a projectile volley. |
| Sword to Spear | Use the Sword to clear surrounding mobs, then swap to the Spear to reset your position and poke enemies from a safer distance. |
Why These Basics Matter for Progression
New players often wonder why they should invest time in these basic forms when powerful, specialized skulls exist. The answer lies in mechanical mastery.
- Hitbox Manipulation: These base forms have simple, predictable hitboxes. Learning to land hits with the Spear prepares you for more complex, long-range weapons later in the game.
- Resource Management: By mastering these forms, you will take less damage in the early stages, allowing you to save your health potions and currency for the tougher late-game bosses.
- Transitioning Builds: As you progress, you will naturally replace these basic forms with rarer skulls. However, the habits you form—like dash-canceling with the sword or kiting with the spear—are universal skills that apply to every high-tier character in Skull Hero.
Common Mistakes to Avoid
- Overcommitting to Combos: Especially with the Sword, players often try to force a full combo while an enemy is winding up a heavy attack. If you aren't sure you can stagger the enemy, prioritize dodging over finishing the combo.
- Neglecting the Shield's Passive: The Shield isn't just for blocking; it’s for creating breathing room. Don't be afraid to swap to it just to reposition, even if no major attack is incoming.
- Ignoring Weapon Reach: Trying to use the Spear like a Sword is a common error. Always be mindful of your weapon’s range; if you are standing too close, you lose the primary advantage of the Spear.
By focusing on these mechanical foundations, you ensure that even when you reach the challenging mid-game stages of Skull Hero, you have the fundamental skills to adapt to any legendary skull or build path you encounter. Treat these basic skeletons as your training school, and you will find your survival rate and boss-clearing efficiency improving significantly.

Free Skull Hero Codes
Current active codes and how to redeem them.

Emily Johnson
Emily writes practical mobile strategy guides with a focus on resource planning, base progression, and the early decisions that shape a long-term account.
COMMUNITY
Player Comments
148 players commented on this guide.
The tips are practical and easy to follow.
Good guide for Skull Hero players. The early game part was useful.
This helped me understand early game much better.
Nice guide. I am checking the other Skull Hero articles next.