
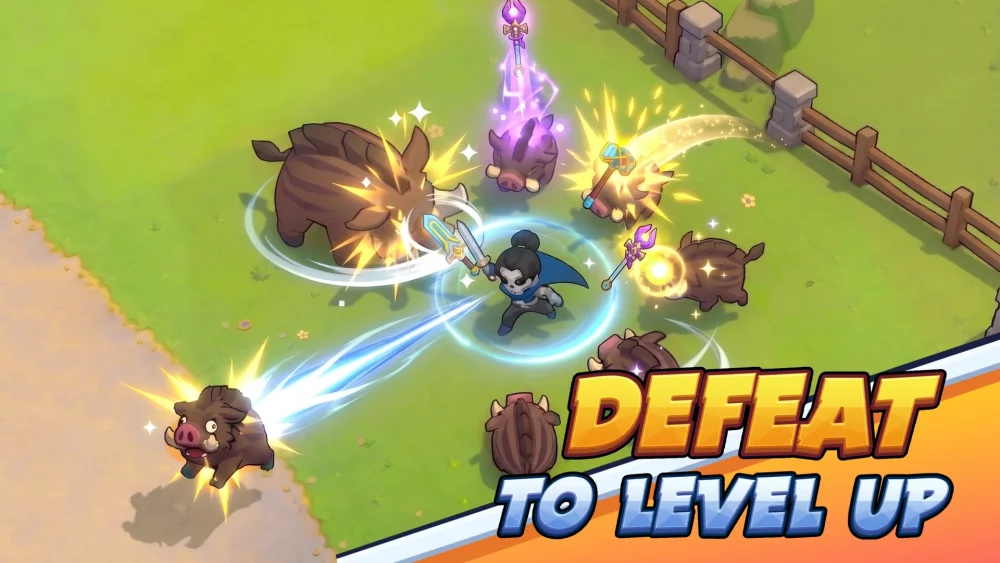
Defeating the final bosses in Skull Hero does not always require high-intensity melee combos or frame-perfect parries. Players can achieve consistent, low-risk victories by utilizing the Dwarf skull’s turret-summoning abilities. By shifting the focus from direct engagement to tactical zone control, you can turn the boss arena into a gauntlet of automated damage. This "turret-only" strategy is ideal for players who prefer a methodical, defensive playstyle, allowing you to prioritize movement and survival while your turrets whittle down the boss's health pool from a distance.
Understanding the Dwarf Turret Mechanics
The core of this strategy relies on the Dwarf’s unique ability to deploy stationary turrets that fire automatically at nearby threats. Unlike standard melee skulls that require you to commit to dangerous attack animations, the Dwarf allows you to "outsource" your damage output.
When you activate your skills, you are placing an entity that persists for a fixed duration. The goal is to ensure that these entities are active as close to 100% of the time as possible. Because the turrets fire independently, you can focus your cognitive load on reading boss telegraphs and navigating traps rather than worrying about your own attack windows. To master this, you must view the Dwarf not as a primary combatant, but as an engineer managing a defensive perimeter.
Tactical Positioning and Arena Management
In Skull Hero, success is often determined by your control over the arena. With the turret build, you are not just fighting the boss; you are terraforming the battlefield into a "kill zone."
- The Perimeter Strategy: Avoid placing all your turrets in the center of the arena. If the boss moves, a centralized cluster becomes useless. Instead, spread your turrets across the platforms or edges of the floor. This forces the boss to take damage regardless of where they dash or teleport.
- Kiting for Damage: Always position yourself so that the boss is standing between you and your turrets. This creates a crossfire effect. As you move to dodge boss attacks, you are naturally leading the boss into the line of fire of your pre-placed artillery.
- Cornering Tactics: Utilize the edges of the room to trap the boss. If you place a turret near a wall, the boss is often forced to stay within its firing arc for longer durations before they can dash out of range.
Scaling Turret Damage: The Essential Stats
While the Dwarf provides the foundation, your late-game viability depends entirely on your gear. Because turrets count as "Magic Damage" sources, you must build accordingly to prevent your damage from falling off during the final boss encounter.
Prioritizing Magic Attack
Any gear that provides a percentage increase to Magic Attack is top-tier for this build. Every projectile fired by your turrets scales off this stat. Aim for items that provide flat Magic Attack bonuses or those that grant buffs upon skill usage.
The Necessity of Cooldown Reduction
Cooldown Reduction (CDR) is the single most important stat for a turret-focused build. If your skills are on cooldown, you have zero damage output. You need to reach a threshold where, by the time your first turret expires, your skill charge is already ready to place a new one.
- Search for CDR gear: Look for items that grant "Skill Cooldown Speed."
- Skill Charges: Items that grant an additional charge to your skills are invaluable. Having two or three charges ready allows you to "burst" your turret setup at the start of a boss phase, ensuring maximum pressure immediately.
Strategic Trade-offs and Combat Limitations
While the turret build is arguably the safest way to clear Skull Hero, it is not without its drawbacks. Understanding these limitations is key to not getting discouraged when a boss fight takes longer than expected.
- Lower Burst Potential: You lack the massive, instant-damage output of specialized melee builds. This turns boss fights into a test of patience. You must be comfortable with longer encounter durations.
- Destructible Structures: Some bosses have area-of-effect (AoE) attacks that can destroy your turrets. If you rely too heavily on a single cluster, a well-placed boss slam can wipe your entire damage output in one second. Always keep your turrets spaced out to mitigate this risk.
- The "Dead Zone": There is a transition period between when a turret expires and when you can place a new one. If you are caught in this window, you are essentially a vulnerable hero with no way to retaliate. Master the art of "safe movement" during these gaps.
Optimal Execution for Final Bosses
When you reach the final boss of Skull Hero, your mindset should be one of "controlled attrition." Do not rush the center of the arena to get more hits in; your turrets will do the work for you.
- Phase Monitoring: Observe the boss's phases. If the boss enters a "bullet hell" phase or a phase where they move rapidly across the screen, prioritize your survival over re-placing turrets. It is better to have one turret active while you stay alive than to take damage trying to set up a full array.
- Synergy Check: If you find items that trigger effects on "Skill Usage" (such as spawning additional projectiles or dropping bombs), prioritize these. They turn your turret placements into multi-layered damage events.
- Patience is Your Weapon: The final boss has a large health pool, and your damage will feel like a steady trickle rather than a massive splash. Trust the math. As long as you are keeping your turrets active and avoiding damage, the boss will inevitably fall.
By mastering the rhythm of the Dwarf’s turret deployment, you remove the chaos from Skull Hero’s most difficult encounters. This build rewards careful planning, intelligent gear selection, and disciplined movement, providing a reliable path to victory for any player willing to play the long game.

Free Skull Hero Codes
Current active codes and how to redeem them.

Emily Johnson
Emily writes practical mobile strategy guides with a focus on resource planning, base progression, and the early decisions that shape a long-term account.
COMMUNITY
Player Comments
107 players commented on this guide.
This guide answered the exact question I had.
This saved me time in the early game.
The tips are practical and easy to follow.
The explanation is clear, especially for beginners.