
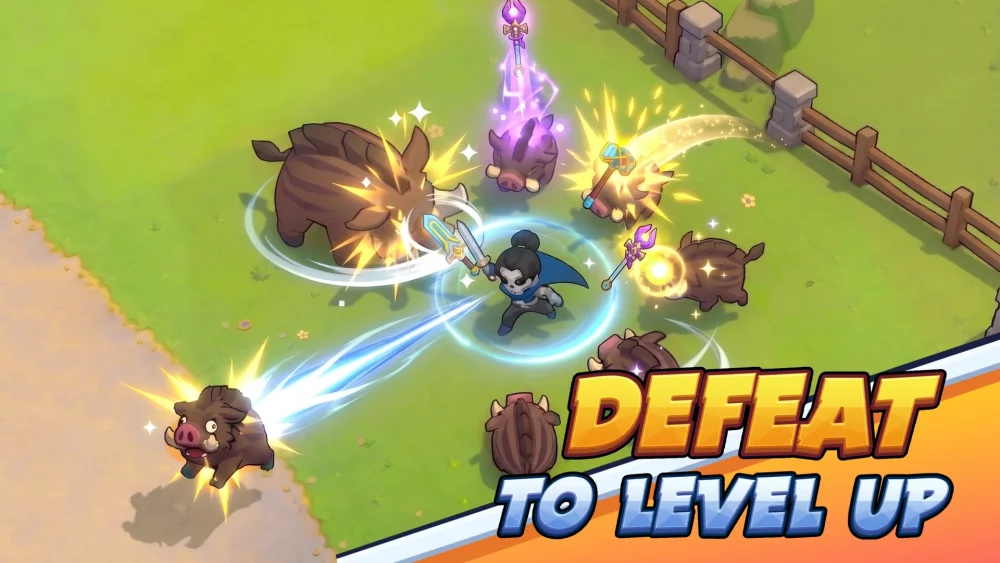
To excel in Skull Hero, you must move beyond basic attacks and treat head-swapping as the engine of your combat strategy. In this action-focused adventure, your ability to rotate between different skull forms is not merely a utility feature; it is a mechanical requirement for overcoming high-stakes monster waves and grueling boss encounters. By mastering the specific animation frames, cooldown resets, and synergy pairings associated with swapping, you can effectively double your active combat utility and eliminate the "dead air" that often leads to defeat.
Understanding the Mechanics of the Head-Swap
At its core, the head-swap mechanic in Skull Hero allows you to switch between two distinct hero forms, each featuring unique abilities, attack speeds, and "swap-in" effects. The mistake most novice players make is treating the swap as a panic button—a way to switch when their primary health is low or a skill is on cooldown.
Expert play requires treating the swap as a DPS multiplier. Every time you swap, your incoming skull executes an "entry effect." These effects can range from wide-area crowd control (CC) to defensive shields or massive burst damage. By integrating these entry effects into your standard attack rotation, you ensure that your hero is constantly outputting damage, even while your main skill is waiting for its cooldown to expire.
Synchronizing Swap Skills for Sustained DPS
To achieve true mastery of Skull Hero combat, you must visualize your battle flow as a seamless loop. The goal is to maximize "uptime" on your most powerful abilities.
The Ideal Rotation Pattern:
- Initiate: Start with your high-damage "Main" skull and unleash your primary skill.
- Transition: The moment your primary skill animation concludes, trigger the head-swap.
- Impact: The swap-in effect from your secondary skull acts as a bridge, dealing damage or applying CC while the first skull’s cooldown begins to tick down.
- Execute: Utilize the secondary skull’s primary skill.
- Cycle: Swap back to your primary skull just as its cooldown finishes, repeating the cycle.
This rhythm minimizes downtime. In boss fights, where standing still for even a second can result in taking massive damage from patterns, this constant movement and ability cycling keeps you mobile and aggressive.
Managing Animation Frames and Mobility
Survival in Skull Hero depends on your mastery of animation frames. Every swap comes with a brief window of movement that can be used to reposition your hero. If you are surrounded by enemies, a static swap is a death sentence.
Instead, implement the "Swap-Dash-Attack" sequence. By initiating a dash immediately upon swapping, you cancel the recovery frames of the landing animation and reposition yourself to a safer or more advantageous angle. This technique serves two purposes: it makes you harder to hit by maintaining momentum, and it ensures you are always in range to land your next strike. Treat your swap not as a menu selection, but as a movement tool that provides a momentary edge in spatial positioning.
Balancing Active vs. Passive Skull Roles
Not every skull in your inventory is meant to be a primary DPS dealer. Effective Skull Hero players categorize their two active slots into a Main DPS and a Utility/Swap role.
- Main DPS Skull: Choose this for its raw damage output and high-impact long-cooldown skills. This is the skull you spend 70% of your time controlling.
- Utility/Swap Skull: Choose this for its swap-in effect. Focus on skulls that provide passive buffs upon swapping, such as temporary shields, attack speed boosts, or enemy displacement.
By pairing these roles intentionally, you stop playing reactively and start playing strategically. If your utility skull provides a shield on swap, you should save that swap for moments when you anticipate a heavy boss strike, effectively using your "swap" as a defensive cooldown while maintaining offensive pressure.
Addressing the "Stacking" Trade-off
While constant swapping is powerful, it is not always the correct approach for every build. Some skulls in Skull Hero rely on "stacking" mechanics—gaining power, speed, or damage the longer they remain on the battlefield.
If your primary build relies on a stacking buff, swapping prematurely will reset your progress and result in a significant net loss of efficiency. Before committing to a high-swap playstyle, evaluate your current equipment and skull traits:
- Check the Tooltip: Does the skull gain permanent stacks based on duration? If yes, minimize swapping unless it is an emergency.
- Assess the Swap Benefit: Is the swap-in effect powerful enough to justify losing those stacks?
- Decision Logic: If the swap-in effect is negligible, keep your stacking skull active as long as possible. If the swap-in effect offers crowd control or survival, the sacrifice of stacks is a worthwhile investment.
Strategic Resource Management
As you progress through the mysterious lands of Skull Hero, you will encounter limited resources for upgrading your skulls. The most common pitfall is spreading your upgrades too thinly across too many skulls.
To maintain a consistent power curve, focus your primary upgrades on your "Main DPS" skull. This ensures that your primary damage source remains viable against the increasing health pools of late-game monsters. Your secondary, "Utility" skull should be upgraded only as far as necessary to maintain the effectiveness of its swap-in effect. By prioritizing your resources this way, you ensure that even if you have to swap frequently, your damage output does not fall off a cliff.
Summary of Tactics for Success
Mastering Skull Hero is about transforming the head-swap mechanic from a utility feature into a tactical offensive weapon. Remember these key takeaways:
- Rhythm over Reaction: Don't swap when you are scared; swap when your abilities are on cooldown to maintain constant damage output.
- Frame Control: Use the swap animation as a movement tool, pairing it with a dash to evade incoming enemy attacks.
- Synergy Pairing: Always pair a high-damage main skull with a utility skull that provides a strong entry effect.
- Stack Discipline: Know when to hold back. If your skull gains power over time, swapping is a strategic cost, not a free benefit.
By applying these strategies, you will maximize your DPS, maintain better positioning in chaotic boss fights, and optimize your hero’s performance across all stages of the game. Practice these rotations in early stages until they become muscle memory, and you will find yourself clearing even the most difficult waves in Skull Hero with ease.

Free Skull Hero Codes
Current active codes and how to redeem them.

Sarah Williams
Sarah specializes in RPG and collection games, explaining team building, character growth, and beginner-friendly ways to avoid expensive early mistakes.
COMMUNITY
Player Comments
142 players commented on this guide.
This saved me time in the early game.
Nice guide. I am checking the other Skull Hero articles next.
Good guide for Skull Hero players. The heroes part was useful.
This guide answered the exact question I had.