
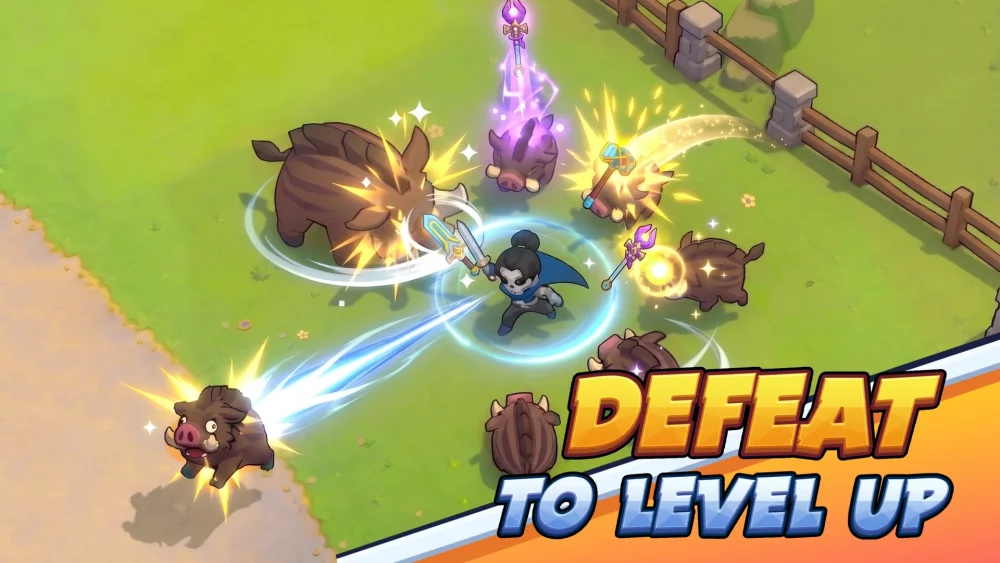
In Skull Hero, the most powerful gear often comes with a price tag: reduced health, increased damage taken, or restricted movement. These "double-edged sword" items are the key to shattering boss HP bars, but they are also the most common cause of early-run failure for unprepared players. Mastering these items is not about blindly stacking damage; it is about calculated risk management and understanding how to offset systemic weaknesses through superior build architecture.
Understanding the Mechanics of High-Risk Items
High-risk items in Skull Hero are artifacts that offer massive multipliers to your offensive output at the cost of your character's survivability. In gaming terms, these transform your hero into a "glass cannon."
The core mechanic governing these items is the Stat Trade-off. For example, an item might grant a 50% increase to physical damage while simultaneously reducing your base HP by 30%. To use these effectively, you must understand that Skull Hero combat rewards two distinct styles: sustained trading or burst-dodging. High-risk items are rarely meant for "trading" hits. Instead, they are designed to amplify the effectiveness of short, explosive combat windows where you kill the enemy before they have the chance to retaliate.
The Strategy of Mitigation: Balancing Your Stats
You should never equip a high-risk item in a vacuum. If an item imposes a penalty, your next priority must be a "Mitigation Layer." This is the practice of filling your remaining inventory slots with items that specifically counteract the drawback of your high-risk gear.
The Rule of Compensation
- Health Penalty Mitigation: If your item cuts your HP, prioritize items that grant shields or "Damage Taken Reduced" stats. A shield effectively acts as an extra health bar that isn't subject to your percentage-based HP reduction.
- Defense Penalty Mitigation: If your armor is lowered, prioritize items that grant Life Steal or HP recovery on kill. Since you are squishier, you need to regain health faster to sustain your run through monster waves.
- Movement Penalty Mitigation: If your dash speed or distance is reduced, you must compensate with items that grant crowd control (CC) effects. If you cannot dodge effectively, you must ensure the enemies are frozen, slowed, or stunned before they can reach you.
Tactical Implementation: When to Equip
Timing is everything in Skull Hero. You do not need to hold onto a high-risk item from the start of the game. Many veteran players utilize a "Swap Strategy" to maximize efficiency.
- The Exploration Phase: During standard stage clearing, prioritize survivability and sustain. Avoid high-risk items that make you vulnerable to chip damage from small mobs.
- The Boss Threshold: Just before entering a boss room, swap your non-essential utility gear for your high-risk offensive artifacts.
- The Burst Window: Because boss fights have predictable patterns, you can mitigate the risk of your low HP by utilizing your hero’s invulnerability frames (i-frames) during dodges. By shortening the fight with massive DPS, you minimize the time you spend in danger.
Building for Synergy, Not Just Power
A common trap for intermediate players is "Stat Overloading." This happens when you equip too many high-risk items, resulting in a character that dies to a single stray projectile. To maintain build cohesion, follow the 2-to-1 Build Ratio:
For every two offensive high-risk items equipped, you must dedicate at least one slot to a purely defensive or utility item. This ratio ensures that even if you miss a dodge, your run doesn't immediately end.
Pro-Tip: Look for items that share keywords or "families." In Skull Hero, items that boost "Critical Damage" often have specific counterparts that provide "Critical Rate." Pairing a high-risk Crit Damage item with a low-risk Crit Rate item provides a more stable power spike than doubling down on two high-risk items that both reduce your health.
Avoiding Common Pitfalls
Even with the best planning, some situations are death traps for high-risk builds. You must be able to recognize when to abandon a high-risk strategy:
- The Low-Mobility Skull: If your currently equipped Skull has a slow dash or long animation recovery, do not use items that reduce your movement speed. Your movement is your primary defense; if you lose that, the damage bonus will never pay off.
- Early Game Fragility: In the early stages, your base stats are low. High-risk items are percentage-based multipliers. A 50% reduction on a low health pool is effectively a death sentence. Save these items for the mid-to-late game when your base stats have scaled enough to survive the penalty.
- Ignoring Crowd Control: If you are running a glass-cannon build, you cannot afford to get surrounded. If your inventory lacks items that provide Area-of-Effect (AoE) clearing, you will eventually get cornered by a wave of monsters, regardless of how high your damage output is.
Mastering the "Flow" of Combat
Finally, high-risk item builds demand a change in your cognitive approach to the game. You are no longer playing to "survive"; you are playing to "delete."
When you commit to these items, you must aggressively hunt for the most dangerous enemies first. Because you are fragile, the "trash mobs" are now just as deadly as the elites. Use your skills to maintain distance, rely on your i-frames during boss telegraphs, and constantly assess if your current defensive layering is sufficient for the stage you are entering.
By treating high-risk items as a modular part of your kit rather than a permanent stat-stick, you unlock the highest potential of your hero. Remember: the goal isn't just to deal damage—it's to deal enough damage that the enemy never gets a chance to test your newfound fragility.

Free Skull Hero Codes
Current active codes and how to redeem them.

Emily Johnson
Emily writes practical mobile strategy guides with a focus on resource planning, base progression, and the early decisions that shape a long-term account.
COMMUNITY
Player Comments
91 players commented on this guide.
Nice guide. I am checking the other Skull Hero articles next.
The tips are practical and easy to follow.
This saved me time in the early game.
I tried this today and it worked better than my old setup.