
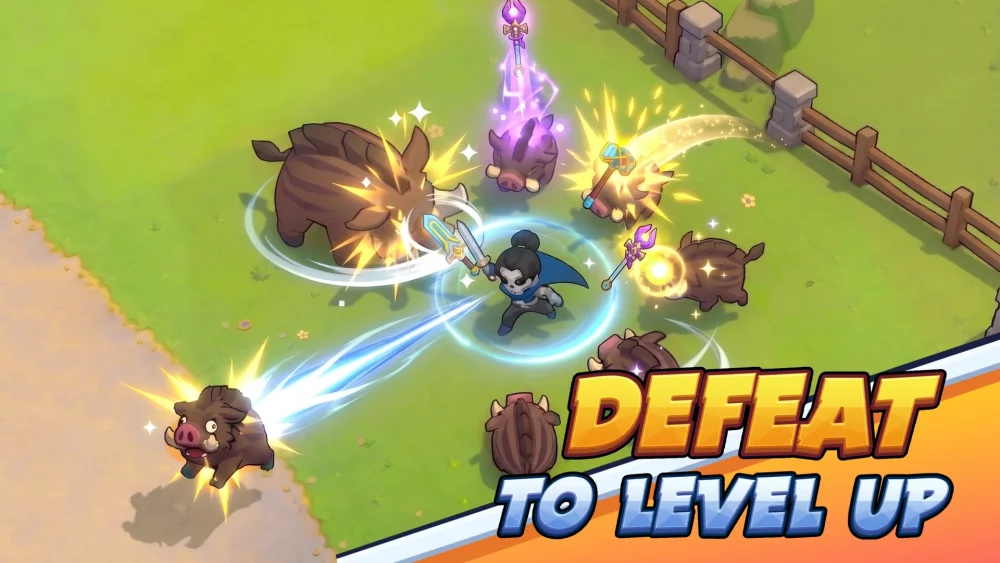
Conquering Floor 40 of the Skull Tower in Skull Hero is widely considered the ultimate test of player skill and build optimization. This floor represents a massive difficulty spike, characterized by overwhelming monster density, high-damage elite enemies, and complex environmental traps. To succeed, you must move away from "button-mashing" tactics and embrace a disciplined, summon-focused strategy using the Necromancer class, supported by the critical healing utility of the Nurse.
Understanding the Necromancer’s Role in Tower Scaling
In the high-stakes environment of Floor 40, the Necromancer stands out as the premier choice due to its ability to manipulate the battlefield from a safe distance. Unlike melee-heavy classes that risk immediate deletion upon contact with floor-40 elites, the Necromancer acts as a commander.
Your primary objective is "screen saturation." You want to keep your minion count at the maximum cap at all times. This serves a dual purpose:
- Aggro Management: Summons act as a living wall, drawing the AI’s focus away from your character.
- DPS Consistency: By maintaining a constant stream of minions, you ensure that even when individual units fall, your overall damage output remains high enough to chip away at the massive health bars of the floor's bosses.
To optimize this, focus your gear on "Summon Duration" and "Cooldown Reduction." If your minions remain on the field longer, you spend less time in the vulnerable animation frames of summoning new ones, allowing you to focus entirely on movement and positioning.
The Essential Nurse Synergy for Endurance
Survival on Floor 40 is a game of attrition. Even the most skilled players will eventually take stray damage from environmental hazards or area-of-effect (AoE) attacks. This is why the Nurse is mandatory for any serious push.
The Nurse provides the necessary sustain to recover from "chip damage"—the small, incremental hits that add up to a failed run. When playing this duo:
- Protect the Support: The Nurse should never be on the front line. Position her in the "dead zones" of the map—areas where enemy pathing is unlikely to reach.
- Aggro Swapping: If an elite enemy locks onto the Nurse, immediately reposition your Necromancer and summon a new wave of minions between the enemy and the Nurse to force a change in targeting.
- Healing Timing: Do not wait until your health is critical to retreat toward the Nurse. Use her healing range as your designated "safe zone" for recharging your own health bar while your army holds the line.
Managing Aggressive Enemy Patterns
The enemies on Floor 40 are programmed to close the gap rapidly. If you stand still, you will be surrounded in seconds. Your movement strategy must be circular: kite enemies into a single, manageable cluster.
- Bottlenecking: Utilize the geometry of the Skull Tower. Whenever possible, lure large waves into narrow corridors. This forces enemies into a single file line, allowing your Necromancer’s summons to strike them simultaneously while limiting the number of enemies that can attack you at once.
- Telegraph Recognition: Watch for the specific "wind-up" animations of elite monsters. These attacks often have a long recovery time. Once you see the telegraph, stutter-step your character out of the area, then immediately send your minions in to capitalize on the enemy's recovery window.
- Trap Awareness: Floor 40 features floor-based traps that can slow or stun you. If you get stunned, your summons will continue to fight, but you will lose control of the encounter. Always prioritize trap avoidance over landing an extra hit.
Strategic Trade-offs and Build Limitations
No build is perfect, and the Necromancer has distinct weaknesses that you must mitigate:
- The Burst Damage Gap: The Necromancer lacks the instant, screen-clearing burst of a Mage or the raw single-target DPS of a Warrior. If the floor timer is tight, you may find yourself struggling to finish off bosses. To counter this, ensure your gear includes "Attack Speed" or "Summon Damage %" modifiers.
- AI Dependency: Your damage is only as good as your summon AI. If your minions get stuck on terrain or fail to focus the boss, you must manually reposition them. Get used to tapping your movement and skill buttons in tandem to "reset" the AI's target lock.
Advanced Tips for Tower Success
Preparation is the final barrier between a failed run and a clear. Before entering Floor 40, audit your character’s stats:
- Max Leveling: Do not attempt Floor 40 unless your Necromancer and Nurse are at the current level cap. The raw stat difference is too great to overcome with skill alone.
- Synergy Gear: Look for items that provide bonuses when minions are active. Even if a piece of gear has lower raw stats, the utility of a "10% damage boost per active summon" will far outweigh a flat health increase.
- Adaptability: The Korean server version of Skull Hero is often the testing ground for balance updates. If developers patch summon health, you must shift your playstyle to be more defensive. Never rely on a single "invincible" tactic; always have an exit strategy if your summons are wiped out.
By treating the Necromancer-Nurse duo as a single, cohesive unit rather than two separate characters, you can systematically dismantle the threats on Floor 40. Focus on the rhythm of the game: summon, position, support, and repeat. With patience and mechanical discipline, you will clear the most challenging floors Skull Hero has to offer.

Free Skull Hero Codes
Current active codes and how to redeem them.

James Brown
James focuses on Android gaming on PC, emulator setup, controls, performance tuning, and practical troubleshooting for longer play sessions.
COMMUNITY
Player Comments
157 players commented on this guide.
This saved me time in the early game.
The explanation is clear, especially for beginners.
Can you add more details about heroes in a future update?
The tips are practical and easy to follow.