
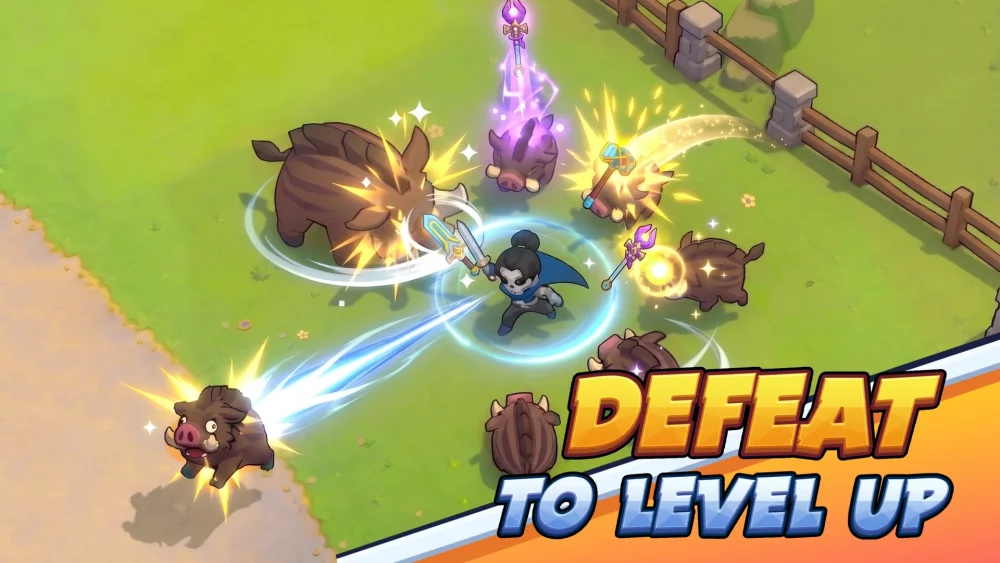
Clearing Stage 3 in Skull Hero represents a significant difficulty spike that separates novice players from seasoned adventurers. This stage moves away from the forgiving, simple encounters of the early game and introduces complex, overlapping projectile patterns and high-density mob waves. To succeed, you must move beyond raw damage output and adopt a philosophy of tactical survival, prioritizing disciplined movement and strategic resource management over reckless aggression.
The Shift in Strategy: From Aggression to Tactical Positioning
In the first two stages of Skull Hero, you can often clear rooms by simply rushing into the fray. Stage 3 punishes this behavior severely. The environment introduces traps and enemies with "tracking" projectiles, meaning if you stay in one place, you will be hit.
To survive, you must master the art of the "kiting" loop:
- Draw enemies into a cluster: Move to one side of the screen to pull melee units into a tight group.
- Rotate and reposition: Use your dash to move to the opposite side of the screen, creating a clear line of fire.
- Focus fire: Deploy your area-of-effect (AoE) skills only when the enemies are tightly packed. This maximizes your DPS and minimizes the time you spend exposed.
Avoid the "corner trap." Players often end up against the edge of the screen, limiting their ability to dash away from incoming hazards. Always try to keep your character in the center-third of the arena, providing you with 360-degree mobility options.
Managing Cooldowns for High-Pressure Waves
Cooldown management is the silent killer in Stage 3. It is tempting to use your most powerful skills the moment they become available, but in this stage, you must treat your abilities as defensive tools rather than just offensive ones.
The Rule of Two: Never expend all your movement or crowd-control skills simultaneously. Always keep at least one mobility-based skill off cooldown. If a sudden wave of traps or a boss projectile pattern appears, that single available dash is your only insurance policy against taking heavy damage.
Synergy Procs: If your hero build relies on items that grant invincibility frames or damage buffs upon skill activation, do not fire them blindly. Save these for the "climax" of each screen—the moment when the most dangerous enemies spawn. By timing your procs, you can effectively "tank" through damage-heavy segments that would otherwise force you to retreat.
Navigating Complex Enemy Densities
Stage 3 introduces enemies that utilize "area denial." These are units that leave fire on the ground or create persistent bullet-hell fields. When these enemies are paired with melee units, your screen becomes a puzzle of movement.
- Identify the Threat Hierarchy: Always target ranged "artillery" enemies first. Their projectiles are the primary cause of interrupted movement and health loss.
- Use Verticality: Many Stage 3 arenas feature platforms. If you are overwhelmed, jump. Many enemy projectiles in this stage are horizontal; being on a different elevation level often makes you untouchable.
- Exploit Recovery Frames: Wait for enemies to finish their attack animations. In Skull Hero, almost every enemy has a brief "recovery" window after a heavy attack. Use this specific window to unload your damage, then immediately dash away before they begin their next sequence.
The Stage 3 Boss Encounter: A Test of Discipline
The boss of Stage 3 is a gatekeeper that demands rhythm and patience. It does not rely on a single "instant kill" move, but rather on sustained pressure that wears down your health pool if you panic.
Phase 1: The Pattern Identification
The boss begins with telegraphed attacks. Use this phase to learn the boss’s "wind-up" animations. Before every major projectile wave, there is a visual cue—a flash of light or a specific stance. Learn these cues; they are your warning to stop attacking and start dodging.
Phase 2: The Bullet-Hell Transition
When the music shifts or the arena background changes, the boss will transition into its chaotic phase. During this time:
- Stop chasing: Do not try to land your full combo. Get one or two hits in, then focus entirely on dodging.
- Watch your feet: Players often get "tunnel vision," looking at the boss's health bar or the boss model. Keep your eyes centered on your hero. As long as you can see the projectiles around you, you can react to them.
- Prioritize Survival: It is better to have a fight that lasts two minutes longer than to risk a reset because you were greedy for damage.
Common Mistakes to Avoid
- Panic Dashing: Using your dash as soon as you see a projectile is a trap. Often, the boss or enemy will lead their shot toward where you are dashing. Wait until the projectile is close, then dash through the hitbox or away from the trajectory.
- Ignoring Item Synergies: If your current build isn't working for Stage 3, check your item loadout. You may need to swap a pure-damage item for something that offers life-steal or a defensive shield.
- Static Play: Staying in one corner or relying solely on basic attacks will result in being overwhelmed by the sheer volume of enemies. You must remain fluid and constantly changing your location.
Conclusion
Stage 3 is where Skull Hero rewards the player for their knowledge of game mechanics rather than just fast reflexes. By prioritizing defensive positioning, maintaining at least one escape skill, and respecting the boss’s attack cycles, you will find that the chaos of the third stage becomes manageable. Focus on the rhythm of the encounter, keep your movement deliberate, and remember that in a game of attrition, the player who remains calm is the player who survives to reach the final stages.

Free Skull Hero Codes
Current active codes and how to redeem them.

Emily Johnson
Emily writes practical mobile strategy guides with a focus on resource planning, base progression, and the early decisions that shape a long-term account.
COMMUNITY
Player Comments
89 players commented on this guide.
This saved me time in the early game.
This guide answered the exact question I had.
This helped me understand heroes much better.
The explanation is clear, especially for beginners.