
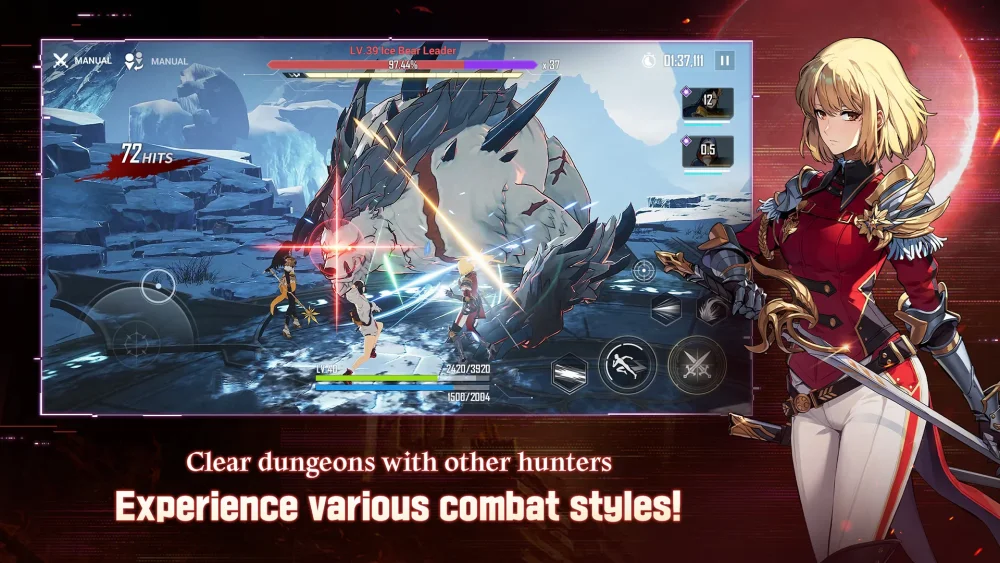
Conquering Nightmare Difficulty 3 in Solo Leveling:Arise requires precise execution of character rotations and an understanding of how to maximize damage output across different combat scenarios. By utilizing specific units like the Shadow Monarch, players can bypass traditional bottlenecks without relying on revives. This guide focuses on the mechanical requirements and strategic team setups necessary to clear this challenging content efficiently, highlighting the importance of adaptability and proper skill management during intense boss encounters.
Optimized Character Rotations for Nightmare 3
Success in Nightmare Difficulty 3 hinges on mastering the unique skill sets and damage windows of your chosen units. Each character brings distinct utility that, when timed correctly, allows for sustained pressure on high-HP bosses.
- Shadow Monarch: Prioritize using high-impact shadow skills to maintain crowd control and maximize burst damage during enemy vulnerability phases.
- Skill Cycling: Ensure that your secondary skills are off cooldown before engaging in the primary damage rotation to prevent gaps in your offensive output.
- Damage Mitigation: Utilize invincibility frames during boss ultimate attacks to stay in the fight without needing to burn resources for revivals.
Strategic Team Compositions and Synergy
Building a flexible roster is essential for addressing the specific challenges found in Nightmare Difficulty 3. Focusing on diverse elemental coverage and tribe-specific buffs allows for more consistent clears across varying enemy resistances.
| Character Type | Strategic Role | Key Advantage |
|---|---|---|
| Burst DPS | Boss Execution | Quickly depletes health bars during break windows |
| Crowd Control | Enemy Management | Interrupts boss mechanics and prevents incoming damage |
| Support/Utility | Buff Maintenance | Increases overall team DPS and survivability stats |
Managing Combat Flow and Enemy Mechanics
To clear Nightmare 3 without relying on magic stone revivals, players must maintain focus on the environmental hazards and boss telegraphs. Understanding the rhythm of the encounter is as important as your character's gear level.
- Telegraph Recognition: Watch for specific visual cues that precede heavy damage attacks. Moving out of these zones early prevents unnecessary health loss.
- Resource Management: Keep an eye on your ultimate ability gauge. Saving these for critical phases—rather than using them immediately—often provides the extra damage needed to push past a boss's final health threshold.
- Positioning: Maintain proper distance from the boss to avoid being cornered, which is a common cause of failure in higher difficulty tiers. By keeping the boss at a manageable range, you gain better visibility on incoming telegraphed moves.

Free Solo Leveling:Arise Codes
Current active codes and how to redeem them.

James Brown
James focuses on Android gaming on PC, emulator setup, controls, performance tuning, and practical troubleshooting for longer play sessions.
COMMUNITY
Player Comments
125 players commented on this guide.
Can you add more details about heroes in a future update?
Good guide for Solo Leveling:Arise players. The heroes part was useful.
Nice guide. I am checking the other Solo Leveling:Arise articles next.
I tried this today and it worked better than my old setup.