
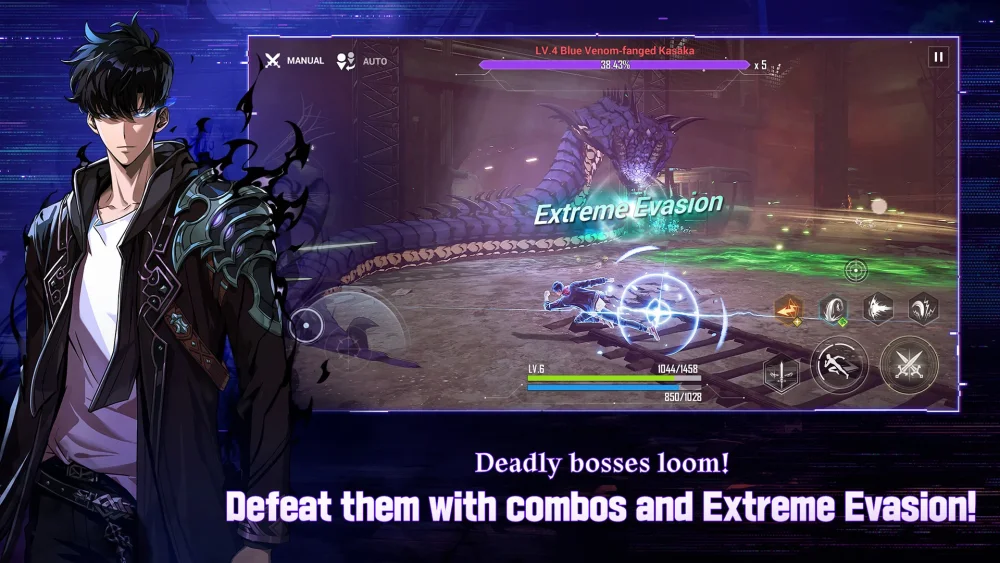
Successfully clearing Floor 10 of the Workshop of Brilliant Light requires a strategic approach to Baran’s attack patterns and efficient management of your team's DPS windows. Because this encounter tests your ability to maintain consistent damage output while dodging lethal mechanics, you must prioritize character synergy and precise skill timing over relying on specific shadow summons. This guide provides the tactical adjustments needed to handle the boss's phases without needing to rely on Shadow Monarch mechanics.
Baran Combat Phases and Mechanics
The primary challenge of this encounter is Baran’s high mobility and his ability to punish players who overextend during his telegraphs. You should focus on identifying the visual cues that precede his wide-area attacks. By baiting his lunges and keeping your hunters in position to trigger their ultimate abilities, you can steadily deplete his health bar while minimizing team casualties.
Recommended Team Composition
Efficiency in this stage relies on maximizing elemental advantages and utility. You should assemble a team that balances burst damage with sustain to ensure you can survive the later stages of the fight.
| Role | Strategy Priority |
|---|---|
| Main DPS | Focus on high-scaling damage dealers to hit DPS checks. |
| Support/Utility | Prioritize hunters that provide buffs or defense reduction. |
| Breaker | Essential for stunning Baran during his vulnerable windows. |
Execution Strategies for Floor 10
To maximize your success rate, focus on these two critical combat pillars:
- Rotation Timing: Never burn all your skills at once. Stagger your hunter skill rotations to ensure that you always have a defensive or crowd-control option available when Baran enters his aggressive phase.
- Evasion Discipline: Baran’s attacks are highly telegraphed. Prioritize keeping your dash charges available for emergencies rather than using them for repositioning during downtime.
- Weapon Management: Use weapons that provide armor penetration or elemental bonuses relevant to the current Workshop of Brilliant Light rotation to ensure you meet the damage thresholds required for the clear.
Improving Your Clear Consistency
If you find yourself failing at the final stage of the boss fight, review your build's critical hit rate and damage stats. Often, the difference between a successful clear and a timer-out is not player skill, but the optimization of your artifact sets. Ensure that your main DPS is equipped with sets that maximize attack speed and cooldown reduction to keep your skill rotations fluid throughout the encounter.

Free Solo Leveling:Arise Codes
Current active codes and how to redeem them.

Michael Smith
Michael covers live-service games, events, reward systems, and efficient daily routines, turning frequent updates into clear actions for players.
COMMUNITY
Player Comments
25 players commented on this guide.
This guide answered the exact question I had.
Can you add more details about strategy in a future update?
The tips are practical and easy to follow.
Good guide for Solo Leveling:Arise players. The strategy part was useful.