
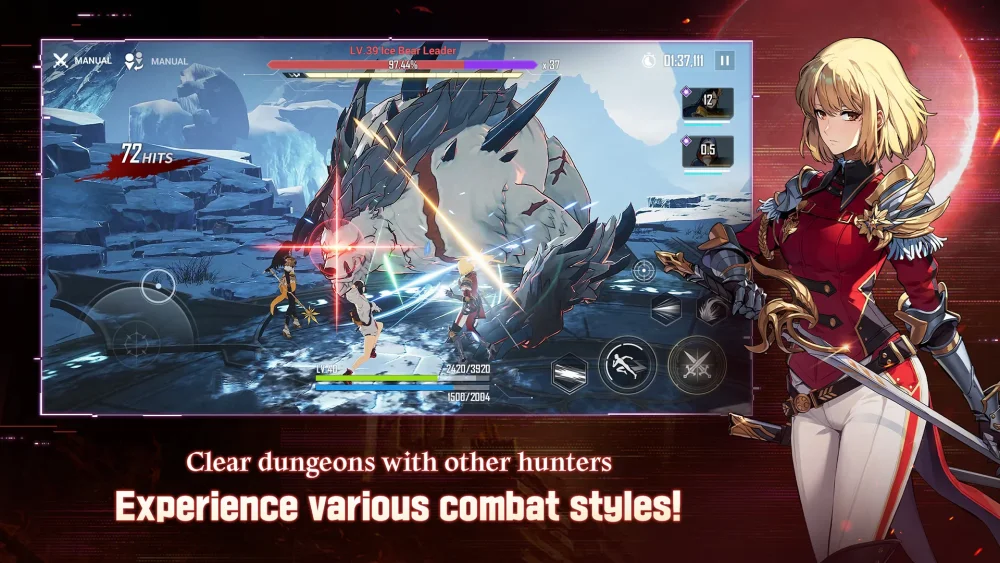
Clearing Tier 10 of the Workshop of Brilliant Light without relying on the "Shadow Monarch" transformation requires precise team composition and high-end combat optimization. By focusing on a team with a total combat power of 7.5 million and leveraging the specific utility of Esil Radiru, players can overcome the Demon Castle Exterior stage’s difficulty spikes. This approach proves that strategic unit synergy can substitute for top-tier transformation mechanics even in the most challenging content.
Team Composition and Combat Power Requirements
Success in this high-level encounter is heavily dependent on maintaining a team combat power (CP) threshold of approximately 7.5 million. While the Shadow Monarch is a powerful asset, it is not strictly mandatory if your roster is built to maximize elemental weaknesses and support rotations.
- Target CP: Aim for 7.5M to ensure sufficient damage output and survivability against Baran and the surrounding encounters.
- Key Unit Integration: Esil Radiru acts as a primary pivot for maintaining pressure. Her ability to break shields and sustain momentum is vital during the multi-phase battles of the Demon Castle Exterior.
- Flexibility: Since the Shadow Monarch is excluded, your remaining slots must focus on high-burst damage dealers and dedicated support units that can keep the party alive during sustained boss phases.
Strategic Execution for Floor 10
The battle against the White Flame Monarch, Baran, requires a disciplined approach to cooldown management and positioning. Because you are not utilizing the Shadow Monarch’s enhanced form, you must rely on standard skill rotations and ultimate ability timing.
Managing Boss Mechanics
- Shield Breaking: Prioritize units capable of rapid Break damage. Esil’s kit is essential here to minimize the time spent dealing with the boss’s defensive state.
- Aggro Management: Without the invulnerability or mobility buffs often associated with the Shadow Monarch transformation, use standard dodge mechanics and iframes effectively to avoid Baran’s wide-area attacks.
- Rotation Priority: Keep your support buffs active at all times. Do not overlap support skill windows; stagger them to maintain a consistent damage buff throughout the encounter.
Resource and Gear Optimization
To hit the 7.5M CP requirement without the Shadow Monarch, your equipment quality must be top-tier. Focus on the following:
| Gear Focus | Priority Objective |
|---|---|
| Weapon Stats | Maximize Critical Hit Rate and Critical Damage. |
| Artifact Sets | Use sets that favor Attack percentage and elemental damage buffs. |
| Skill Runes | Prioritize runes that increase Break efficiency for your primary DPS. |
Maximizing Esil Radiru in the Workshop
Esil Radiru serves as a cornerstone for this clear. Her presence allows the team to bypass traditional power-check walls by providing consistent utility that scales well even in Tier 10 environments. Ensure her levels, weapon advancement, and artifacts are fully optimized to complement the rest of your high-CP team, allowing you to focus on mechanical execution rather than raw stat-checking.

Free Solo Leveling:Arise Codes
Current active codes and how to redeem them.

Emily Johnson
Emily writes practical mobile strategy guides with a focus on resource planning, base progression, and the early decisions that shape a long-term account.
COMMUNITY
Player Comments
160 players commented on this guide.
I tried this today and it worked better than my old setup.
This saved me time in the early game.
The explanation is clear, especially for beginners.
This helped me understand strategy much better.