
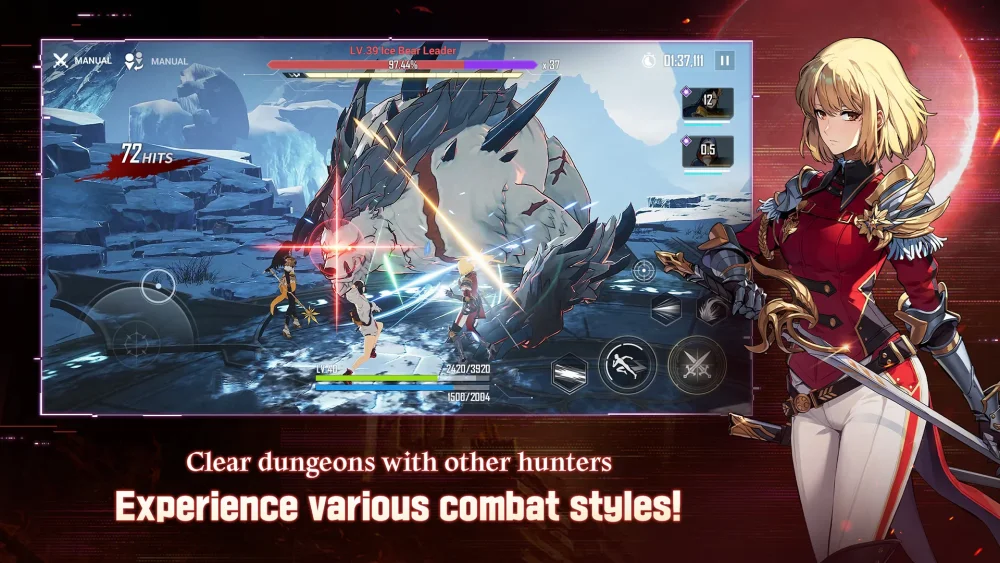
Successfully clearing Tier 10 of the Workshop of Brilliant Light in Solo Leveling:Arise requires a precise understanding of character utility, specifically leveraging Gina’s kit to sustain momentum against Baran. By integrating Gina into your team composition, you can effectively manage the high damage output and complex mechanics inherent to this encounter. This guide focuses on the mechanical synergies and tactical positioning necessary to overcome the challenges posed by Baran in the final tier of the Workshop.
Optimal Gina Utilization for Baran
Gina serves as a pivotal support unit for tackling the Baran encounter due to her ability to enhance team survivability and maintain offensive pressure. Positioning her correctly within your rotation ensures that the team remains buffed throughout the fight, reducing the risk of being overwhelmed by Baran's punishing mechanics. Focus on timing her skill activations to coincide with the boss's vulnerability windows, which maximizes the impact of your team’s damage output during the critical phases of the battle.
Key Combat Tactics for Tier 10
The Tier 10 Baran encounter demands disciplined movement and reactive play to avoid lethal strikes. Players should prioritize the following tactical adjustments:
- Ability Timing: Save your heavy-hitting abilities for when Baran’s shield is down or when he enters a predictable recovery animation.
- Shadow Step Usage: Utilize Shadow Step to maintain constant pressure and avoid unnecessary damage from Baran’s wide-area attacks.
- Energy Management: Keep a close eye on your ultimate gauge and ensure that team-wide buffs are refreshed before committing to a full burst rotation.
Recommended Team Synergy
Building a team around Gina requires balancing defensive utility with the raw power needed to clear the health bars within the time limits. Pair Gina with high-burst damage dealers who benefit from her buffs. This synergy creates a reliable loop of protection and damage, allowing you to bypass the boss's most dangerous mechanics by finishing the fight before his aggressive phases escalate.
| Role | Responsibility |
|---|---|
| Support (Gina) | Buff application and survivability maintenance |
| Main DPS | Primary damage output during vulnerability windows |
| Sub-DPS/Utility | Breaking shields and secondary burst damage |
Troubleshooting Common Run Failures
If you find yourself failing at Tier 10, the issue often stems from inefficient skill rotations rather than a lack of raw character power. Review your sequence of play to ensure you are not wasting cooldowns on invulnerable phases. Focus on identifying the specific telegraphs that precede Baran’s most damaging attacks, and ensure your team composition is optimized to mitigate those specific threats through consistent healing or shield management provided by your support units.

Free Solo Leveling:Arise Codes
Current active codes and how to redeem them.

Sarah Williams
Sarah specializes in RPG and collection games, explaining team building, character growth, and beginner-friendly ways to avoid expensive early mistakes.
COMMUNITY
Player Comments
139 players commented on this guide.
Nice guide. I am checking the other Solo Leveling:Arise articles next.
The tips are practical and easy to follow.
Can you add more details about strategy in a future update?
Good guide for Solo Leveling:Arise players. The strategy part was useful.