
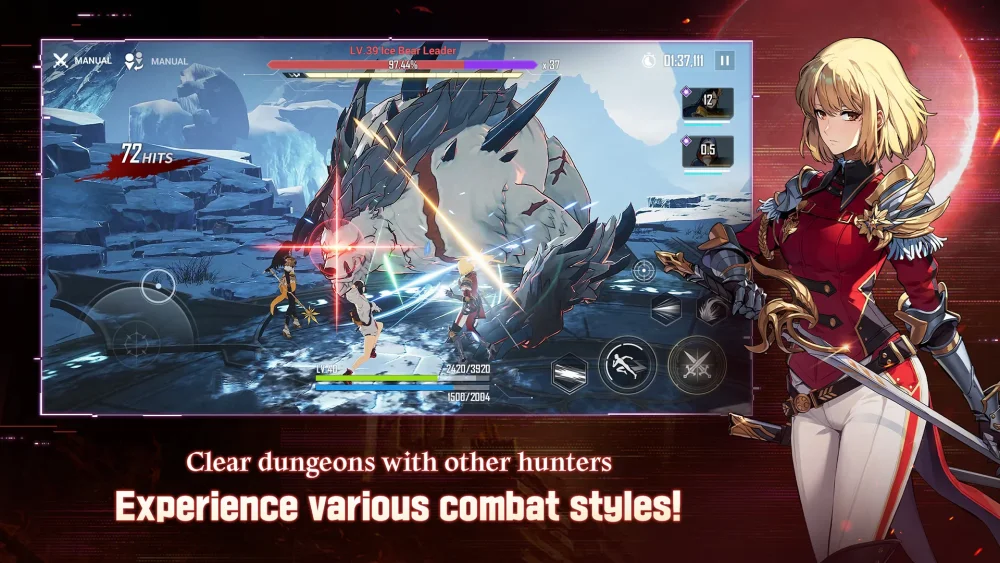
In Solo Leveling:Arise, the Workshop of Brilliant Light represents the pinnacle of endgame challenge, demanding not just raw power, but calculated synergy between your hunters and your Shadow Monarch. If you are struggling to clear the higher tiers, the combination of the Shadow Monarch’s burst potential and Jung Yerim’s specialized support utility is currently one of the most reliable strategies for success. This guide breaks down exactly how to gear, rotate, and manage these units to push through the Workshop’s toughest bosses.
Understanding the Shadow Monarch’s Role in Workshop
The Shadow Monarch is your primary engine for damage, but in the Workshop, "damage" is not just about the numbers you see on screen—it is about timing. The bosses in this mode feature complex phases and high-defense windows. If you dump your damage output while the boss is shielded or in an invulnerable phase, you are effectively wasting your most precious cooldowns.
Optimizing Damage Scaling
To ensure the Shadow Monarch hits the required damage thresholds for the Workshop, you must focus your Artifact rolls on two core pillars: Critical Hit Damage and Attack Percentage.
- Artifact Priorities: Seek out sets that provide raw Attack boosts or those that trigger on successful critical hits. Substats should prioritize Crit Rate to ensure your high Crit Damage rolls are actually landing consistently.
- Summon Management: Do not treat your shadows as an "always-on" ability. Wait for the specific "break" window—when the boss’s break gauge is depleted—to deploy your full shadow rotation. This ensures that every high-damage multiplier is applied while the boss is most vulnerable to taking massive damage.
Leveraging Jung Yerim as a Support Anchor
While the Shadow Monarch acts as the sword, Jung Yerim is the shield that keeps your team alive. In the Workshop of Brilliant Light, bosses deal significant chip damage and possess wide-area attacks that can quickly overwhelm a DPS-focused team. Jung Yerim’s value is found in her ability to mitigate this damage and provide the sustainability needed to survive the full encounter.
Building for Utility and Haste
Unlike your damage dealers, Jung Yerim does not need to focus on Attack. Instead, focus your build on these stats:
- Ability Haste: This is your highest priority. The faster you can cycle back to her defensive buffs, the less time your main DPS spends taking unnecessary damage.
- HP and Defense: Even the best support is useless if she dies. Ensure she has enough bulk to survive boss mechanics so she can continue to provide peeling and healing for the rest of your party.
- Support-Focused Sets: Equip artifacts that provide team-wide buffs or cooldown reduction for teammates. Her role is to "anchor" the team, creating a safety net that allows your Shadow Monarch to stay on the field longer.
Mastering the Rotation: The "Buff-First" Philosophy
The difference between a failed run and a successful Workshop clear often comes down to your combat rotation. You cannot play these characters in a vacuum; they must be synchronized. The "Buff-First" philosophy ensures you are always operating at maximum potential when the boss is open to damage.
- Step 1: Initiation. Switch to Jung Yerim immediately at the start of a phase. Activate her defensive buffs or utility skills to stabilize your party’s HP.
- Step 2: Transition. Once the defensive field is set, swap to your secondary characters to debuff the boss or assist in breaking the shield.
- Step 3: The Burst. Once the boss's shield is broken, bring in the Shadow Monarch. Because Jung Yerim’s buffs have already established a safety window, you can commit fully to your attack rotation without fearing an immediate interrupt or fatal counter-attack.
- Step 4: Maintenance. If Jung Yerim’s cooldowns are nearing completion, prioritize swapping back to her to refresh your buffs before the boss recovers.
Critical Mistakes to Avoid in Workshop
Many players fail in the Workshop of Brilliant Light not due to a lack of power, but due to poor resource management. Avoid these common pitfalls to improve your clear times:
- Overcommitting to DPS: Do not ignore the boss's patterns just to get one more hit in. If you force an attack during a boss’s enraged phase, you will likely lose your support or your main damage dealer, which is a net loss in DPS over the course of the fight.
- Ignoring Break Gauges: Never use your Shadow Monarch's peak damage skills while the boss still has a full break gauge. The damage reduction active on shielded bosses makes these moves feel underwhelming.
- Relying on Auto-Combat: The Workshop requires manual precision. Auto-combat will often waste your support buffs at the wrong time or deploy shadows while the boss is invulnerable. Take manual control to ensure your skill usage aligns with the boss's mechanics.
Strategic Decisions: When to Pivot
While the Shadow Monarch and Jung Yerim are a powerful duo, they are gear-dependent. If you are consistently failing to beat the enrage timer, it is often a sign that your artifacts are not yet optimized for the specific tier you are attempting.
- The Gear Gate: If you lack the required Attack or Haste stats, do not be afraid to step back and farm lower-tier Workshop stages. Securing the full set bonuses for your artifacts is often more important than having high-level, mismatched gear.
- Team Composition Adjustments: If your team lacks the necessary break power, consider swapping your third slot to a specialist breaker. Jung Yerim and the Shadow Monarch can handle most situations, but they need a partner who can help strip the boss’s defenses quickly.
By focusing on the timing of your Shadow Monarch’s bursts and the consistent uptime of Jung Yerim’s support utility, you can navigate the Workshop of Brilliant Light with significantly more consistency. Remember: in Solo Leveling:Arise, the best build is the one that respects the boss's mechanics. Master the rotation, prioritize the correct stats, and you will find even the most difficult stages becoming manageable.

Free Solo Leveling:Arise Codes
Current active codes and how to redeem them.

Sarah Williams
Sarah specializes in RPG and collection games, explaining team building, character growth, and beginner-friendly ways to avoid expensive early mistakes.
COMMUNITY
Player Comments
157 players commented on this guide.
The explanation is clear, especially for beginners.
Nice guide. I am checking the other Solo Leveling:Arise articles next.
The tips are practical and easy to follow.
This saved me time in the early game.