
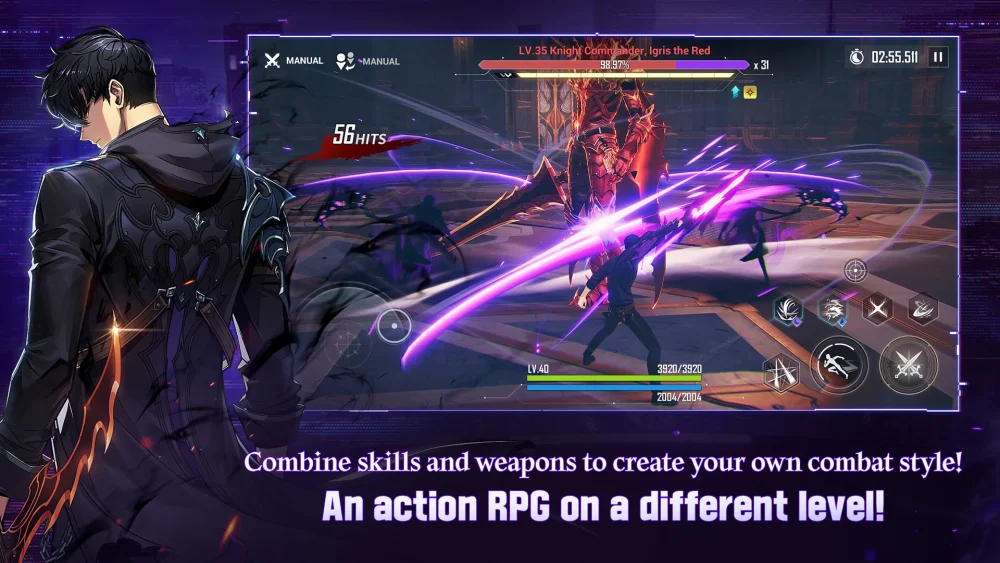
The Ant King encounter in Solo Leveling:Arise serves as a definitive "gear check" and skill test for players progressing through the late-game content. Much like the climactic shifts in the Solo Leveling narrative, this fight demands more than raw power; it requires precision, timing, and a deep understanding of boss mechanics. To emerge victorious, you must transition from reactive play to proactive dominance, using Sung Jinwoo’s kit to interrupt the boss's most devastating sequences.
Understanding Ant King Attack Patterns and Telegraphs
The Ant King is defined by its erratic, high-speed movement and heavy-hitting AOE (Area of Effect) attacks. Unlike earlier bosses that telegraph moves through long, sluggish wind-ups, the Ant King utilizes rapid-fire lunges and sweeping claw attacks that can quickly drain your HP if you are caught out of position.
- The Lunge Combo: When the boss pulls back slightly and its eyes glow, it is preparing for a multi-hit lunge. Do not dodge immediately; wait for the first movement frame to trigger your i-frame (invulnerability frame) dash.
- The Ground Slam: This move leaves a lingering shockwave. Always dash laterally rather than backward to stay within striking distance for your counter-attack.
- Recovery Windows: After the Ant King performs its heavy leaping strike, it experiences a brief moment of recovery. This is your primary window to unleash your longest skill animations without fear of interruption.
Maximizing Sung Jinwoo’s Ultimate Potential
In Solo Leveling:Arise, your ultimate ability is not just a damage tool—it is a crowd-control device. The Ant King possesses phases where it gains damage-reduction shields or enters a "Hyper-Aggressive" state.
Strategic Timing:
- Interrupting Channels: When the Ant King begins to glow brightly, it is preparing a massive, room-clearing strike. Activating your ultimate during this animation will trigger a hit-stun effect, cancelling the boss's attack entirely and leaving it vulnerable to a follow-up combo.
- The Final Threshold: As the boss approaches its final health bar, it gains a significant attack speed buff. Save your ultimate for this "Execution Phase." Using it here allows you to bypass the most dangerous portion of the fight, turning a potential loss into a swift victory.
Leveraging Shadow Army Synergy
Your Shadow Army is more than a thematic inclusion; they are force multipliers. Proper management of your shadows can turn the tide of the Ant King encounter by providing consistent debuffs and passive bonuses.
- Deployment: Summon your shadows at the very start of the fight. The defense penetration buffs they provide are essential for dealing with the Ant King’s high armor values.
- Positioning: Use your shadows to occupy the boss's flanks. If the Ant King’s AI is distracted by your army, it is less likely to focus its high-mobility strikes on Sung Jinwoo, granting you the space needed to execute your rotations.
- Survival: If your shadows fall, your DPS output will drop significantly. If you find them dying too quickly, prioritize leveling your Shadow extraction stats to increase their durability, ensuring they stay on the field for the entire duration of the boss's enrage timer.
Managing Resource Cooldowns and Stamina
The most common mistake players make in Solo Leveling:Arise is burning their entire skill rotation at once, leaving them with no stamina for defensive maneuvers.
The Golden Rule of Cadence: Adopt a "Two-Skill, One-Dodge" rule. By alternating between two offensive abilities and reserving your final dash charge, you ensure you are never "stuck" in an animation when the Ant King decides to lunge.
- Engagement: Begin with a high-damage gap closer to bridge the distance.
- Building the Meter: Use basic attack chains between skill uses to keep your ultimate meter charging.
- Defensive Reserve: Never burn your final dodge charge unless you have confirmed an incoming strike. Keeping that last sliver of stamina is the difference between a successful dodge and taking a fatal hit.
Optimizing for Sustained DPS
To push through the Ant King’s massive health pool, you must move away from "panic-playing" and toward a sustained damage output strategy.
Gear and Stats Priority
- Critical Hit Damage: Because the Ant King’s armor mitigates flat damage, critical hits are your primary method of piercing through its defenses. Focus your artifacts on increasing your Crit Rate and Crit Damage.
- Attack Speed Buffs: Faster attack animations mean you spend less time locked in place, allowing you to hit and move with higher fluidity.
- Blessing Stones: Equip stones that provide flat damage increases during boss encounters or those that reset cooldowns upon successful dodges. These are tailor-made for high-mobility fights like this one.
Common Mistakes to Avoid
Even experienced players often fall into traps during this fight. Avoiding these three behaviors will drastically increase your clear rate:
- Over-committing to Animations: Don't use your longest-animation skills unless the boss is stunned or in a clear recovery state. Using them mid-combo is a death sentence.
- Ignoring the Arena Edges: The Ant King thrives on pinning players against walls. Always try to keep the fight centered in the arena; if you find yourself near a wall, use a dash to reposition immediately.
- Panic Healing: Do not waste your healing resources the moment you take minor chip damage. Wait until the Ant King finishes a major sequence, then find a safe window to recover.
By mastering the rhythm of the encounter—balancing your shadow buffs, timing your ultimates to disrupt boss mechanics, and maintaining a disciplined defensive cadence—the Ant King becomes a conquerable challenge rather than an insurmountable wall. Focus on your timing, optimize your gear for critical damage, and you will emerge as the true Monarch of this encounter.

Free Solo Leveling:Arise Codes
Current active codes and how to redeem them.

James Brown
James focuses on Android gaming on PC, emulator setup, controls, performance tuning, and practical troubleshooting for longer play sessions.
COMMUNITY
Player Comments
111 players commented on this guide.
The explanation is clear, especially for beginners.
Can you add more details about strategy in a future update?
Nice guide. I am checking the other Solo Leveling:Arise articles next.
This saved me time in the early game.