
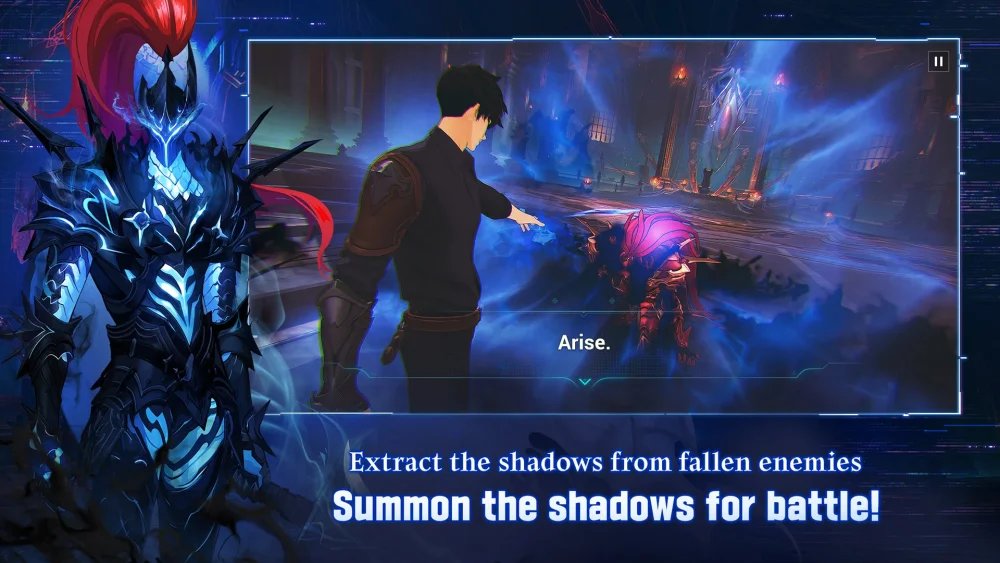
Success in the high-difficulty encounters of Chapter 28 "Source of Power" and Hidden Chapter 7 "Evaporation and Connected Clues" requires precise movement and strict adherence to attack rotations. These stages function as a "boss gauntlet," testing your ability to maintain consistent DPS while dodging complex mechanics over an extended combat duration. To survive these encounters, you must prioritize defensive positioning during telegraph windows and capitalize on every opening to maximize your burst potential against these high-HP targets.
Strategy for Chapter 28: Source of Power
The primary challenge in Chapter 28 is managing your stamina while identifying the boss's vulnerability windows. Because this fight demands long-term endurance, you cannot rely solely on raw power; you must preserve your dash resources for telegraphed, high-damage area-of-effect (AoE) attacks.
- Prioritize Defensive Dash: Avoid wasting dashes on minor attacks. Save them specifically for the boss's wind-up animations that signal unblockable or heavy-stagger hits.
- Rotate Cooldowns: Ensure your secondary hunter skills are ready for the boss's "break" phase. Do not burn all utility skills simultaneously, as you will need them to sustain damage when the boss is shielded.
- Positioning: Stay close to the boss’s flank. Many of the frontal cone attacks in this stage are easily avoided by shifting slightly behind the target, allowing you to continue attacking without interrupting your combo.
Tactics for Hidden Chapter 7: Evaporation and Connected Clues
Hidden Chapter 7 serves as a significant difficulty spike where mechanical knowledge is more important than raw gear scores. The boss features aggressive patterns that can quickly overwhelm players who do not anticipate the transition between attack phases.
- Managing Phase Transitions: When the boss initiates its transformation or phase shift, back away immediately. These transitions often include a lingering damage-over-time (DoT) effect that punishes players who attempt to greed for extra hits.
- Shadow Extraction Timing: Use your Shadow Monarch abilities during the boss's "recovery" animations—the brief moments after a heavy attack sequence when the boss remains stationary. This is the optimal time to deploy your highest-damage skills.
- Resource Management Table:
| Encounter Phase | Player Focus | Recommended Action |
|---|---|---|
| Opening | Pattern Recognition | Observe boss telegraphs; do not engage full burst. |
| Mid-Battle | Stamina/Dash Control | Save dashes for unavoidable AoE sequences. |
| Break Phase | Maximize DPS | Utilize all hunter support skills and ultimate moves. |
| Execution | Finishing Blows | Maintain distance; avoid "chasing" if HP is low. |
Essential Tips for Long-Duration Boss Fights
Long-duration encounters in Solo Leveling:Arise require a shift in mindset from burst-damage playstyles to attrition-based survival. If you are struggling to reach the end of these boss chains, review your build for sustain-heavy artifacts.
- Artifact Tuning: If you consistently die before the boss reaches 25% HP, consider swapping one offensive artifact set for a set that provides increased evasion or damage reduction.
- Hunter Synergy: Ensure your team composition includes at least one support hunter who can provide shields or heals. In long, non-stop boss fights, the ability to mitigate chip damage is often the deciding factor between success and defeat.
- Practice the Pattern: These stages are designed to be learned. Focus on a "no-hit" run during your first few attempts to memorize the boss's attack telegraphs before attempting to push for a high-damage clear.

Free Solo Leveling:Arise Codes
Current active codes and how to redeem them.

Michael Smith
Michael covers live-service games, events, reward systems, and efficient daily routines, turning frequent updates into clear actions for players.
COMMUNITY
Player Comments
98 players commented on this guide.
This helped me understand strategy much better.
This saved me time in the early game.
I wish I had read this before upgrading the wrong thing.
Nice guide. I am checking the other Solo Leveling:Arise articles next.