
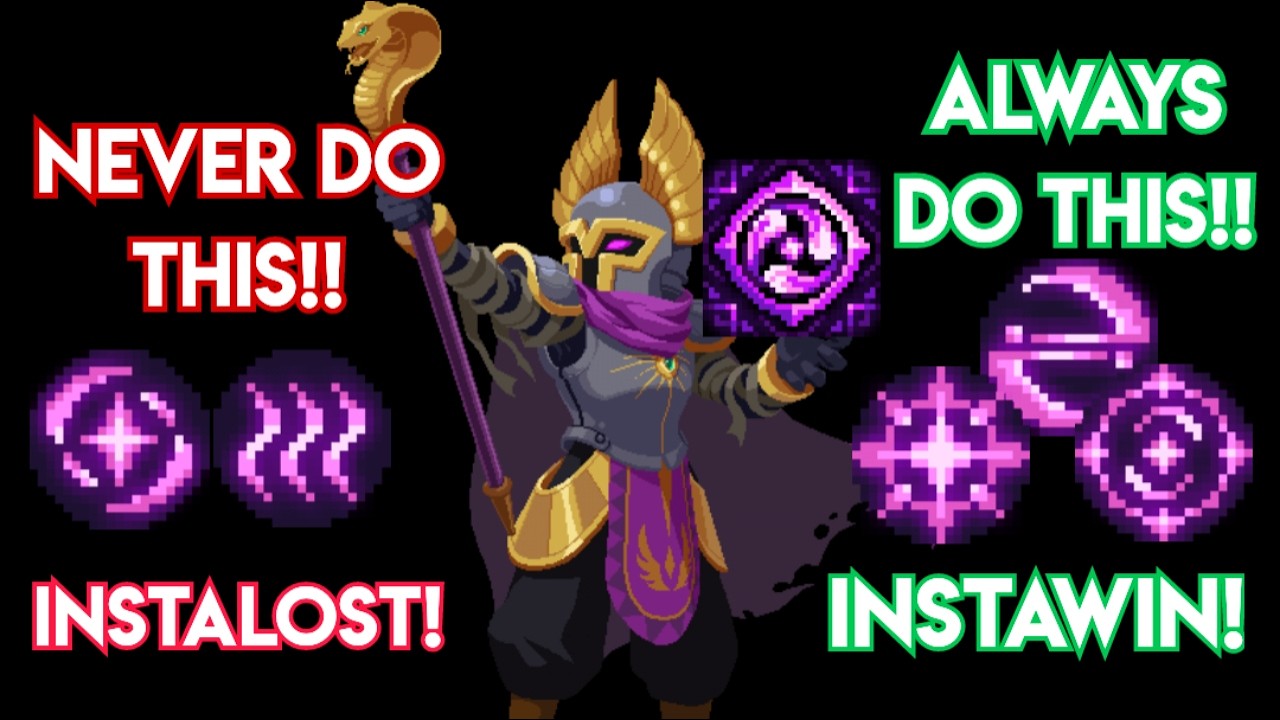
Arcane Knight excels in Soul Knight as a burst spellcaster, using focused area-of-effect damage to eliminate clustered enemies before bullet patterns fill the room. Because the hero lacks invulnerability frames during skill activation and relies on a strict cooldown cycle, you must pair proactive cast timing with solid cover and a defensive weapon rotation.
Skill Timing Across Combat Waves
Treat Arcane Knight's skill as an offensive opener rather than an emergency escape. Dungeon rooms spawn enemies in waves, making it vital to time your casts against peak target density rather than firing into scattered stragglers.
| Combat Phase | Recommended Action | Primary Objective |
|---|---|---|
| Room Entry | Cast skill immediately | Eliminate frontline enemies to open dodge lanes |
| Mid-Wave Transition | Retreat behind hard cover | Wait out cooldown and identify elite spawns |
| Secondary Wave | Target elite spawns with skill | Burst high-threat targets and summoned turrets |
| Room Cleanup | Conserve skill cooldown | Finish remaining targets with standard weapons |
Trigger the skill the moment you step through a room entrance to wipe basic enemies instantly. Thinning the opening group drastically reduces incoming bullet volume and leaves clear paths for movement. Once the first group drops, duck behind walls or pillars while the skill recharges, then deploy your second cast directly onto elite enemies as the next wave appears.
Recommended Perks and Statue Buffs
Arcane Knight requires perks that shorten cooldown downtime, reinforce base defenses, and increase spell output. Prioritize the following passive buffs during dungeon runs:
- Skill Cooldown Reduction: This is the hero's most critical perk. Reducing recharge time shortens vulnerable windows and allows multiple casts per room.
- Increased Maximum Shield and Shield Recovery: Arcane Knight remains fully vulnerable while executing the skill. A larger shield pool absorbs stray projectiles and keeps health intact during offensive casts.
- Combo Hit Increase / Shotgun Buff: Extra projectile perks scale the active burst, adding hits to wider spell patterns and increasing total damage against large targets.
- Bullet Bounce and Elemental Critical Damage: Ricocheting and elemental effects allow spells and weapon shots to bounce off walls, turning narrow dungeon corridors into high-damage chokepoints.
For statue interactions, the Paladin Statue offers the strongest defensive utility by creating an absorption shield during forward pushes. If survival is stable, the Mage Statue adds homing projectiles to skill bursts, while the Berserker Statue increases projectile size and raw damage.
Weapon Selection and Energy Management
Balancing your weapon slots prevents energy depletion, which is Arcane Knight's primary failure point in extended fights.
- Primary Slot (Low-Cost Sustained Fire): Equip an energy-efficient weapon, such as a low-consumption pistol, bow, or piercing rifle. Weapons with high natural critical strike chances are ideal for generating energy or applying status effects between skill casts.
- Secondary Slot (Defensive Melee): Carry a melee weapon with a wide swing arc, such as a sword, axe, or lightsaber. Because the hero lacks defensive skill frames, swap to your melee weapon to destroy incoming bullet screens while waiting for ability cooldowns.
Avoid pairing the skill with two high-cost energy weapons. Rely on the skill itself for your primary burst damage, using standard weapons to clean up low-health stragglers without exhausting your energy pool.
Room Positioning and Hazard Awareness
Surviving dense biome layouts requires strict positioning discipline. Firing out in the open leaves Arcane Knight vulnerable to long-range sniper lasers, charging enemies, and contact damage.
- Hug Indestructible Cover: Enter rooms along perimeter walls and use corner pillars to block sightlines.
- Funnel Enemy Trajectories: Cast the skill diagonally or horizontally across lanes where mobs converge, then step back behind cover to recharge.
- Avoid Environmental Hazards: Arcane Knight's broad area bursts easily trigger explosive red barrels. Check your immediate surroundings before casting so you do not detonate barrels near your own position, or destroy them from a safe distance before moving forward.
Boss Fight Strategy
Boss encounters require patient cooldown management because bosses feature large health pools and multi-stage bullet hell patterns.
Do not trigger the skill while a boss is moving rapidly across the arena or during dense bullet waves where your attention must stay on dodging. Instead, learn the boss's recovery windows—such as the pause following a ground slam, charge, or sustained beam attack. Deploy the skill directly into the boss's hitbox during these stationary windows so every hit connects.
If energy reserves run low during an extended boss phase, switch to your defensive melee weapon to swat away incoming projectiles and collect energy drops before committing to another burst cycle.

Free Soul Knight Codes
Current active codes and how to redeem them.

Emily Johnson
Emily writes practical mobile strategy guides with a focus on resource planning, base progression, and the early decisions that shape a long-term account.
COMMUNITY
Player Comments
49 players commented on this guide.
I wish I had read this before upgrading the wrong thing.
The tips are practical and easy to follow.
Nice guide. I am checking the other Soul Knight articles next.
This saved me time in the early game.