
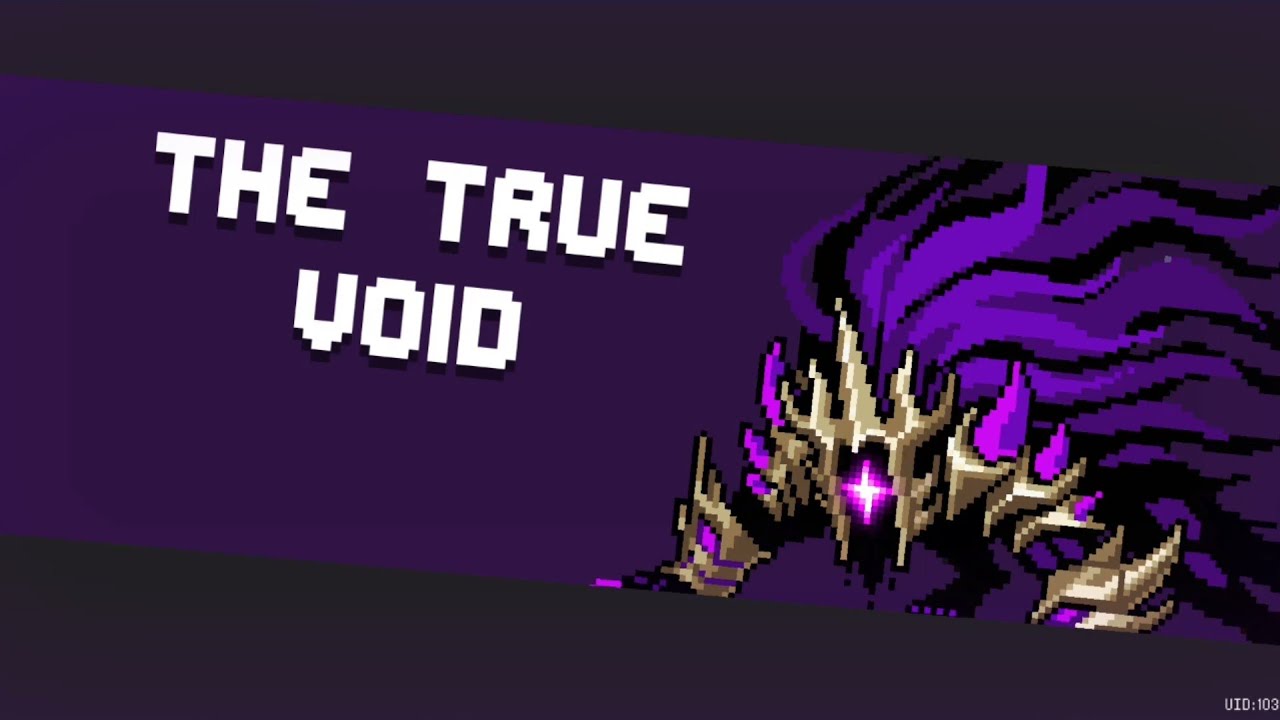
To survive the true final boss in Soul Knight and prevent instant deaths, you must prioritize defensive positioning, track boss charge telegraphs, and carry a projectile-clearing melee weapon or invulnerability skill. The encounter features burst attacks that can instantly deplete your armor and health pools, especially in Badass mode.
Recognizing Lethal Attack Telegraphs
The boss uses distinct visual wind-ups and audio cues before initiating high-damage bursts. Recognizing these patterns early allows you to switch from offense to active defense before bullet walls fill the room.
- Stationary Channeling: The boss stops moving, glows with a charging aura, and targets your coordinates. This signals a focused beam barrage or concentrated bombardment capable of wiping out your shield and health in one sequence. Stop firing and move perpendicular to the targeting line.
- Aggressive Gap-Closing: Rapid dashes toward your hero end in point-blank radial bursts. Backpedaling in a straight line will result in lethal collision and bullet damage. Evade diagonally toward open space.
- Dense Grid Spreads: The boss fires intersecting geometric lines of projectiles that leave minimal space for standard foot movement. Do not attempt to walk through tight seams without defensive countermeasures.
Defensive Perks and Loadout Priorities
A high-damage weapon alone cannot guarantee survival against overlapping hitboxes. Equipping a defensive secondary weapon and selecting defensive perks significantly widens your margin for error.
Pair your primary ranged weapon with a low-cost or zero-energy melee weapon such as the Meat, Laser Sword, or Mo Dao. Swinging these weapons cuts through dense bullet grids and carves out safe standing zones.
| Perk Name | Priority | Practical Benefit |
|---|---|---|
| No Extra Damage on Shield Break | High | Prevents excess hit damage from penetrating your health pool when your shield collapses. |
| Bullet Slow / Bounce | High | Decelerates incoming projectile grids, expanding dodging windows. |
| Increased Maximum Health | Medium | Absorbs residual splash and collision damage. |
| Energy Orb Value / Max Energy | Medium | Prevents high-cost weapons from stalling during prolonged defensive phases. |
The "No extra damage when shield is broken" perk serves as the most effective safeguard against instant-death mechanics, preventing multi-stage attacks from wiping out your remaining health in the same frame your armor breaks.
Positioning and Arena Movement
Lingering along the outer walls or corners of the arena restricts your movement and allows tracking attacks to trap you.
- Maintain Mid-Range Spacing: Circle the boss at a consistent mid-range distance. This provides enough reaction time to read incoming projectile sprays while keeping you close enough to loop around beam animations.
- Lead Bullet Paths: Move in a steady clockwise or counter-clockwise circle around the center to trail projectile patterns away from your path of travel.
- Manage Cover: If the chamber contains destructible barriers, do not waste them on basic shots. Use them only to break line-of-sight during high-velocity sweeps, and abandon them immediately if they take heavy fire to avoid splash damage.
Invulnerability Frame (I-Frame) Timing
Characters featuring invulnerability skills—such as Rogue, Paladin, and Assassin—have a substantial advantage in this fight, provided cooldowns are reserved for emergencies:
- Save Skills for Evasion: Do not trigger defensive skills to boost offensive uptime during attack animations.
- Phase Through Wall Spreads: If using Rogue, roll directly through projectile seams to clear hitboxes rather than rolling backward into trailing bullets.
- Absorb Concentrated Beams: If using Paladin, activate the energy shield during stationary channeling phases to neutralize lethal burst damage completely.
- Reposition Without I-Frames: For characters lacking invulnerability, use mobility skills strictly to break targeting locks when the boss begins tracking your position.
Badass Mode Adjustments and Common Mistakes
Badass mode increases projectile speed, bullet density, and attack damage. Avoid these common failure points to clear the encounter consistently:
- Greeding for Damage: Firing continuously while stationary during a boss charge ensures you take lethal damage. Attack in controlled bursts between attack phases.
- Late Melee Swaps: Waiting until projectiles are already on top of your character before switching to a melee weapon leads to failed deflections. Swap weapons the moment a grid pattern appears.
- Panic Dodging: Rapidly triggering dashes or rolls without aiming them often launches your character into secondary bullet clusters. Keep your movement deliberate and dodge only when a projectile is confirmed on a collision course.

Free Soul Knight Codes
Current active codes and how to redeem them.

Michael Smith
Michael covers live-service games, events, reward systems, and efficient daily routines, turning frequent updates into clear actions for players.
COMMUNITY
Player Comments
61 players commented on this guide.
Good guide for Soul Knight players. The strategy part was useful.
The tips are practical and easy to follow.
Nice guide. I am checking the other Soul Knight articles next.
This helped me understand strategy much better.