
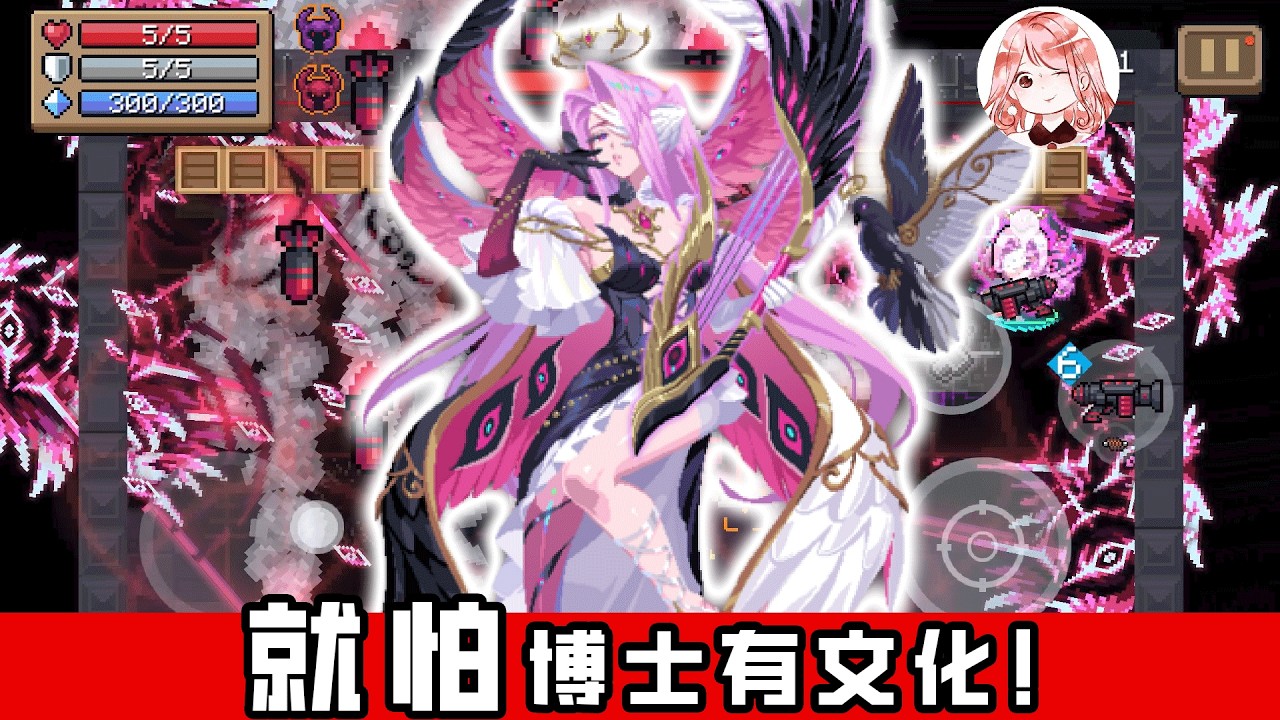
To get the most out of the Physicist's third skill in Soul Knight, cast the ability at natural room chokepoints or directly under stationary bosses, then step behind cover while the multi-hit geometric energy field shreds incoming targets. Because the skill's damage pulses trigger repeatedly as enemies cluster and hit its boundary, your primary goal is funneling mobs into overlapping zones rather than fighting in the open.
---
How the 3rd Skill Works
The Physicist's third skill places an energetic calculation matrix onto the floor. Unlike her first skill (static refraction pylons) or her second skill (a localized defensive aura), this ability focuses purely on persistent, spatial burst damage:
- Area-of-Effect Resonance: The matrix creates a geometric kill zone on the ground that deals recurring damage ticks to any unit caught inside.
- Density Scaling: When enemy mobs or hostile projectiles contact the active boundary, the field produces secondary resonance pulses. Larger packs generate overlapping damage bursts, causing dense swarms to rapidly eliminate themselves.
- No Invulnerability: The skill provides no defensive frames or built-in damage immunity. You must rely on positioning and cover during deployment.
---
Best Talents and Statue Synergies
The damage pulses and active boundaries interact directly with laser and ricochet mechanics. Prioritize passive perks and statues that expand the field's reach and keep ability uptime high.
| Buff / Synergy | Type | Combat Effect |
|---|---|---|
| Laser Buff | Passive Talent | Widens the matrix perimeter and expands the blast radius of each pulse. |
| Bullet Bounce Buff | Passive Talent | Causes energy formulas to rebound off walls instead of vanishing upon collision. |
| Skill Cooldown Reduction | Passive Talent | Lowers downtime between casts, allowing you to maintain fields across waves. |
| Energy on Kill | Passive Talent | Restores energy reserves when pairing the skill with high-cost secondary weapons. |
| Statue of the Paladin | Statue Buff | Grants a protective shield bubble to absorb stray sniper rounds while you kite. |
| Statue of the Berserker | Statue Buff | Enlarges outgoing projectile dimensions, significantly widening matrix coverage. |
---
Room Clearing and High-Density Wave Routing
Open floor plans in Badass Mode or late-game biomes like the Spaceship and Volcano stages present extreme bullet danger. Use this step-by-step sequence to clear dense rooms safely:
- Secure the Perimeter: Upon entering a room, immediately dash toward an outer wall or pillar to force enemy spawns to approach from a single direction.
- Anchor the Chokepoint: Cast the third skill across the primary pathway or corridor connecting the enemy pack to your position.
- Kite the Boundary: Move laterally behind cover, baiting aggressive melee units and charging elites directly across the pulsing matrix.
- Suppress and Clear: Use a piercing ranged weapon or defensive hand-knife melee swings to delete stray bullet rings while the field dissolves the frontline.
Avoid burning the skill when only one weak enemy remains in a wave. Save your cooldown so the full duration is active the moment the next cluster of elite enemies spawns.
---
Boss Encounter Tactics
Against single dungeon bosses, the skill's density scaling diminishes unless you capitalize on large enemy collision boxes:
- Wait for Attack Wind-Ups: Watch for stationary attack animations from large-hitbox bosses such as Grand Knight, Colossus Zulan, or Varkolyn Leader.
- Drop Directly Underneath: Close the distance and drop the matrix directly onto the boss's hitbox while it is stationary. This ensures all resonance points strike the target simultaneously.
- Retreat Immediately: Do not stand inside your own matrix. Immediately disengage behind obstacles or switch to a defensive melee weapon to swat away counter-fire while the persistent ticks chip away the boss's health.
---
Key Hazards to Manage
- Visual Clutter: The bright equations, damage markers, and energy pulses can obscure floor traps, poison pools, and red sniper targeting lines. Keep your eyes centered on your hero sprite rather than watching enemy health bars.
- Cooldown Vulnerability: If you drop the field too early and enemies maneuver around it, you have no baseline defensive shields. Always keep a melee weapon equipped in your secondary slot to clear incoming bullet spreads during downtime.

Free Soul Knight Codes
Current active codes and how to redeem them.

Sarah Williams
Sarah specializes in RPG and collection games, explaining team building, character growth, and beginner-friendly ways to avoid expensive early mistakes.
COMMUNITY
Player Comments
117 players commented on this guide.
This saved me time in the early game.
The explanation is clear, especially for beginners.
I wish I had read this before upgrading the wrong thing.
This guide answered the exact question I had.