
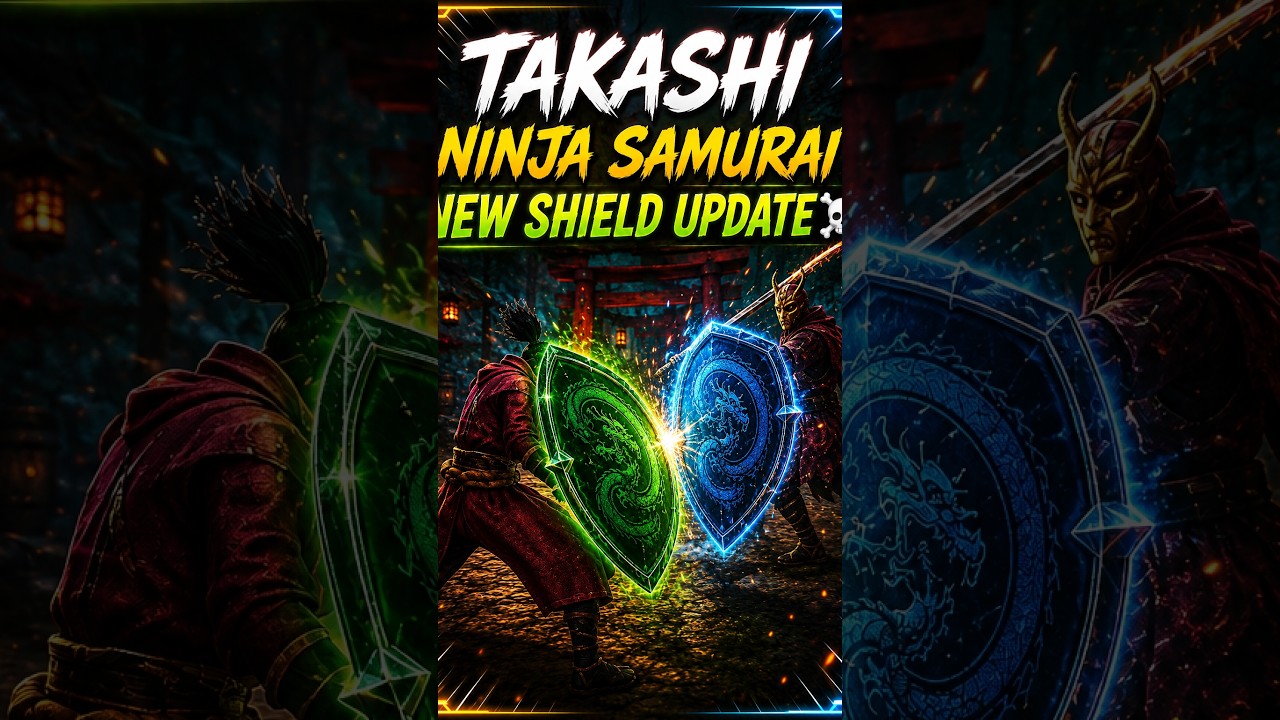
Equipping a shield in Takashi Ninja Warrior lets you absorb incoming frontal attacks directly instead of constantly dodge rolling. Raising your guard preserves your health pool against rapid physical strikes and projectiles, but holding it continuously slows movement and stops stamina regeneration. To use the shield effectively, raise it only when an enemy attack begins, absorb the impact, and immediately lower it to regenerate stamina and counterattack.
Shield Blocking vs. Dodge Rolling
Shield blocking keeps you planted within melee range, allowing you to strike back immediately during an enemy's recovery window. Dodge rolling provides invulnerability frames and evades massive attacks, but it forces you away from the target and costs fixed stamina.
| Defensive Factor | Shield Block | Dodge Roll |
|---|---|---|
| Positioning | Keeps you in direct melee counter range | Moves you away from the opponent |
| Resource Cost | Drains guard posture and stamina per hit | Consumes a fixed stamina chunk per roll |
| Follow-up Speed | Allows an immediate weapon attack | Requires waiting for the roll animation to end |
| Weakness | Vulnerable to flank and rear strikes | Vulnerable if timed outside invulnerability frames |
| Ideal Targets | Rapid sword combos, scouts, and arrows | Heavy overhead slams and brute club sweeps |
Use your shield against fast melee attackers and archers. When facing brute enemies wielding heavy clubs or two-handed weapons, switch back to dodge rolling. Heavy blows deal extreme posture damage that can break your guard in a single hit.
How to Execute a Shield Guard Counter
Blocking an enemy's initial blow interrupts their combo momentum, leaving them stalled in weapon recoil. Punish this recovery window by following these steps:
- Watch the attack telegraph: As an enemy draws back their weapon arm to swing, press and hold the guard button to raise your shield.
- Absorb the strike: Let the attack hit the front of the shield while monitoring your posture meter to avoid a guard break.
- Drop guard instantly: Release the guard button the moment the strike lands to remove the movement penalty and trigger stamina recovery.
- Counterattack: Strike immediately with a light katana combo while the enemy recovers, then prepare to raise your guard or roll away.
Positioning Against Flanks and Projectiles
The shield only protects against frontal attacks; hits from the side or behind bypass your guard entirely. When fighting groups, manage your spacing with these positioning tactics:
- Block incoming ranged fire: Advance toward archers with your shield raised to deflect arrows and shuriken without taking chip damage.
- Funnel melee groups: Back away toward walls, rocks, or narrow passages so enemies cannot circle behind your guard arc.
- Reposition when flanked: If an agile enemy slips behind you, drop your guard, roll laterally to reset your angle, and face the group before raising the shield again.
Pairing Shields with Primary Weapons
Fast weapons pair best with shield defense. Equipping a standard katana allows you to slash immediately out of block recoil and raise your guard again before neighboring enemies can react. Heavy, slow weapons leave longer recovery gaps after each swing, increasing the risk of taking damage before you can reset your guard stance. Deflecting minor hits with the shield preserves your healing supplies for major encounters across long stretches between shrines.

Free Takashi Ninja Warrior Codes
Current active codes and how to redeem them.

Michael Smith
Michael covers live-service games, events, reward systems, and efficient daily routines, turning frequent updates into clear actions for players.
COMMUNITY
Player Comments
135 players commented on this guide.
This saved me time in the early game.
This guide answered the exact question I had.
Nice guide. I am checking the other Takashi Ninja Warrior articles next.
This helped me understand strategy much better.