
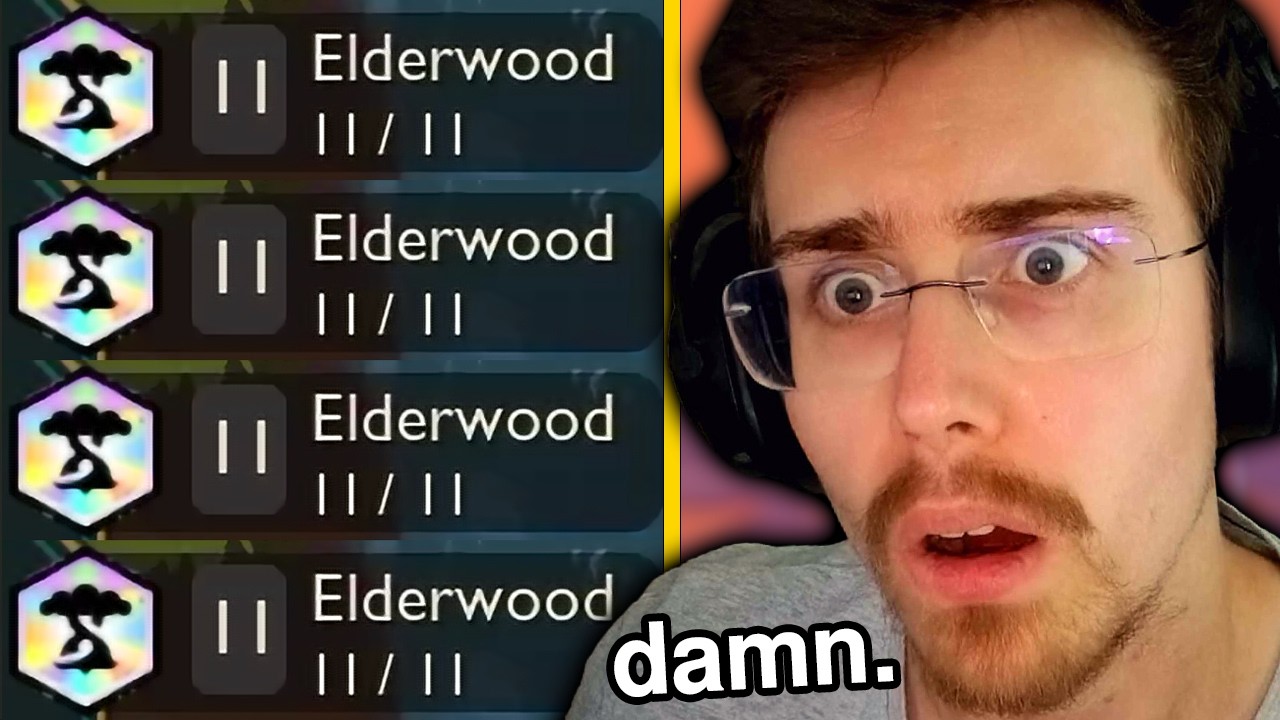
In TFT: Teamfight Tactics, vertical traits are the ultimate "high-roll" dream. Among these, the 11 Elderwood trait stands out as a game-breaking composition that turns your entire board into an unkillable, high-damage death squad. Reaching this threshold isn't just about luck; it is a calculated exercise in economy management, aggressive leveling, and precise augment selection. Because the Elderwood trait scales exponentially, hitting 11 units creates a power spike that forces even the most capped enemy boards to crumble.
This guide breaks down exactly how to force, stabilize, and win with the 11 Elderwood composition in TFT: Teamfight Tactics.
Understanding the Power of 11 Elderwood
The Elderwood trait is designed as a scaling engine. At lower tiers, it provides modest defensive and offensive stats. However, at the 11-unit threshold, the bonuses are amplified to such an extreme degree that your units effectively become "raid bosses."
The core mechanic of Elderwood involves periodic stat generation. As the combat timer ticks, your units gain stacking Ability Power, Armor, and Magic Resist. At 11 stacks, this bonus is massive enough that even your weakest frontline units can survive significant burst damage, while your backline carries gain enough AP to one-shot high-HP tanks. Understanding this scaling is vital: your goal is to survive the initial engagement long enough for the Elderwood stacks to accumulate.
The Strategy: Securing Elderwood Emblems
You cannot reach 11 Elderwood without multiple Elderwood Emblems (or Spatulas). Since the trait roster rarely contains 11 units, you must bridge the gap with items.
Prioritizing Emblems
- The Spatula Priority: Treat a Spatula as the most valuable asset on the carousel. If you are committed to the 11 Elderwood path, do not use your Spatula for secondary traits.
- Augment Selection: You must take augments that offer Emblems or trait-related bonuses. If an augment offers an Elderwood Crest or Crown, it is almost always a "must-take," even if your current board is weak. The power spike from the 11-unit threshold outweighs the short-term combat value of other choices.
- The "Forcing" Mindset: Forcing a vertical trait requires you to prioritize economy over immediate board strength during Stages 2 and 3. You are playing for the late-game peak, not for a mid-game win streak.
Economy and Leveling: The Path to Level 9
Reaching 11 Elderwood is essentially a race to Level 9 or 10. To field 11 units, you need the board space that only high player levels provide.
- Stage 2 (The Greed Phase): Focus on building interest gold. Lose-streaking is acceptable if it allows you to hit high economy thresholds (50g) faster.
- Stage 3 (The Stabilization): Use your gold to level to 7. If you are hemorrhaging health, roll just enough to find 2-star upgrades for your frontline, but do not ruin your economy.
- Stage 4 (The Power Push): Push for Level 8. This is the moment of truth. If you have your Emblems, you should start transitioning into your Elderwood core.
- Stage 5+ (The Completion): Spend your remaining gold to hit Level 9. Once at Level 9, your priority is finding the high-cost units that round out the trait and placing your Emblems on high-value units that benefit from the stat scaling.
Positioning for Maximum Efficiency
With 11 Elderwood, your team is naturally tanky, but positioning still determines whether you win against top-tier meta comps.
- Frontline Distribution: Because Elderwood units gain Armor and MR over time, you can afford to spread your tanks wide. This prevents your team from being clumped by Area-of-Effect (AoE) spells from enemy mages.
- Carry Safety: Place your primary damage dealers in the second or third row, shielded by your frontline. Since your units gain power the longer they survive, your goal is to "stall." Protect your carries at all costs; if they stay alive for 15+ seconds, the Elderwood scaling will make them virtually untouchable.
- Cornering Threats: If the enemy has high-burst assassins or backline-access units, utilize a "box" formation to ensure your key carries are surrounded by your most durable Elderwood tanks.
Common Mistakes to Avoid
Even with a powerful trait, players often lose by making fundamental errors in the transition phase:
- Greeding for 11: If you are at 9 Elderwood and losing fights instantly, don't wait for 11. Put in a unit that provides crowd control (CC) or shreds enemy resistance. A slightly less "vertical" board that actually functions is better than a broken 11-unit board that dies in five seconds.
- Ignoring Itemization: Elderwood gives stats, but it doesn't solve your need for Mana or Armor Shred. Ensure your carries have at least one Mana item (like Shojin or Blue Buff) and that you have a way to shred enemy Armor/MR (like Statikk Shiv or Last Whisper).
- Failing to Pivot: If the lobby is hyper-aggressive and you haven't found a single Spatula by Stage 4, you must be willing to abandon the 11 Elderwood dream. Forcing a composition when the game isn't providing the necessary components is the fastest way to an 8th-place finish.
When to Pivot
The hallmark of an elite TFT: Teamfight Tactics player is knowing when the "insane" build is actually a trap. Watch your opponents. If three other players are contesting your units or if the lobby is ending games early, you cannot afford the slow climb to Level 9. Always keep an eye on your health total; if you drop below 30 HP, your primary goal shifts from "hitting 11 Elderwood" to "playing for Top 4."
Final Expert Insights
The 11 Elderwood composition is a testament to the power of vertical synergy in TFT: Teamfight Tactics. By turning your units into scaling juggernauts, you negate the need for complex, individual unit tactics. Instead, you rely on the raw, accumulated stats of the trait.
Remember: Consistency in economy is the foundation, but Emblems are the key. If you can manage your gold, navigate your augment choices effectively, and recognize when to protect your carries, the 11 Elderwood board will prove to be one of the most rewarding and dominant strategies in your climb. Stay adaptable, prioritize your leveling, and let the Elderwood scaling do the heavy lifting in the late game.

Free TFT: Teamfight Tactics Codes
Current active codes and how to redeem them.

Michael Smith
Michael covers live-service games, events, reward systems, and efficient daily routines, turning frequent updates into clear actions for players.
COMMUNITY
Player Comments
64 players commented on this guide.
This guide answered the exact question I had.
This helped me understand strategy much better.
The explanation is clear, especially for beginners.
I wish I had read this before upgrading the wrong thing.