
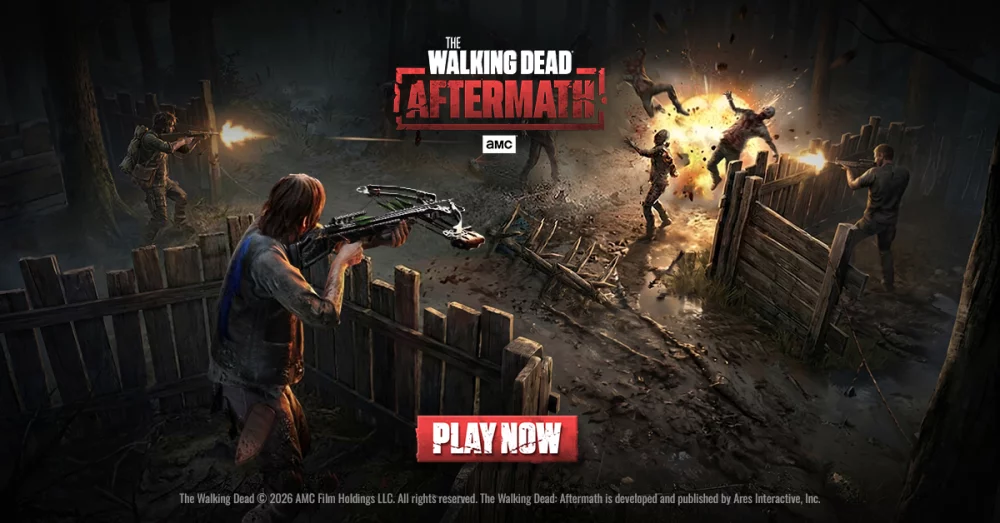
Survival in The Walking Dead: Aftermath is rarely about brute force; it is about controlling the space you occupy. To clear combat zones efficiently, you must master the art of tactical positioning, environmental exploitation, and disciplined ability management. The difference between a clean mission completion and a squad wipe often comes down to where you stand when the first wave of walkers hits the screen.
Reading Combat Zone Layouts
Before you commit your team to an engagement, treat every combat zone as a puzzle. Walkers in The Walking Dead: Aftermath rely on numbers and overwhelming pressure, but they are pathfinding-dependent. They will almost always take the shortest route toward your squad.
- Identify Choke Points: Look for narrow doorways, gaps in fences, or piles of debris. By positioning your tankier heroes at these bottlenecks, you transform a swarm of thirty walkers into a manageable line of three or four, allowing your damage dealers to pick them off one by one without being surrounded.
- Spotting Spawn Indicators: Observe the peripheral edges of the screen for subtle visual cues—dust clouds or erratic movement—that signal a new wave. If you see a spawn point activating on your flank, move your squad early to intercept. Never stay stationary if a spawn point is appearing behind your line.
- The "L-Shaped" Defense: When forced to fight in an open area, position your squad in an L-shape rather than a straight line. This ensures that walkers converging on your center are forced into the crossfire of your flanking units, preventing the AI from successfully wrapping around your formation.
Managing Unit Positioning and Line of Sight
Your heroes have distinct effective ranges. A common mistake in The Walking Dead: Aftermath is "bunching," where all units occupy the same tile or radius. This makes you vulnerable to area-based threats and blocks your own line of sight.
- Maintain Firing Lanes: If your primary damage dealer is a ranged character, ensure no friendly units are standing between them and the target. In this game, your own team members can act as physical obstacles, accidentally shielding walkers from your best attacks.
- Dynamic Spacing: As walkers approach, shift your units slightly apart. By creating a wider arc, you force the walkers to split their focus. This prevents the "mobbing" effect where every unit is forced into a melee animation, which significantly reduces your team’s collective damage-per-second output.
- The "Tank-and-Spank" Rotation: Keep your health-heavy units in the front-center. If a tank’s health drops below 50%, rotate them to the back of the formation while a fresh unit steps into the choke point. This "rotational tanking" preserves your hero health pools across multiple waves.
Prioritizing Target Selection in Crowded Zones
Not all walkers are equal, and in The Walking Dead: Aftermath, target prioritization is the most critical skill for high-density combat. When the screen is flooded, panic-firing is a death sentence. Use a triage system to manage the threat:
- Immediate Threat (The Flankers): Any walker moving toward your support or back-line units must be neutralized first. These units are your force multipliers; if they fall, your ability to sustain the fight disappears.
- Proximity Threats: Focus fire on walkers that are within "grab range" of your front-line tanks. These units are currently dealing damage or locking your tanks in place.
- The "Cluster" Targets: If three or more walkers are tightly grouped, ignore individual focus fire. This is the optimal time to deploy area-of-effect (AoE) abilities. Using an AoE on a single target is a waste of a cooldown that could have cleared a path for your team.
Resource Conservation and Cooldown Management
Your hero abilities are your "panic buttons." If you exhaust them on the first wave, you will be defenseless against the inevitable boss or high-density wave that concludes many combat zones.
- The 30% Rule: Aim to finish standard waves using only basic attacks. Reserve your powerful cooldowns for when the "Danger Meter" spikes or when you are physically cornered.
- Strategic Retreats: Do not be afraid to give up ground. If your formation is breaking, move your entire squad backward. By pulling the horde back, you force them to reform into a line, giving you more time to recharge abilities and reposition your units into a fresh choke point.
- Health vs. Progress: In The Walking Dead: Aftermath, you are not racing against a clock; you are racing against your own health attrition. If you can clear a zone by kiting the enemies for an extra thirty seconds, do it. It is always better to spend time than to spend medical supplies or hero health.
Avoiding Common Tactical Mistakes
Even experienced players fall into these traps. Awareness of these habits will improve your survival rate significantly:
- Over-committing to a Chase: Never move your back-line units to chase a stray walker. Let the walker come to you. Moving your support units out of position is the fastest way to get them caught in a pincer movement.
- Ignoring the Environment: Some objects in The Walking Dead: Aftermath can be interacted with to create temporary barriers. Always scan the environment for fuel barrels (explosives) or barricades that can be repaired or pushed.
- Ignoring Cooldown Sync: Ensure your heroes’ abilities are not all on cooldown at the same time. Stagger your ability usage so that at least one hero always has an active crowd-control or burst-damage skill available to handle an emergency.
Final Thoughts on Squad Synergy
Ultimately, your success depends on how well your team complements each other. A balanced squad—comprised of one high-durability tank, two consistent damage dealers, and one utility/support character—is the gold standard.
By applying the principles of bottlenecking, rotational tanking, and disciplined target triage, you turn the chaotic, overwhelming nature of The Walking Dead: Aftermath into a calculated, mechanical process. Remember: the dead don't get smarter, but you can. Keep your lines clean, save your abilities for the critical moments, and always prioritize the preservation of your squad over the speed of the clear. Survival is not a sprint; it is a methodical, zone-by-zone conquest.

Free The Walking Dead: Aftermath Codes
Current active codes and how to redeem them.

Michael Smith
Michael covers live-service games, events, reward systems, and efficient daily routines, turning frequent updates into clear actions for players.
COMMUNITY
Player Comments
115 players commented on this guide.
The explanation is clear, especially for beginners.
This saved me time in the early game.
This helped me understand strategy much better.
Can you add more details about strategy in a future update?