
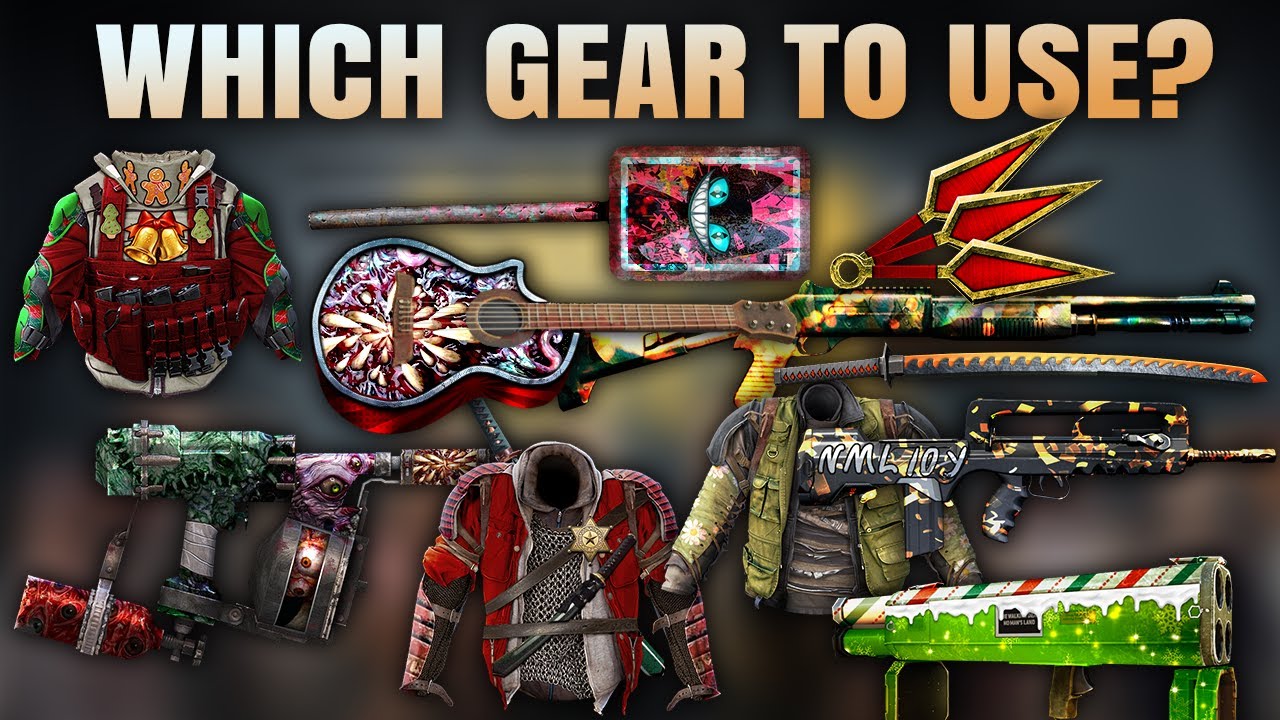
To master The Walking Dead No Man's Land, you must move beyond base damage numbers and focus on the secondary traits that define high-level play. As of the November 2025 update, the most effective gear strategy involves creating specific synergies between your survivor’s class role and the unique perks found on weapons and armor. By prioritizing traits like Leech, Dodge, and Critical Hit chance over raw power, you can ensure your squad survives the most challenging endgame missions and seasonal events.
The Hierarchy of Weapon Traits
In The Walking Dead No Man's Land, the true strength of a weapon lies in its secondary traits. While raw damage is important for clearing early stages, it becomes a secondary concern in high-difficulty modes where sustainability determines victory.
- The Power of Leech: For any survivor expected to engage in melee combat or take chip damage, the Leech trait is non-negotiable. It allows your survivors to regain health based on a percentage of damage dealt. This reduces your reliance on medical items and keeps your frontline operational for the duration of the map.
- Critical Hit Scaling: For ranged classes like Shooters, prioritize gear that boosts Critical Hit chance and Critical Damage. In the late game, walker armor values increase significantly; high critical damage multipliers are the only way to consistently bypass this resistance and maintain your damage-per-turn output.
- Crowd Control Perks: Look for weapons that offer utility, such as slowing effects or stun chances. These traits are invaluable when you are outnumbered, as they provide the extra time needed for your cooldowns to reset.
Armor Selection: Survival vs. Mobility
Armor should be viewed as a tool to mitigate specific threat types rather than a simple health pool increase. Your choice of armor must change based on the specific role of the survivor.
The Tank Philosophy
Tanks are your primary damage sponges. When gearing them, focus exclusively on:
- Dodge: This is the most efficient defensive stat in the game. A successful dodge negates 100% of incoming damage, which is mathematically superior to flat damage reduction when facing elite walkers or high-level bosses.
- Health Per Turn: If Dodge is unavailable, prioritize passive health regeneration. This allows your Tank to hold a choke point indefinitely without needing constant healing from a support character.
The Scout and Shooter Philosophy
For classes that are naturally "squishy," armor should focus on mobility and survivability:
- Movement Speed: High mobility allows you to perform "hit-and-run" tactics, ensuring you can reach objectives and retreat to safety without being cornered.
- Stealth Utility: If you are running a stealth-focused build, prioritize armor that reduces the detection range of walkers, allowing you to bypass entire groups without engaging them.
Class-Specific Gear Requirements
To get the most out of your resources, align your gear with the core functionality of each class:
| Class | Primary Weapon Trait | Primary Armor Trait |
|---|---|---|
| Tank | Leech or Stun | Dodge / Health Regeneration |
| Scout | Speed / Crit Chance | Movement Speed |
| Shooter | Crit Damage / Range | Stealth / Dodge |
| Assault | AoE Damage / Cooldown Reduction | Damage Reduction |
Strategic Resource Management
One of the most common mistakes players make is spreading their upgrade materials across too many survivors. The Walking Dead No Man's Land rewards specialization.
- Build a Core Five: Focus your upgrade resources on a core team of five to seven survivors. Having one fully optimized, top-tier unit is infinitely more valuable than having ten "average" survivors who cannot survive a single hit in high-level content.
- The "Gold" Standard: Always prioritize gear with "Gold" or "Ultimate" tier traits. Even if the item's base level is lower than your current gear, the scaling potential of higher-tier traits will quickly outpace a higher-level item with mediocre or generic stats.
- Scrapping Strategy: Do not be afraid to scrap gear that lacks essential utility. If a weapon offers high power but no secondary perks (like Leech or Crit), it is often a trap. Save your materials for gear that fits your specific team synergy.
Overcoming Gear Trade-offs
Every gear choice involves a sacrifice. The most common dilemma is choosing between offensive damage and defensive utility.
If you are tackling a mission with a tight turn limit, you may be tempted to stack pure damage. However, in endurance-heavy modes like the Last Stand or high-tier Season Missions, this is often a fatal error. Sustainability is the meta. If your damage dealer dies, their damage output drops to zero. By sacrificing a small amount of raw power for a Leech or Dodge trait, you increase your team's "Time-to-Death," which often leads to a higher mission success rate.
Identifying "Trap" Gear
Be wary of items that provide massive base stat boosts but lack meaningful secondary effects. In the current 2025 meta, the game is balanced around the utility of your survivors. A piece of armor that gives +500 HP but zero Dodge will be vastly inferior to a piece of armor with +200 HP and a 10% Dodge chance. Always evaluate how an item’s perks interact with the survivor’s innate skills. For example, a weapon that reduces ability cooldowns is significantly more powerful on an Assault survivor than a weapon that simply provides a flat damage boost.
Conclusion: Refining Your Loadout
The key to mastering gear in The Walking Dead No Man's Land is intentionality. Stop looking at gear as a way to make numbers bigger, and start looking at it as a way to enable your survivor's playstyle. If your Tank isn't dodging, they aren't doing their job. If your Shooter isn't critting, they aren't clearing the field. By focusing your resources on specific, high-utility traits and limiting your upgrades to a core squad, you will find that even the most difficult missions become manageable through smart preparation and tactical loadout selection.

Free The Walking Dead No Man's Land Codes
Current active codes and how to redeem them.

Sarah Williams
Sarah specializes in RPG and collection games, explaining team building, character growth, and beginner-friendly ways to avoid expensive early mistakes.
COMMUNITY
Player Comments
118 players commented on this guide.
The tips are practical and easy to follow.
This guide answered the exact question I had.
I tried this today and it worked better than my old setup.
I wish I had read this before upgrading the wrong thing.