
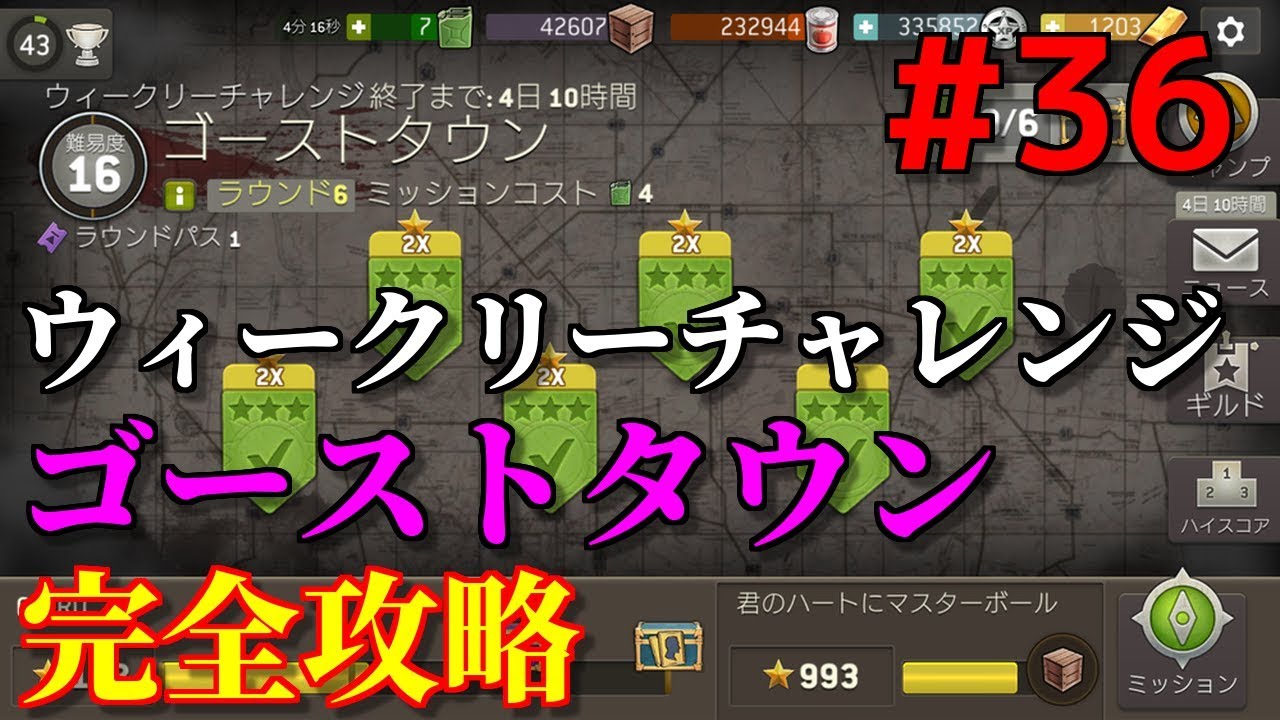
To clear Ghost Town weekly challenge missions in The Walking Dead No Man's Land, use ranged survivors to detonate environmental hazards before walker swarms close in, hold choke points at street corners, and head straight for extraction once objectives are met. Staying to fight all incoming enemies wastes Action Points (AP) and escalates the threat meter.
Ghost Town Map Gimmicks and Hazards
Ghost Town stages feature interactive objects scattered across street intersections. Detonating hazards with ranged weapons clears dense groups without risking melee damage, but noise spikes the threat meter.
| Gimmick / Hazard | Tactical Effect | Primary Risk | Recommended Action |
|---|---|---|---|
| Explosive Barrels | Deals massive area damage to clustered walkers | Spikes noise and advances the threat meter | Shoot from maximum range before walkers disperse into alleys |
| Car Alarms & Horns | Lures nearby walkers toward the vehicle | Triggers fresh reinforcement waves | Activate remotely to pull enemies away from your exit path |
| Street Choke Points | Narrows enemy movement into single-tile lanes | Leaves your squad trapped if flanked | Hold with Overwatch fire or wide-cone melee attacks |
| Barricades & Gates | Obstructs walker navigation paths | Consumes survivor turn AP to break | Breach only required objective paths; leave side barriers closed |
Recommended Squad Composition
Bring a balanced three-survivor squad with ranged capability. A squad of purely melee survivors cannot detonate hazards safely and will take unnecessary damage.
- Scout: Provides high mobility to open supply crates, activate objective levers, and reach the extraction grid without burning excessive AP.
- Shooter or Hunter: Fires across street lanes to detonate fuel barrels and pick off armored targets before they reach melee range.
- Assault or Bruiser: Secures bottlenecks and uses stun or wide-spread attacks to control any walkers that survive trap explosions.
Step-by-Step Mission Route
Follow this sequence to clear the map efficiently:
- Survey Turn One: Locate the extraction zone, required supply crates, and all explosive barrels before spending any movement points.
- Detonate Clustered Hazards: Use a Shooter or Hunter to ignite red barrels while enemies are tightly packed around them.
- Set Overwatch Lines: Position your Assault or Shooter at street corners facing narrow alleyways to stop approaching stragglers on the enemy turn.
- Collect Objectives: Move your Scout along cleared sidewalks to loot crates and trigger mission switches while keeping ranged support within sight.
- Extract Immediately: Regroup the entire squad on the green extraction tiles as soon as objectives are complete. Lingering to kill leftover walkers yields no additional rewards and increases injury risk.
Action Point and Threat Management
Every action that generates sound increases the mission threat meter, which summons larger walker waves. Conserving Action Points prevents your squad from getting overwhelmed:
- Save Defensive AP: Always end your turn with at least one remaining AP on front-line survivors to enable defensive stances or counter-attacks.
- Plan Movement Around Debris: Navigating around barbed wire or wrecked vehicles consumes extra movement tiles. Calculate the shortest path so survivors do not end their turn stranded in the open.
- Ignore Unnecessary Combat: Walker kills do not boost mission completion rank. When a horde warning appears, spend every AP moving toward the exit rather than fighting defensively.

Free The Walking Dead No Man's Land Codes
Current active codes and how to redeem them.

Sarah Williams
Sarah specializes in RPG and collection games, explaining team building, character growth, and beginner-friendly ways to avoid expensive early mistakes.
COMMUNITY
Player Comments
159 players commented on this guide.
This guide answered the exact question I had.
I wish I had read this before upgrading the wrong thing.
This saved me time in the early game.
The tips are practical and easy to follow.