
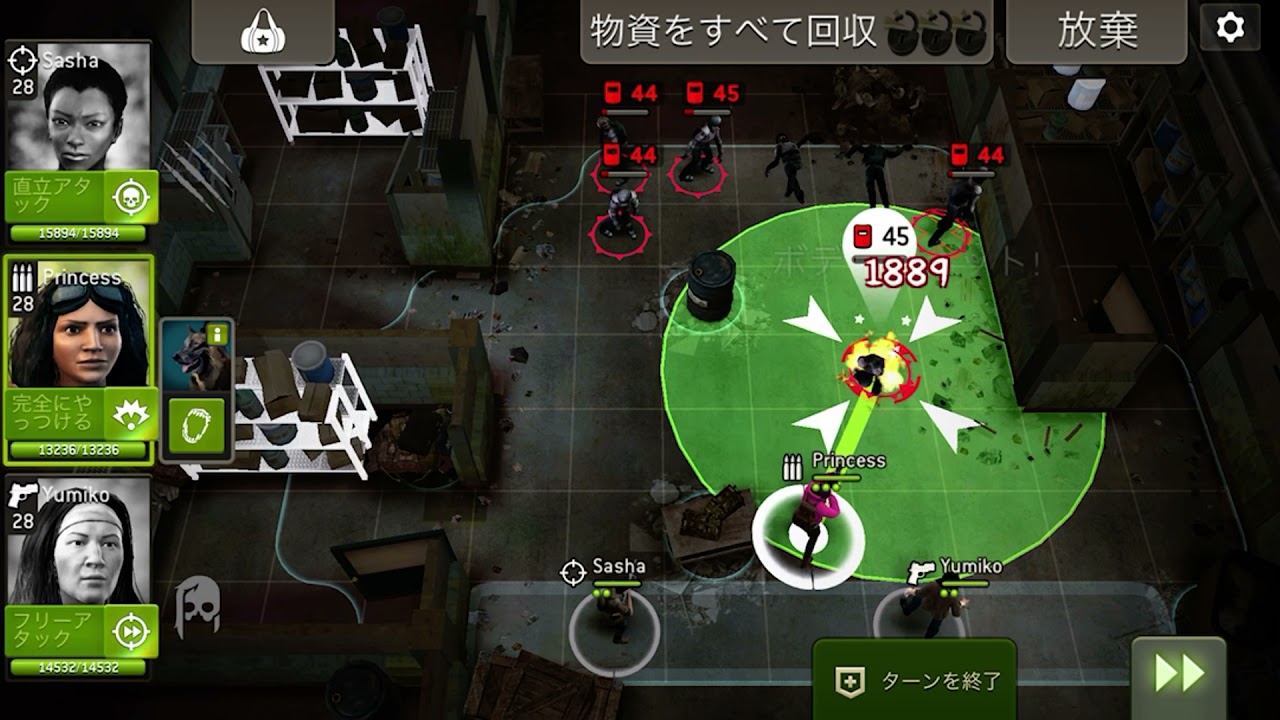
To beat Supply Run Difficulty 44 in The Walking Dead No Man's Land, deploy a balanced three-survivor squad focused on objective mobility and choke-point control rather than total map clearance. First featured during the Season 11 Challenge in November 2021, Difficulty 44 features lethal walker damage scaling, armored threats, and escalating reinforcement waves that punish prolonged standoffs. Success requires grabbing every supply crate efficiently, locking down corridors, and extracting before reinforcements overwhelm your team.
Squad Composition and Class Roles
Surviving Difficulty 44 requires a trio that pairs high mobility with non-lethal crowd control and reliable defensive fire. Running an entirely ranged team triggers rapid reinforcement spawns due to gunshot noise, while an all-melee team risks heavy retaliation damage from armored walkers.
Pair one Scout runner, one frontline Bruiser or Warrior, and one Shooter or Hunter:
| Survivor Class | Primary Role | Key Tactical Utility | Difficulty 44 Priority |
|---|---|---|---|
| Scout | Crate Retrieval | High mobility, silent melee kills | Loot peripheral supply crates and eliminate low-health blockers |
| Bruiser / Warrior | Choke Control | Melee stuns, multi-target cleave | Lock down armored walkers and anchor bottleneck doorways |
| Shooter / Hunter | Overwatch Defense | Long-range burst, defensive cones | Guard looting lanes and intercept approaching runners on enemy turns |
Turn-by-Turn Routing and Crate Collection
Do not split survivors across opposite sides of the map. Separated units cannot survive coordinated walker rushes at this difficulty level. Advance through a unified corridor so your team can maintain overlapping coverage.
- Secure the perimeter: Eliminate immediate frontal path blockers on turn one using silent melee strikes or uncharged ranged fire. Move your Bruiser to the nearest corner to scout incoming patrols, keeping your Scout in cover. Avoid full sprints into unrevealed tiles.
- Clear the midfield: Advance your Bruiser into the central choke point to stun the lead armored walker. Move the Scout within single-move range of the central crate, retrieve the supplies, and step back toward squad support. Set your Shooter or Hunter into an overwatch cone covering the primary approach lane.
- Retrieve deep crates and extract: Rotate the team toward the remaining crates, maintaining a formation where survivors remain within two to three tiles of one another. Once the final supply crate is in hand, disengage immediately. Route all three survivors straight to the extraction boundary, using the Bruiser to body-block doorways until the entire squad escapes.
Action Point Economy and Threat Management
Every action point (AP) must serve either movement, crowd control, or looting. In Supply Run, opening a supply crate consumes action points, leaving runners vulnerable if they lack the stamina to reposition afterward.
- Follow the half-move rule: Always advance within the blue movement boundary on initial moves. This preserves an action point, allowing the survivor to attack, interact with a crate, or set up an overwatch stance.
- Conserve ranged attacks: Unsilenced gunfire raises the active threat level and triggers perimeter reinforcements. Rely on Scout melee strikes and Bruiser stuns for isolated enemies, reserving ranged fire for overwatch intercepts and emergency clearings.
- Avoid greedy looting: Never send an unsupported Scout to grab an exposed crate while walkers remain active nearby. Eliminate or stun the local threats first, secure the crate, and pull back immediately into defensive coverage.

Free The Walking Dead No Man's Land Codes
Current active codes and how to redeem them.

Sarah Williams
Sarah specializes in RPG and collection games, explaining team building, character growth, and beginner-friendly ways to avoid expensive early mistakes.
COMMUNITY
Player Comments
36 players commented on this guide.
I tried this today and it worked better than my old setup.
Can you add more details about strategy in a future update?
The explanation is clear, especially for beginners.
This helped me understand strategy much better.