
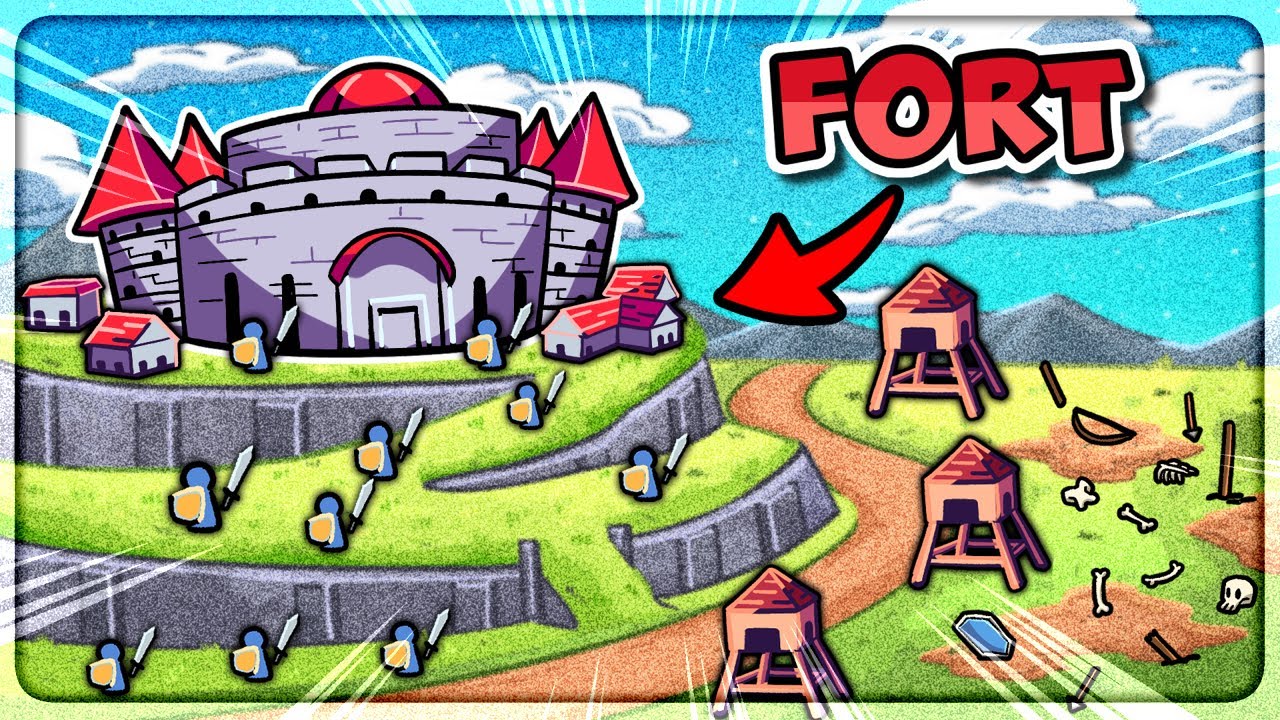
To beat Durststein in Thronefall - A Little Kingdom, establish an early economy around your secure inner gold mine, place ranged defenders along high ridges, and bottleneck incoming waves at narrow mountain passes. Because enemy waves split across multiple steep paths, you must use your monarch to kite and delay unfortified lanes while static troops and towers protect your core base.
Early-Game Economy and Building Priorities
Durststein features isolated gold deposits and open valley plots. During Nights 1 through 3, spend your starting gold exclusively on upgrading the Town Center and building the closest inner gold mine. Avoid constructing mills in outer ravines early, as stray enemies will destroy them before you have enough troops to defend multiple zones.
Once your primary mine reaches full output, expand gradually toward inner cliffside windmills. Alternate between economic investments and defense upgrades each day to ensure your walls and garrisons keep pace with scaling enemy health pools.
| Investment Target | Recommended Timing | Role | Vulnerability |
|---|---|---|---|
| Town Center | Nights 1–2 | Unlocks defensive radius and perks | High cost delays early unit recruitment |
| Inner Gold Mine | Nights 2–3 | Generates reliable passive income | Requires upfront gold before turning a profit |
| Cliffside Windmills | Nights 4–5 | Scales compound gold generation | Exposed to fast cavalry if unbarricaded |
| Outer Economic Plots | Night 6+ | Funds late-game defense upgrades | Easily lost if outer perimeter walls break |
Ranged Placement and Elevation Advantage
Building towers along high mountain ridges extends their firing range and uptime against climbing enemies. Durststein's steep paths slow ground troops, giving elevated units a sustained window to deal damage before melee engagement.
- Sniper Towers: Upgrade elevated ridge posts into Sniper Towers to eliminate high-threat backline siege units from safety.
- Watchtowers: Place rapid-firing Watchtowers at lower elevations to thin out swarms of light ground units.
- Archer Positioning: Station Crossbowmen and Longbow Archers directly above central ramps. Use the monarch's command tether to hold them on high ground so they do not chase retreating units down into low-ground ambush areas.
Funneling Choke Points
Rather than trying to wall off every mountain path at once, focus your construction on short wall segments and gatehouses that cut across narrow stone passes.
- Fortify one flank completely: Build stone walls and a gatehouse at the narrowest canyon pass, garrisoning it with Spearmen against mounted charges or Knights against blunt melee units.
- Upgrade gates conditionally: Only invest in gate durability upgrades when upcoming wave previews show rams or siege units.
- Cover the exposed flank manually: Leave wider secondary ramps open early on and use your monarch to actively delay and draw aggro from those attackers while overhead ridge towers deal damage.
Defending Split Waves and Flying Units
When the wave preview shows split attack vectors, send your AI units to hold the steepest, fortified ramp. Take direct control of the unfortified lane with your monarch, using basic attacks to aggro and stall enemies before they reach your inner windmills.
Flying units ignore mountain cliffs and walls entirely. When aerial threats appear on the wave preview:
- Equip rapid-firing weapons, such as the Bow or Lightning, to burst down airborne targets.
- Fall back toward the central keep to intercept fliers before they reach workers.
- Station a squad of Longbowmen near the Town Center to act as a dedicated anti-air escort for core buildings.
Late-Game Boss Wave Defense
Durststein's final stages introduce heavy siege engines and dense monster groups that will breach outer barriers. Concede outer gold plots and pull your entire military force back into the inner courtyard surrounding the main keep, where overlapping tower firing arcs create concentrated kill zones.
During the boss wave, deploy Knights and Flails directly at the base of the central stairs to halt the boss's approach. Circle the perimeter on your monarch to burst down escort minions with active abilities on cooldown. Clearing the support units first removes flank pressure, allowing your static towers and surviving frontline troops to defeat the boss.

Free Thronefall - A Little Kingdom Codes
Current active codes and how to redeem them.

Emily Johnson
Emily writes practical mobile strategy guides with a focus on resource planning, base progression, and the early decisions that shape a long-term account.
COMMUNITY
Player Comments
124 players commented on this guide.
Can you add more details about strategy in a future update?
This saved me time in the early game.
The tips are practical and easy to follow.
I wish I had read this before upgrading the wrong thing.