
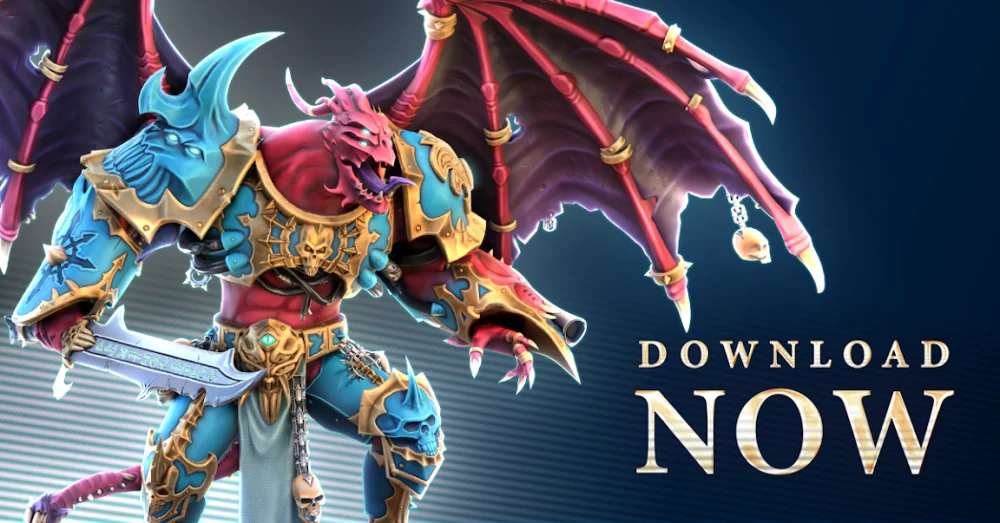
Success in Warhammer 40,000: Tacticus requires more than just collecting powerful units; it demands a deep understanding of squad synergy, terrain manipulation, and the specific mechanical threats posed by various factions. Whether you are navigating the early Indomitus campaign or pushing through the punishing difficulty spikes of Act 4, your ability to build a balanced, cohesive force is the difference between victory and defeat.
Core Principles of Space Marine Squad Synergy
The Space Marines in Warhammer 40,000: Tacticus are defined by their durability and versatility. To effectively utilize them, you must move away from treating units as individual damage dealers and start viewing them as components of a combined-arms force.
- The Anvil and Hammer: Pair high-armor units (like Incisus for healing or Varro Tigurius for defensive buffs) with high-damage output units. Your "Anvil" units should occupy high-threat zones, absorbing fire and controlling choke points, while your "Hammer" units deal damage from behind the safety of your front line.
- Positional Discipline: Avoid rushing into the center of the hex grid. Space Marines excel when they can dictate the engagement distance. Use terrain features like high ground or cover to mitigate incoming fire, forcing enemies to move into your kill zones.
- Resource Investment: In the early game, prioritize upgrading your core Space Marine roster. These units are flexible and serve as the foundation for your progression into more specialized factions.
Overcoming Late-Game Difficulty Spikes
As you progress into Act 4 and beyond, the game shifts from simple skirmishes to complex tactical puzzles. You will face high-threat enemy spawns that can wipe an unoptimized squad in a single turn.
The primary cause of failure in late-game stages is "target saturation." When facing large groups of enemies, prioritize targets that offer the most immediate threat to your backline support. Use your mobility-focused characters to engage high-value targets (such as enemy healers or long-range snipers) before they can disrupt your formation.
- Action Economy: Remember that every unit has limited movement and attack actions. If you can eliminate an enemy unit, you remove its ability to contribute to the opponent's action economy. Focus fire on one target until it is destroyed rather than spreading damage across multiple units.
- Managing AoE Threats: Late-game enemies often employ Area of Effect (AoE) attacks. Spread your units out to prevent a single enemy ability from hitting multiple characters.
Rogue Trader Roster Optimization
The introduction of the Rogue Trader faction adds a layer of depth to roster management, particularly for players tackling end-game milestones. Rogue Traders bring unique utility and economic advantages that can tip the scales in prolonged battles.
When integrating Rogue Traders into your squad, focus on their "Support-Utility" identity. They are not frontline brawlers; they are force multipliers. Use them to manipulate the board, provide buffs, or control enemy movement. Aligning a Rogue Trader with heavy-hitting factions allows you to sustain offensive pressure while maintaining the agility needed to react to shifting battlefield conditions.
Strategic Approach to Swarm Factions
When facing Tyranids or other swarm-based factions, your tactical approach must change entirely. The strength of a swarm is its numbers; therefore, your goal is to prevent them from surrounding you.
- Choke Points: Identify narrow passages on the map. Positioning your tankiest units in a single-hex wide opening allows you to fight the swarm one or two units at a time, negating their numerical advantage.
- AoE Management: If you are struggling against swarms, ensure at least two of your squad members have access to piercing or area-of-effect damage. Characters capable of hitting multiple adjacent hexes are essential for clearing chaff and reaching the high-value "leader" units hiding behind the swarm.
- Mobility is Life: Avoid getting pinned. If a swarm manages to surround you, your armor ratings will quickly become irrelevant due to the sheer volume of attacks. Use movement abilities to reposition to the edges of the map, forcing the swarm to chase you and preventing them from concentrating their force.
Leveraging Heavy Support and Artillery
For missions requiring the destruction of high-HP targets or stationary bosses, heavy support units are non-negotiable. However, these units suffer from poor mobility and vulnerability in melee combat.
- The Escort Protocol: Always treat your heavy hitters as "V.I.P." units. Create a defensive bubble around them using melee units with high HP.
- Vision and Range: In Warhammer 40,000: Tacticus, line of sight is everything. Use scouts or fast-moving units to provide vision on targets for your artillery pieces. A heavy support unit that cannot see its target is a wasted turn.
- Syncing Cooldowns: Coordinate your heavy ordnance with debuffs. If you have a character that can apply a "defense down" or "exposed" effect, ensure your heavy hitter attacks that target immediately after. This combo can delete even the most resilient bosses in a single turn.
Avoiding Common Tactical Mistakes
Even experienced players fall into traps that lead to unnecessary losses. Avoiding these common errors will significantly improve your win rate:
- Over-extending: Moving a unit into range of multiple enemies just to land one hit is a tactical blunder. If your unit cannot survive the counter-attack, the damage dealt is rarely worth the loss of the unit.
- Ignoring Passive Abilities: Many players focus solely on active abilities and weapon stats. Take the time to read the passive traits of your roster. Often, a passive ability—such as increased evasion when near cover—is more impactful than a character’s active skill.
- Neglecting the "Wait" Command: Sometimes, the best move is to hold your position and force the enemy to come to you. By skipping an action or moving defensively, you allow your cooldowns to reset and force the AI to overextend, making them vulnerable to your next turn.
Conclusion: Building a Versatile Roster
Your success in Warhammer 40,000: Tacticus is ultimately defined by your adaptability. While it is tempting to focus on a single "meta" squad, the game's campaign and mission variety demand a broad roster.
Focus on building a core of versatile units that can handle multiple scenarios, then supplement them with specialists for specific tasks like swarm management or boss-killing. By aligning your tactical choices with the core identities of your factions—using Space Marines for stability, leveraging Rogue Trader utility, and mastering the art of the defensive choke point—you will conquer the most difficult challenges the game has to offer. Remember: in the grim darkness of the far future, victory belongs to the commander who plans, adapts, and executes with precision.
Free Warhammer 40,000: Tacticus ™ Codes
Current active codes and how to redeem them.

Michael Smith
Michael covers live-service games, events, reward systems, and efficient daily routines, turning frequent updates into clear actions for players.
COMMUNITY
Player Comments
74 players commented on this guide.
Can you add more details about resources in a future update?
I wish I had read this before upgrading the wrong thing.
This helped me understand resources much better.
The explanation is clear, especially for beginners.