
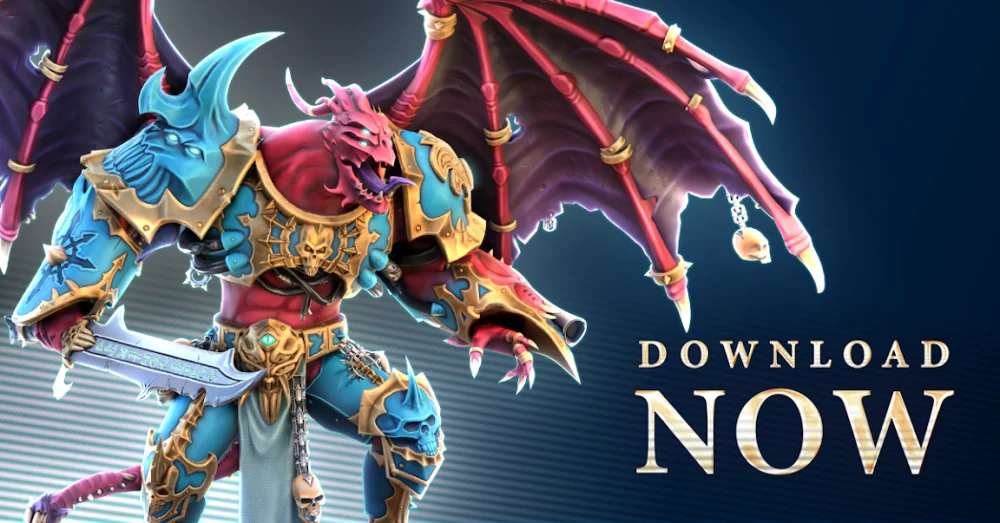
Success in Warhammer 40,000: Tacticus is rarely a matter of simply having the highest Power Level; it is a game of geometry, resource efficiency, and precise tactical execution. The transition from early-game campaign missions to the grueling difficulty spikes of late-game content requires a fundamental shift in how you view the hex-grid. By mastering the interplay between movement, line-of-sight, and specific unit roles, you can dismantle enemy formations that appear mathematically superior to your own.
Exploiting Hex-Based Movement and Positioning
The hex-grid in Warhammer 40,000: Tacticus is more than a stage—it is your primary weapon. Every unit possesses a movement range and a specific engagement profile. To dominate, you must stop treating the map as a static environment and start treating it as a series of flow-control puzzles.
- Choke Point Management: If you are outnumbered, never engage in open ground. Use high-health units like Space Marine Intercessors or Death Guard tanks to occupy narrow corridors. By placing one unit in a one-hex opening, you force the AI to funnel into your melee range one at a time, preventing them from surrounding you.
- The "Kite" Technique: Many high-threat enemy units are melee-only. If a unit has a movement of three, ending your turn on the fourth hex away from them forces the AI to waste its turn moving without attacking. This "kiting" is essential in high-level campaign missions where one wrong move means losing a star.
- High-Ground Advantage: Always prioritize high-ground tiles. These provide inherent defensive bonuses and, more importantly, extend your ranged units' line-of-sight. A sniper positioned on an elevated hex can often reach targets that would otherwise be obscured by walls or debris.
Synergy: Building the Perfect Squad
The most common mistake for new players is building a roster based on individual unit power rather than cohesive synergy. In Warhammer 40,000: Tacticus, "synergy" refers to the ability to chain buffs, debuffs, and area-of-effect (AoE) damage to end engagements before the enemy can retaliate.
For example, pair units that apply armor reduction (such as certain Necron or Chaos units) with high-damage single-target specialists. If a unit like Calandis or Bellator can clear the fodder enemies, your "boss killers" can focus their entire burst damage on the high-threat targets.
Pro-Tip: Always check the "traits" of your heroes. Traits like Resilient, Deep Strike, or Flying allow you to ignore standard grid constraints, such as moving over hazardous terrain or bypassing enemy tanks to strike fragile, high-damage backline units.
Navigating Late-Game Difficulty Spikes
As you push into Act 4 and beyond, the game introduces high-threat enemy spawns that will punish unoptimized teams. If you find your progress stalled, it is almost always due to a lack of "utility" in your roster.
- The Anchor Concept: Identify your core "anchor" heroes—units that provide consistent value regardless of the mission type (e.g., healers or summoners). Focus 80% of your upgrade materials on these 3–4 units.
- Resource Allocation: Do not spread your upgrade materials across your entire roster. Tacticus rewards specialization. It is better to have one "Diamond" rank hero who can carry a mission than five "Bronze" rank heroes who will all be one-shot by late-game elites.
- Rogue Trader Optimization: For players reaching the late game, the Rogue Trader shop becomes vital. Use your excess character shards to acquire gear and materials that are otherwise locked behind excessive RNG or high-energy grinds. Prioritize materials that boost your core squad’s armor and damage output.
Essential Unit Roles and Tactical Trade-offs
Understanding unit archetypes is the key to solving the tactical puzzles presented in each mission:
- The Tank: Designed to absorb hits and hold positions. They should always be in the "front" hexes, ideally occupying defensive terrain (like craters or ruins) to maximize their mitigation.
- The Summoner: In Warhammer 40,000: Tacticus, summons are effectively "free" units. They provide extra bodies to soak up AI attacks, effectively extending your team’s health pool. Use them to body-block doorways or distract ranged enemies.
- The Assassin: High-mobility units that can bypass the front line to eliminate backline healers or artillery. These are your "win condition" units—if the enemy has a healer, the Assassin is your priority deploy.
Managing Environmental Hazards
The battlefield is littered with hazards: explosive barrels, toxic sludge, and line-of-sight blockers. Expert players actively manipulate the AI to move into these hazards.
If you see an explosive barrel, don't shoot it immediately. Wait for the enemy AI to move their high-value units into the adjacent hexes, then detonate it for a massive area-of-effect burst. Conversely, if you are playing a mission with hazardous ground, prioritize units with the Flying trait. They ignore the movement penalties and damage associated with these tiles, giving you a massive mobility advantage over ground-bound enemies.
Avoiding Common Strategic Mistakes
Even experienced players often fall into the "Over-Commitment" trap. Here is how to avoid it:
- Don't ignore the clock: If a mission has a turn limit, you cannot afford to play purely defensively. You must balance aggression with caution. Learn to move your squad as a "phalanx," keeping your units close enough to support each other but spread out enough to avoid being hit by enemy AoE attacks.
- Don't neglect the "Upgrade" grind: If you are losing, it is usually because your gear level is behind the current campaign tier. Go back to earlier missions to farm specific upgrade items. Efficiency is king; check the drop rates for items in the campaign menu to ensure you are spending your limited daily energy on the most efficient nodes.
- Don't ignore the "Review" phase: Before clicking "Battle," look at the enemy squad composition. If the mission is full of melee units, swap in more ranged units. If the mission has high-armor bosses, swap in units with Armor Piercing (AP) traits.
By treating Warhammer 40,000: Tacticus as a tactical puzzle rather than a stat-check, you will find that even the most difficult campaign milestones become manageable. Focus on unit positioning, leverage your faction's unique traits, and never underestimate the power of a well-timed ability to shift the momentum of the battle in your favor.
Free Warhammer 40,000: Tacticus ™ Codes
Current active codes and how to redeem them.

Sarah Williams
Sarah specializes in RPG and collection games, explaining team building, character growth, and beginner-friendly ways to avoid expensive early mistakes.
COMMUNITY
Player Comments
56 players commented on this guide.
I tried this today and it worked better than my old setup.
This helped me understand heroes much better.
This saved me time in the early game.
I wish I had read this before upgrading the wrong thing.