
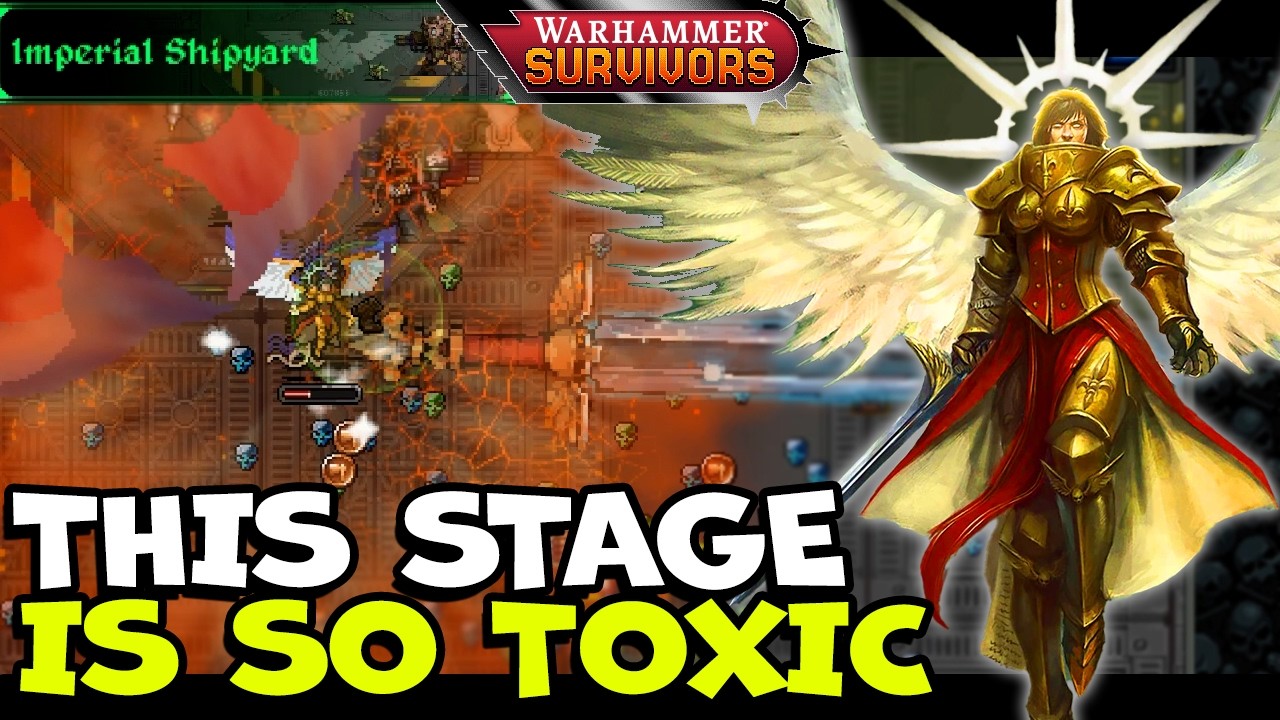
To beat Stage 2 Gallowdark in Warhammer Survivors, switch from open-field circular kiting to forward linear punch-through and intersection control. Gallowdark replaces the wide courtyards of Stage 1 Imperial Bastion with narrow industrial corridors, blind corners, and sealed blast doors. Surviving this layout requires piercing weaponry to drill through frontal waves, persistent ground fire to deny incoming lanes, and disciplined movement along straight corridors rather than running into dead ends.
Unlearning Open-Field Kiting
In Stage 1 Imperial Bastion, players can orbit large swarms and drag bosses like the Great Unclean One across open fields while waiting on weapon cooldowns. Gallowdark completely removes this space. Attempting to circle around an advancing horde will run your character into impassable bulkheads or dead-end alcoves.
The primary failure point in Gallowdark is corridor entrapment caused by pincer spawns. Enemy waves frequently spawn at both ends of a hallway simultaneously. Without sufficient forward penetration, the two sides compress your character into a tight bottleneck where melee strikes and projectiles become impossible to dodge. Side rooms and alcoves might look like safe havens, but they function as kill boxes if elite enemies block the threshold.
Weapon Priorities for Narrow Corridors
Radial spreads, loose shotgun patterns, and orbiting projectiles lose substantial damage efficiency in Gallowdark because their shots detonate against metal bulkheads. Prioritize weapons that pierce straight through columns of enemies or coat the floor in sustained damage zones.
Linear penetration allows you to drill through frontline fodder such as Nurglings to eliminate dangerous backline targets and clear a physical escape path. Pairing straight-line punch-through with ground fire creates an impassable defensive zone, forcing waves to march through continuous tick damage before reaching melee range.
| Weapon Archetype | Corridor Strengths | Tactical Limitations | Top Recommended Options |
|---|---|---|---|
| Linear Piercing | Drills through full corridor waves; hits shielded elites behind swarms | Requires forward aim; leaves rear flank vulnerable without turning | Heavy Bolter, Plasma Gun |
| Area Denial / Ground Fire | Covers corridor width; shreds densely packed waves with continuous tick damage | Fixed placement; lower immediate burst damage against chargers | Flamer, Melta-based weapons |
| Ricochet / Bouncing | Bounces off steel bulkheads to multiply hits within enclosed spaces | Unpredictable flight paths; cannot focus down priority targets quickly | Grenade Launchers, Frag Projectiles |
| Wide Radial Spread | Offers 360-degree close-range defense during sudden ambushes | Loses damage to walls; fails to punch deep escape routes down halls | Shotguns, unpierced Bolt weapons |
Movement and Navigation Tactics
Replace wide circular kiting with linear pendulum movement and junction navigation:
- Execute Pendulum Kiting: Move along a cleared hallway to trigger the forward spawn, then reverse direction in a controlled backward retreat while firing down the corridor bottleneck. Maintain line of sight along a single straight axis rather than turning blindly into an unexplored corridor.
- Fight in Junction Rooms: Use three-way and four-way intersections as your primary engagement zones. These hubs give you enough room to redirect oncoming groups down separate halls, preventing spawns from compressing you from both sides.
- Avoid Blind Alcoves: Never enter an unmapped side room while an active wave is chasing you. Sealed blast doors offer no exit once an elite unit closes the entrance.
Managing Splitting Horrors and Elite Chokepoints
Enemy body-blocking creates severe bottlenecks inside Gallowdark. Tzeentch Horrors are particularly dangerous: defeating a Pink Horror immediately spawns two Blue Horrors in the exact same spot. In an open area, these units spread out harmlessly, but in a narrow corridor, they instantly double the physical density of the chokepoint and halt forward movement.
Apply these rules when clearing crowded corridors:
- Focus Fire on Elite Leaders: Direct heavy burst damage into Chaos Champions or Plague Marines immediately. Their large health pools shield the fodder behind them and prolong the bottleneck.
- Eradicate Blue Horrors Promptly: Use rapid-fire secondary weapons or ground fire to eliminate Blue Horrors the moment they split from Pink Horrors before they block your retreat.
- Delay Loot Retrieval: Slain elites drop high-value experience gems and chests directly in the center of hallways. Do not dive into an active choke point to pick up items until the surrounding wave is completely cleared.
Key Defensive Passives
Because dodging every attack inside tight hallways is difficult, defensive passives that absorb contact damage provide significantly more value than they do in Stage 1:
- Armor: Mitigates chip damage taken while pushing through weakened enemy lines during a breakout.
- Maximum Health and Health Regeneration: Ensure minor collisions and stray hits do not build into permanent health loss across long corridor runs.
- Knockback: Adds physical space between your character and incoming swarms, repeatedly pushing enemies back along the corridor axis to keep sprint lanes open.
- Magnet Radius: Pulls experience gems through bulkheads and across active ground hazards, allowing your build to maintain leveling pace without stepping into danger.

Free Warhammer Survivors Codes
Current active codes and how to redeem them.

Sarah Williams
Sarah specializes in RPG and collection games, explaining team building, character growth, and beginner-friendly ways to avoid expensive early mistakes.
COMMUNITY
Player Comments
116 players commented on this guide.
This helped me understand strategy much better.
Can you add more details about strategy in a future update?
The explanation is clear, especially for beginners.
Good guide for Warhammer Survivors players. The strategy part was useful.