
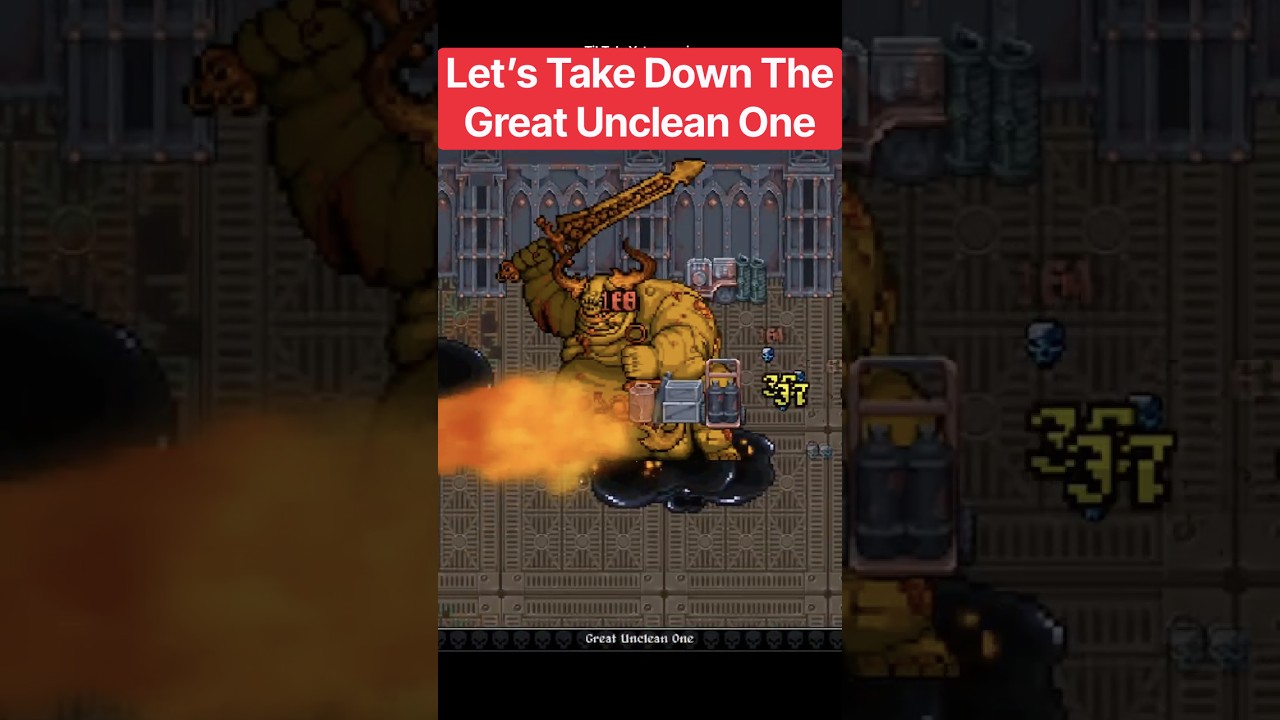
To defeat the Great Unclean One in Warhammer Survivors, maintain a continuous circular kite around the outer perimeter of the arena, dodge his bile streams by moving perpendicularly across his line of fire, and clear summoned Nurglings before they body-block your path.
Because the boss continuously contaminates the floor with damaging rot and acid pools, static defense and heavy armor will not keep you alive. Winning this battle requires entering the late game with high-velocity single-target damage to wear down his massive health pool while preserving open terrain ahead of you.
Build Setup and Stat Priorities
Relying exclusively on wide-area crowd-control weapons will cause this encounter to stall. The Great Unclean One has a massive health pool, meaning you need focused, armor-penetrating, or piercing damage that reliably hits single targets while you stay on the move. Pair your single-target tools with rapid-firing radial attacks to manage surrounding waves.
| Build Component | Upgrade Focus | Combat Role Against the Boss |
|---|---|---|
| Primary Weapon | Piercing or single-target projectile | Depletes the boss's high health bar with focused damage |
| Secondary Weapon | High-frequency radial or swarm-clearing attack | Sweeps aside summoned Nurglings and plague adds |
| Offensive Passives | Cooldown reduction and projectile velocity | Maintains consistent fire rates while running |
| Utility Passives | Movement speed and critical strike chance | Keeps you ahead of hazard pools and increases DPS |
| Defensive Utility | Temporary barrier generation or flat reduction | Absorbs stray acid ticks during tight repositioning |
Prioritize movement speed and cooldown reduction over passive health regeneration. Toxic ground effects deal rapid damage ticks that quickly outpace healing, so your primary defensive priority is staying fast enough to navigate around hazards.
Perimeter Kiting and Safe Movement
Controlling the boss's placement depends entirely on your movement pathing. Do not run in straight lines across the center of the room or double back on your previous route.
- Establish a wide perimeter orbit: Run along the outer boundaries of the chamber to draw the Great Unclean One through the arena's center. This leaves clean, hazard-free flooring in front of your character.
- Keep the boss on the edge of the screen: Maintain enough distance to stay out of melee range, but keep the boss's sprite visible near the screen edge. Losing sight of him makes incoming projectile arcs and attack windups unpredictable.
- Commit to forward movement: If incoming minions obstruct your path, burn through them with your secondary weapon rather than turning around. Reversing direction forces you directly into lingering pools of bile.
Evading Boss Attacks and Minion Waves
The Great Unclean One relies on a combination of ranged bile attacks, persistent floor hazards, and summoned meat shields to trap you.
Dodging Bile Vomit and Acid Barrages
When the boss begins a vomit attack or launches acid projectiles, do not retreat straight backward. The projectile spread widens at range, increasing the chance you take a direct hit or back into an older hazard pool. Instead, make a sharp 90-degree lateral turn to cut across his line of sight. This clears the attack cone while keeping your automated weapons within firing range.
Clearing Minion Walls
Summoned Nurglings and plague minions serve as shields that absorb your high-damage projectiles. If trash mobs begin gathering between you and the boss, shift your focus to clearing them with secondary area attacks. Letting minions cluster restricts your movement radius and allows the Great Unclean One to pin you against arena walls with fresh sludge.
Critical Errors to Avoid
- Chasing experience gems during the fight: Elite adds and minion waves drop valuable pickups throughout the battle. Do not dive into toxic residue or near the boss to collect them. Leave drops alone until the Great Unclean One has moved into another quadrant of the arena.
- Panic-reversing when pressured: Doubling back into your own trail almost always results in stepping into active rot pools. Take minor chip damage pushing through light minion groups ahead rather than stepping into ground acid.
- Trading blows inside barrier windows: If your build triggers a protective shield or brief invulnerability, use that window exclusively to run across narrow choke points and reach safe ground. Do not use defensive buffs to stand still and trade damage.

Free Warhammer Survivors Codes
Current active codes and how to redeem them.

Michael Smith
Michael covers live-service games, events, reward systems, and efficient daily routines, turning frequent updates into clear actions for players.
COMMUNITY
Player Comments
92 players commented on this guide.
This guide answered the exact question I had.
The tips are practical and easy to follow.
Nice guide. I am checking the other Warhammer Survivors articles next.
This saved me time in the early game.