
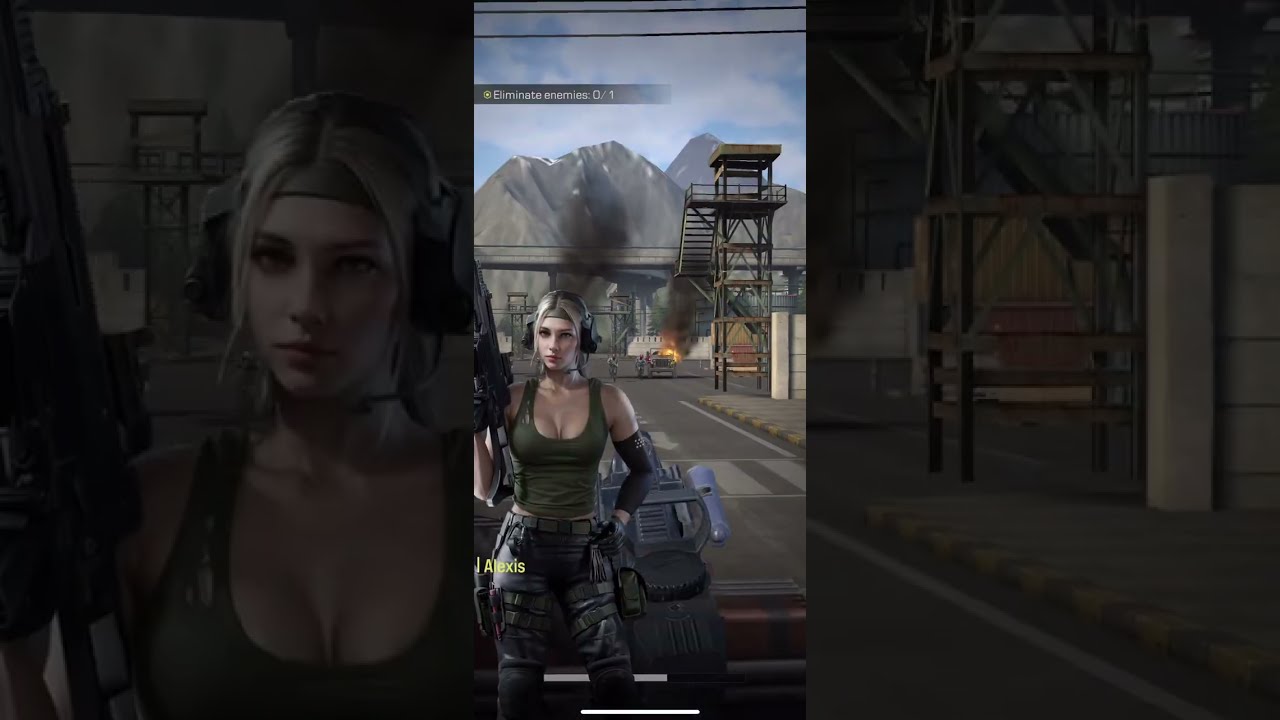
Success in Warline: Sniper Strike requires a sophisticated blend of tactical foresight and real-time execution. Unlike standard shooters, this title demands that you balance the micro-management of individual sniper units with the macro-management of large-scale, lane-based troop deployments. To conquer the early campaign, you must move beyond simple unit spamming and adopt a disciplined approach to resource allocation and battlefield positioning.
Mastering Lane Control and Dynamic Pushing
In the early stages of Warline: Sniper Strike, the battlefield is your chessboard. Players often make the mistake of focusing on a single point of entry, which allows the AI to bottleneck your forces and neutralize your energy output.
To maintain effective lane control:
- Divide and Conquer: Spread your initial unit drops across at least two lanes. This forces the AI to split its defensive budget, creating gaps in their perimeter that your snipers can exploit.
- Constant Pressure: Do not wait for a full energy pool to launch a "perfect" attack. Instead, maintain a steady trickle of low-cost units to force the enemy to burn their own energy on defensive responses.
- The Reinforcement Cycle: If you notice an enemy turret is occupied, immediately send a secondary wave of infantry to that specific lane. This creates a "momentum trap" where the enemy is constantly reacting to your threats rather than staging their own offensive.
Energy Management: The Foundation of Victory
Energy is the most precious resource in Warline: Sniper Strike. Wasting it on high-cost units that get wiped by basic enemy bunkers is a common pitfall for new players.
Adopt an "Energy Buffer" strategy:
- Keep a Reserve: Always hold at least 20-30% of your max energy in reserve. This allows you to react to unexpected enemy flanking maneuvers or to deploy a critical sniper unit when a high-value target appears.
- Cost-to-Impact Ratio: Prioritize units that provide utility over raw stats. A low-cost infantry squad that draws fire is often more valuable than an expensive vehicle that gets destroyed before it can reach the enemy front line.
- Efficiency Thresholds: Wait for your energy regeneration to reach a mid-level threshold before committing to a major push. This ensures that if your initial wave is countered, you have enough remaining energy to support a follow-up or defensive stand.
Identifying Enemy Defensive Archetypes
The AI in Warline: Sniper Strike relies on specific defensive patterns. Recognizing these early will save you multiple retries on campaign stages.
- The Stationary Fortress: If the enemy favors bunkers and turrets, your primary goal is to use "meat shield" units—low-cost, high-health infantry—to soak up damage while your snipers dismantle the structures from behind.
- The Swarm Response: If the AI focuses on mass infantry, you must switch your loadout to include area-of-effect (AoE) units. Positioning is vital here; if your AoE units are caught in the open, they will be shredded before they can clear the lane.
- The Counter-Sniper Setup: If the enemy deploys snipers of their own, you must prioritize "Seek and Destroy" tactics. Use high-mobility units to bypass the front line and disrupt the enemy's long-range support.
Executing the Perfect Push
A successful push in Warline: Sniper Strike is not defined by the number of units you have, but by the synergy of their roles. Before committing to the enemy base, gather your forces into a cohesive front.
The Three-Tiered Push Strategy:
- Front Line (Vanguard): High-health units that absorb damage and lock the enemy in melee combat.
- Mid-Line (Support/AoE): Units that clear the path of mass infantry or smaller defensive traps.
- Rear Line (Snipers): The core of your damage output. They should remain behind the Vanguard to provide cover fire, targeting enemy structures or elite units that would otherwise threaten your front line.
If your push loses momentum, retreat and regroup. Feeding units into a lost battle only provides the enemy with more energy and time to reinforce. Saving your remaining units and waiting for a fresh energy influx is the mark of a seasoned commander.
Leveraging Sniper Positioning for Tactical Superiority
Snipers are the defining mechanic of Warline: Sniper Strike. Their ability to control the battlefield from a distance is unmatched, but they are fragile.
- The "Unobstructed View" Rule: Always place your snipers on high ground or behind cover. If a sniper has to move to find a line of sight, they are vulnerable.
- Range Management: Maximize your effective range. If an enemy unit is close enough to see your sniper, you have already made a positioning error.
- Prioritize High-Value Targets: Don't let your snipers waste shots on low-health infantry swarms. Use your manual control to command them to target enemy snipers, heavy structures, or commander units.
Common Mistakes to Avoid
- Overextending: Pushing too far into enemy territory without energy reserves to defend your own base.
- Ignoring Unit Synergy: Sending in units that are weak against the specific defensive structures present in the lane.
- Static Thinking: Refusing to change your unit composition after an initial loss. Each campaign stage requires a tailored approach.
By focusing on these tactical fundamentals, you will maintain dominance across the global front. Warline: Sniper Strike rewards the patient commander who treats every energy point as a strategic investment. Use these methods to dismantle the opposition, secure your lanes, and master the campaign.

Free Warline: Sniper Strike Codes
Current active codes and how to redeem them.

James Brown
James focuses on Android gaming on PC, emulator setup, controls, performance tuning, and practical troubleshooting for longer play sessions.
COMMUNITY
Player Comments
98 players commented on this guide.
This guide answered the exact question I had.
I wish I had read this before upgrading the wrong thing.
Can you add more details about early game in a future update?
This helped me understand early game much better.