
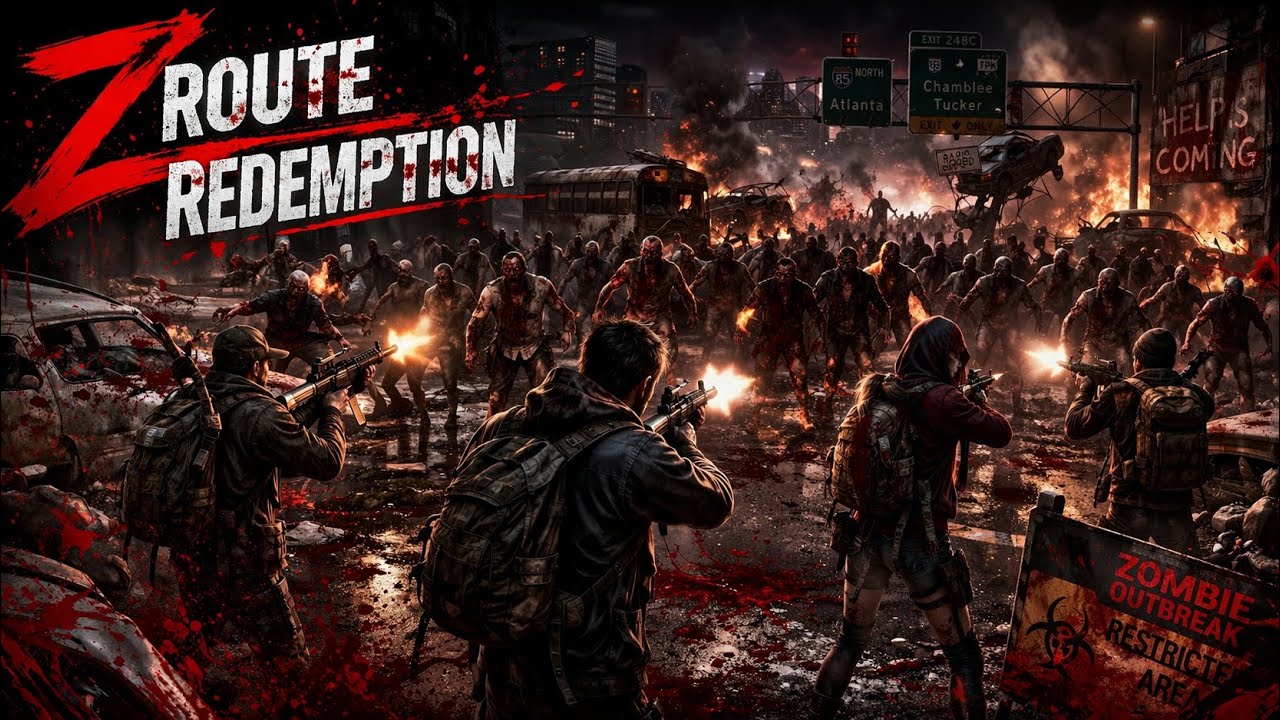
Surviving the overwhelming zombie swarms in Z Route: Redemption requires a shift from static defense to active, kiting-based combat. The game is designed to test your spatial awareness and ability to manage high-density enemy clusters that move with fluid, aggressive intelligence. By utilizing the game’s distinct movement mechanics and prioritizing target selection within the thick of the horde, players can significantly increase their combat longevity. This guide focuses on managing high-density enemy encounters, optimizing your positioning to avoid being boxed in, and effectively utilizing your squad’s reach to clear paths through the undead without sustaining unnecessary damage.
Understanding Horde Density and Spawn Patterns
The primary challenge in Z Route: Redemption is the sheer volume of zombies that spawn simultaneously. These enemies do not move in single-file lines but rather cluster into massive, shifting masses that attempt to surround your unit. Recognizing that the horde behaves as a fluid entity is key; if you stand still, the perimeter of the horde will rapidly collapse around your position, leaving you with no exit strategy.
To manage this density, you must maintain constant, circular, or retreating movement. Do not commit to a stationary position unless you have successfully funneled the zombies into a choke point. By keeping the horde in front of you, you ensure that all your squad’s fire is concentrated on the immediate threat, rather than being split between enemies flanking you from behind or the sides. Always watch the spawn indicators at the edge of your screen; if you see a density of markers, move perpendicular to their advance to avoid the "pincer" effect.
Mastering Kite-and-Shoot Combat Tactics
Kiting is the most essential survival skill in Z Route: Redemption. Because your squad’s movement speed is generally faster than the standard zombie, you can dictate the pace of the engagement. Use short, controlled bursts of movement to create distance, followed by brief pauses to unleash concentrated fire. This rhythm prevents the zombies from closing the distance while keeping your damage output consistent.
When the screen begins to fill with enemies, stop trying to eliminate every individual unit. Instead, focus your fire on the leading edge of the horde to create a "breach" in their formation. Once you have thinned the front line, move forward or laterally into the gap you created. This tactical repositioning allows you to reset your engagement area and prevents you from becoming cornered against the edges of the map. Pro tip: if your weapon has a "piercing" or "knockback" stat, prioritize these upgrades early to make creating these breaches significantly easier.
Prioritizing Target Selection in Swarm Encounters
Not all enemies in Z Route: Redemption are equal in their threat level. While the bulk of the horde consists of slow, easily avoided zombies, elite or faster variations will often lead the charge. Prioritizing these faster units is critical because they are the ones most likely to bridge the gap and initiate melee damage against your squad.
Use the following hierarchy for target prioritization during intense battles:
- High-Speed Elite Units: Always target the fastest moving zombies first, as they break your kiting rhythm and force you to retreat prematurely.
- Dense Clusters: If your weaponry offers area-of-effect (AoE) damage, focus on the thickest part of the cluster to maximize "kill density" per bullet.
- The "Frontline" Wall: If no elites are present, focus on the zombies physically closest to your character to prevent them from landing strikes that interrupt your movement.
Navigating Environmental Hazards and Constricted Space
The environment in Z Route: Redemption often works against you, with narrow corridors, abandoned vehicles, and debris that can trap your squad. When moving through these areas, the risk of being overwhelmed increases exponentially. Before entering a tight space, lure the horde into a more open area to thin their numbers. If you are forced into a narrow path, prioritize movement over damage; it is better to take a few steps back to open space than to stand your ground and be overwhelmed.
Avoid hugging the walls or corners of the map. These areas limit your movement options and make it impossible to execute the circular kiting patterns required to stay alive. If you find yourself pinned, use any available traversal mechanics or special squad abilities to dash out of the cluster. Once you have cleared a wider area, re-establish your firing line and continue the cycle of retreating and clearing.
Trade-offs of Aggressive vs. Defensive Play
Choosing how to engage the horde involves a strategic trade-off between speed and safety. An aggressive playstyle involves pushing directly into the horde to clear them faster, which is effective for clearing stages quickly but increases the risk of taking chip damage from stray zombies. Conversely, a defensive, kiting-heavy approach is safer but consumes more time, which may be a factor in mission objectives that require clearing within a specific timer.
For most players, a hybrid approach is the most effective:
- Aggressive Phase: Use this when the horde is sparse or when you have successfully funneled them into a line. Focus on clearing as much of the path as possible to maximize your forward momentum.
- Defensive Phase: Switch to a purely defensive, kiting-heavy stance the moment the enemies start to wrap around your flanks or when you encounter elite-heavy waves.
- The "Reset" Maneuver: If your squad health drops below 50%, stop all forward progress. Focus entirely on creating a "kiting loop" until you clear the immediate surrounding threats before resuming your movement.
Weapon Development and Squad Composition
Your ability to manage the horde is fundamentally tied to your weapon build. In Z Route: Redemption, you should prioritize weapons with high fire rates and crowd-control capabilities (like shotguns with knockback or rifles with piercing) over single-target high-damage weapons.
When recruiting warriors to your squad, look for passive buffs that increase movement speed or reload speed while moving. These "on-the-move" buffs are exponentially more valuable than flat damage increases because they allow you to maintain your kite-and-shoot loop more effectively. Remember, in Z Route: Redemption, a dead squad deals zero damage; prioritize survivability stats on your gear before investing heavily in pure DPS. By balancing these approaches and focusing on movement-first combat, you can maintain high damage output while keeping your squad healthy for the final wave of each encounter.
Free Z Route: Redemption Codes
Current active codes and how to redeem them.

Sarah Williams
Sarah specializes in RPG and collection games, explaining team building, character growth, and beginner-friendly ways to avoid expensive early mistakes.
COMMUNITY
Player Comments
25 players commented on this guide.
The tips are practical and easy to follow.
I tried this today and it worked better than my old setup.
Good guide for Z Route: Redemption players. The strategy part was useful.
I wish I had read this before upgrading the wrong thing.