
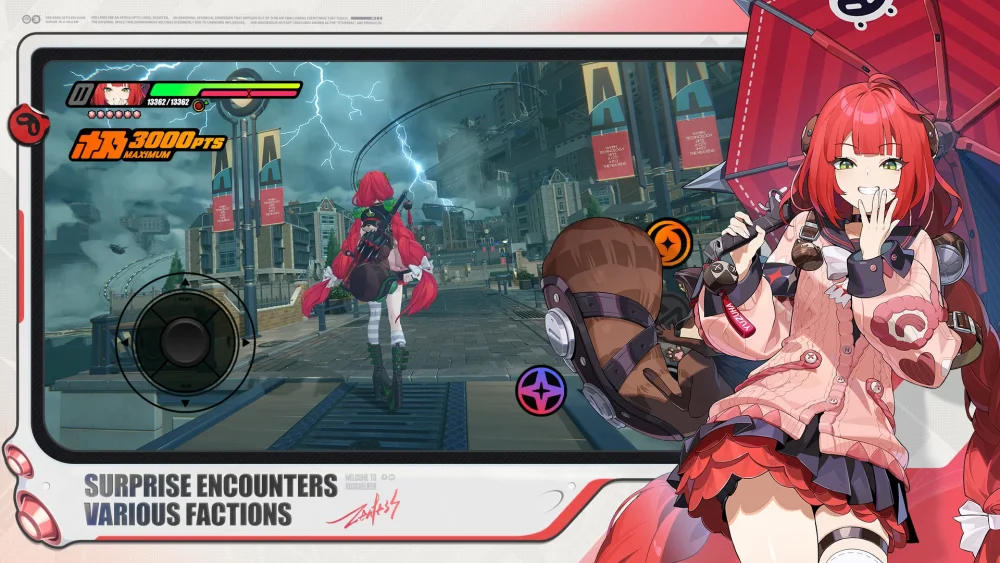
To play Claret effectively in Zenless Zone Zero, ignore her lengthy skill descriptions and rely on basic attack buffering, EX Special Attack transitions, and clear audio-visual cues. While her talent menu documents background damage formulas, state markers, and conditional stat checks, her combat execution requires simple, forward-momentum attack chains rather than active math tracking or frame-perfect inputs.
Translating Claret's Skill Descriptions into Controller Inputs
Claret's character screen details multi-layered mechanics that resolve automatically during standard combat. The underlying systems translate directly to familiar action inputs:
| Kit Terminology | What the Skill Text Describes | Practical Combat Input |
|---|---|---|
| Layered Stance Conversion | Conditional phase shifts and state markers | Standard hold-attack or sequence completion that triggers automatically |
| Residual Stack Calculations | Hit-by-hit scaling formulas | Passive background stat calculation requiring no manual counting |
| Buffer Priority Windows | Chain handoffs and cancel windows | Standard input queuing; press or hold the next skill during an active attack |
| Sharp Edge Thresholds | Stat scaling linked to active uptime | Sustained offensive pressure to maintain continuous attack flow |
Instead of monitoring stat thresholds, focus on cycling basic combos directly into Special and EX Special Attacks.
Claret Combat Rotation and Sequence
Claret's kit utilizes auto-chaining to connect skill branches. Inputting an EX Special Attack automatically steers her into her optimal finisher animation without strict cancel timing:
- Build Energy: Start with her standard Basic Attack string to establish enemy contact and generate combat energy.
- Trigger Special Attacks: Tap or hold her Special Attack once energy is available. The system automatically queues the correct branch.
- Execute Heavy Burst Strings: When a stun triggers, rotate through Quick Assist or Chain Attacks to bring Claret back in for her heavy finisher sequence.
- Allow Animations to Complete: Let her skill animations resolve naturally rather than dashing out early, ensuring trailing hitboxes connect.
Attempting to micromanage frame cancels interrupts the built-in chaining mechanisms and lowers overall damage output.
Visual and Audio Cues
You do not need to monitor the status bar beneath your health gauge to confirm Claret's active buffs. Her character model and audio design signal peak readiness:
- Weapon Glow and Sound Cue: Claret's weapon displays a radiant glow and emits a distinct kinetic sound effect when her high-damage multipliers are active.
- Finisher Feedback: Heavy finishing strikes create noticeable screen-shake and wide particle effects, marking the completion of her primary burst frames.
Watching the character model keeps your focus on enemy attacks, allowing for safer dodges without sacrificing offensive uptime.
Common Combat Pitfalls to Avoid
Claret's performance drops primarily when players try to manage her background systems manually:
- Stopping to Check Buffs: Pausing attacks to inspect icon stacks wastes vulnerable enemy stun windows. Maintain continuous pressure instead.
- Premature Dash-Canceling: Canceling heavy skill animations too early cuts off multi-hit burst hitboxes. Claret has built-in invulnerability windows during these strikes, making early cancel escapes unnecessary.
- Excessive Character Swapping: Swapping Claret out repeatedly interrupts her resource generation. Pair her with teammates who apply low-maintenance off-field buffs so she can remain on the field to sustain her attack strings.

Free Zenless Zone Zero Codes
Current active codes and how to redeem them.

James Brown
James focuses on Android gaming on PC, emulator setup, controls, performance tuning, and practical troubleshooting for longer play sessions.
COMMUNITY
Player Comments
132 players commented on this guide.
This saved me time in the early game.
Good guide for Zenless Zone Zero players. The strategy part was useful.
The tips are practical and easy to follow.
This helped me understand strategy much better.