
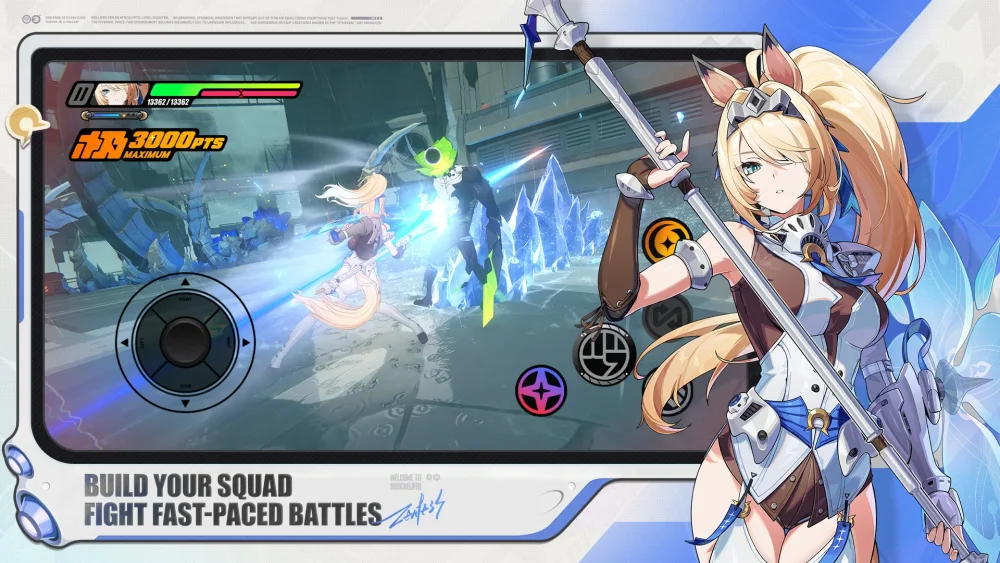
To clear Deadly Assault with a full-star rating in Zenless Zone Zero, deploy either a focused Stun-Burst Hypercarry squad or a rapid Dual Anomaly Disorder team, and reserve all major damage cooldowns for enemy vulnerability windows. Achieving maximum stars requires finishing before strict phase timers expire, which depends on pacing your Daze accumulation, ordering Chain Attacks correctly, and saving Decibels exclusively for stunned bosses.
---
Core Team Archetypes for Deadly Assault
Deadly Assault encounters favor two primary team structures: Stun-Burst and Dual Anomaly Disorder. Selecting the appropriate framework depends on the target's mobility and attack telegraphs.
| Archetype | Primary Win Condition | Role Composition | Target Matchup |
|---|---|---|---|
| Stun-Burst Hypercarry | Maximum burst damage during the 100% Daze window | Stun / Support / Attack | Single-target bosses with predictable attack patterns |
| Dual Anomaly Disorder | Rapid alternating Anomaly triggers and Disorder procs | On-field Anomaly / Off-field Anomaly / Support | Highly mobile targets and multi-enemy stages |
- Stun-Burst Hypercarry: Your Stun agent leads combat, utilizing defensive parries and heavy impact skills to build enemy Daze. Once the gauge reaches 100%, an amplified damage multiplier activates, enabling your primary Attack carry to unload high-scaling EX Special skills and normal attack strings.
- Dual Anomaly Disorder: Bypasses prolonged Daze buildup by layering two contrasting elemental anomalies in rapid succession. Triggering a second anomaly while the first is active produces Disorder, which deals a large burst of flat damage and maintains consistent clear pacing against bosses that move too quickly for traditional stun rotations.
---
Recommended Team Compositions
Full-star clears require clear role separation so on-field damage dealers do not compete for field time with support batteries.
Fire and Physical Disorder
- Core Roster: Jane Doe or Piper Wheel (On-field Anomaly), Burnice White (Off-field Anomaly), Caesar King (Support/Defense)
- Execution: Burnice builds Heat to trigger continuous off-field Burn. Jane or Piper remains active to trigger Assault procs, generating frequent Disorder explosions. Caesar provides shields, anti-interruption resistance, and flat Attack buffs to accelerate anomaly buildup without leaving the active carry vulnerable.
Electric Stun and Shock Core
- Core Roster: Anton Ivanov (Attack), Qingyi or Anby Demara (Stun), Nicole Demara (Support)
- Execution: Qingyi accelerates the enemy's Daze multiplier using her basic attack sequence. Nicole groups targets and shreds enemy defense with her Ether fields. Once the target is stunned and afflicted with Shock, Anton expends his energy pool to deliver sustained critical damage.
Ice Stun and Burst Execution
- Core Roster: Ellen Joe (Attack), Von Lycaon (Stun), Soukaku (Support)
- Execution: Lycaon applies charged basic kicks to build Daze quickly while shredding the enemy's Ice resistance. Soukaku plants her banner using Fly the Flag and passes a direct Attack buff to Ellen. Ellen enters the field to expend her Flash Freeze charges and scissor bursts against the immobilized target.
---
Daze Meter Management and Chain Attack Flow
Poor resource management before a stun ruins clear pacing. If an enemy enters Stun while your hypercarry has no energy or Decibels, the damage multiplier window is wasted.
- The 90% Daze Check: When the boss's Daze meter reaches 90%, pause high-impact skills. Use un-enhanced basic attacks to stall the meter while your primary carry regenerates energy.
- Triggering Stun: Once your carry is ready, break the threshold using an EX Special skill or a Defensive Assist to transition cleanly into the Chain Attack prompt.
Optimal Chain Attack Selection Order
- First Link (Stun or Anomaly): Initiate the sequence to trigger the chain and apply initial elemental buildup.
- Intermediate Link (Support): Bring in your Support agent to cast team-wide buffs, elemental debuffs, or anomaly fields.
- Final Link (Attack Hypercarry): End the sequence with your main damage dealer so they remain active on the field, fully buffed, throughout the entire stunned interval.
Against elite enemies with shorter stun durations, cancel out of unnecessary support chain animations early to grant your hypercarry maximum active seconds during the damage multiplier window.
---
Energy Economy and Ultimate Burst Windows
Conserving your highest-cost abilities exclusively for stunned states yields over a 50% increase in net damage compared to using them on neutral targets.
- Decibel Spending: Although Ultimates become available at 3,000 Decibels, do not cast them immediately against un-stunned bosses. Wait for the 100% Daze window, where the built-in vulnerability multiplier magnifies the Ultimate's total damage.
- Energy Management: EX Special skills consume energy and provide invulnerability frames alongside heavy burst damage. When an enemy enters the final third of their neutral Daze bar, stop expending your carry's energy so they enter the stun phase with a full meter.
---
Bangboo and Drive Disc Adjustments
Fine-tune equipment to address stage-specific timers, resistances, and resource bottlenecks.
Bangboo Selection
- Plugboo: Accelerates Electric anomaly accumulation for Anton-led lineups.
- Rocketboo: Delivers off-field Fire buildup to maintain Burn uptime in Disorder teams.
- Butler: Generates bonus energy to smooth out rotation cycles in high-cost Stun teams.
Drive Disc Main Stats
- Slot 4: Equip Crit Rate for Hypercarry builds, or Anomaly Proficiency for Disorder builds.
- Slot 5: Equip Attribute Damage to counter specific stage weaknesses, or PEN Ratio against heavily armored elite bosses.
- Slot 6: Equip Impact on your primary Stun agent to reach stun thresholds faster, and Energy Regen on your Support units to maintain buff uptime.

Free Zenless Zone Zero Codes
Current active codes and how to redeem them.

Emily Johnson
Emily writes practical mobile strategy guides with a focus on resource planning, base progression, and the early decisions that shape a long-term account.
COMMUNITY
Player Comments
53 players commented on this guide.
Can you add more details about strategy in a future update?
I wish I had read this before upgrading the wrong thing.
Good guide for Zenless Zone Zero players. The strategy part was useful.
I tried this today and it worked better than my old setup.