
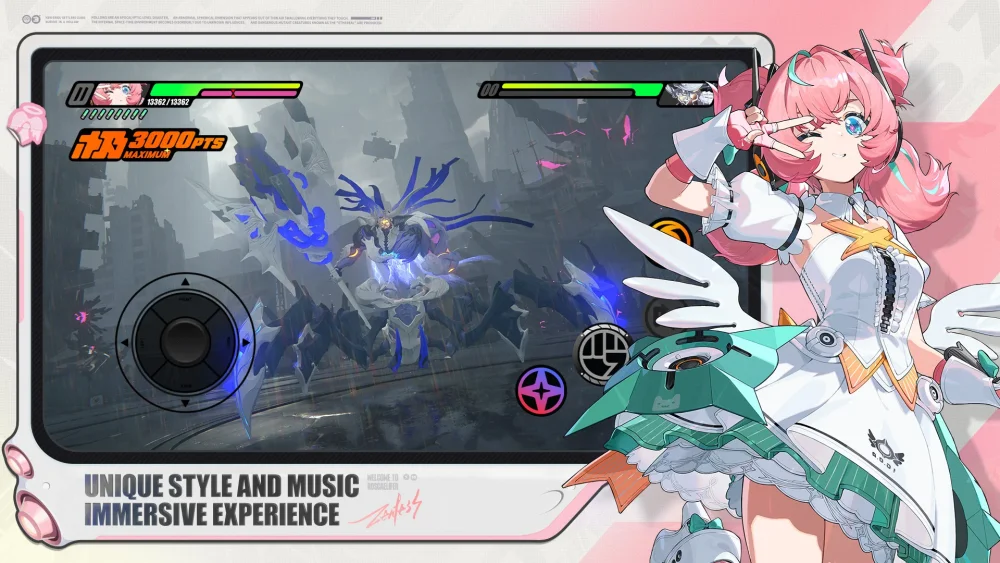
To clear the Version 3.3 main story finale in Zenless Zone Zero, you must escape the collapsing Nest Lord Hollow following Sunbringer's defeat, defend the perimeter gates of Loscalifa, and protect Lindwurm from Trivia's Youkai ambush until Remielle arrives for extraction.
Evacuate the Collapsing Nest Lord Hollow
Sunbringer's defeat destabilizes the central chamber, replacing boss combat with environmental hazards. Expanding corruption fields build up quickly and apply stacking mobility debuffs while draining your active squad's baseline health.
- Ignore optional loot: Do not detour for side containers or secondary resource caches.
- Maintain forward momentum: Use defensive sprints across falling platforms and execute quick swaps to preserve speed.
- Track navigation markers: Keep the camera locked toward designated structural beacons to avoid dead ends created by shifting terrain.
Defend Loscalifa's Perimeter Barriers
Once outside the core rift, your objective shifts to preventing the expanding Hollow anomaly from swallowing Loscalifa's outer districts. Breach points threaten the evacuation gates and civilian withdrawal paths.
Focus burst damage immediately on elite disruptor constructs targeting the barrier pylons. Dispersed swarms can whittle down peripheral defense meters, but heavy siege enemies break structures significantly faster. Pull smaller enemies together using wide-area gathering skills to clear them alongside primary targets. As soon as a sector's defense meter stabilizes, pull back immediately to the fallback line before blast doors seal shut.
| Stage Objective | Primary Threat | Tactical Priority |
|---|---|---|
| Chamber Collapse | Expanding corruption field | Sprint to exit anchors; disengage from non-essential combat |
| Outer Wall Defense | Heavy siege disruptors | Burst down barrier threats; pull minor mobs with wide skills |
| District Withdrawal | Collapsing transit corridors | Group hostiles quickly; conserve squad energy for the finale |
| Final Evacuation | Trivia's Youkai strike units | Form a perimeter around Lindwurm until Remielle intervenes |
Repel Trivia's Infiltrating Youkai Units
Trivia deploys coordinated Youkai forces to cut off the final evacuation corridor. These units flank behind your vanguard and deploy spatial disruption fields to stagger rotations.
- Watch spawn rifts: Monitor fractured spatial rifts appearing behind your squad and face them before enemies fully materialize.
- Break vanguard shields: Hit armored frontline units with parry assists and daze abilities to interrupt their dive attacks.
- Eliminate ward casters: Take out stationary disruption casters first to remove the localized aura restricting your dodge windows.
Protect Lindwurm and Trigger Remielle's Rescue
The mission ends with an escort defense sequence at the extraction platform. Lindwurm maintains vital communication channels during this phase but possesses low baseline defense. If enemies swarm Lindwurm, the escort meter empties and causes an instant mission failure.
Stand between Lindwurm and incoming hostile waves. Deploy knockbacks, wide anomaly skills, and crowd control to push encroaching enemies away from the defense point. Surviving the wave timer triggers a cutscene where Remielle breaches the airspace, wipes out the remaining Youkai threats, and extracts the team.
Next Action: Claim Post-Finale Commissions
After the ending sequence concludes, return to the operational terminal in the Proxy hub. Speak with the city liaisons to turn in accumulated crisis badges, collect story milestone upgrade materials, and unlock post-crisis commissions covering the destabilized recovery zone around Loscalifa.
Free Zenless Zone Zero Codes
Current active codes and how to redeem them.

Sarah Williams
Sarah specializes in RPG and collection games, explaining team building, character growth, and beginner-friendly ways to avoid expensive early mistakes.
COMMUNITY
Player Comments
102 players commented on this guide.
I tried this today and it worked better than my old setup.
This helped me understand strategy much better.
This saved me time in the early game.
Nice guide. I am checking the other Zenless Zone Zero articles next.