
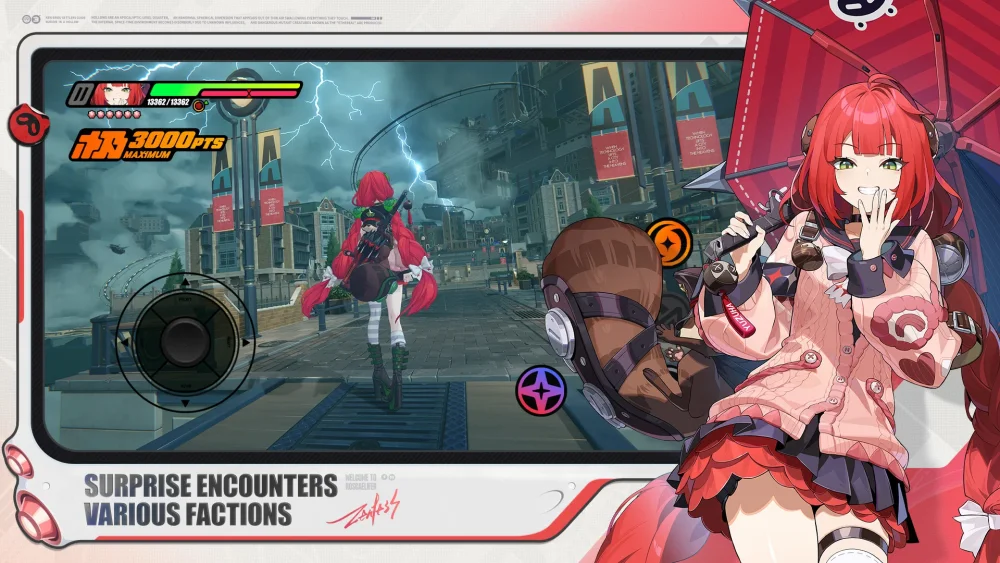
Defeating the Infernal Revenant requires a focus on adaptability as the encounter shifts between its two distinct combat phases. Found within the challenging Lava Zone, this Fire Ethereal boss punishes players who fail to track its telegraphs during the transition between phase one and the heightened intensity of phase two. By understanding the timing of its aggressive lunges and elemental area-of-effect strikes, you can maintain your health pool and effectively optimize your damage windows throughout the encounter.
Understanding Infernal Revenant Phases
The battle against the Infernal Revenant is split into two primary phases, each requiring a shift in your defensive rhythm. Recognizing the visual cues that trigger the shift at the 01:38 mark is essential for survival.
- Phase 1 (00:00 – 01:37): The boss focuses on standard melee strikes and predictable movement patterns. This is your primary opportunity to build up your Chain Attack meters and apply elemental debuffs.
- Phase 2 (01:38 – End): The Revenant becomes significantly more aggressive, increasing the frequency of its Fire Ethereal attacks. Expect wider hitboxes and faster recovery times between its combos.
Combat Tips for Lava Zone Encounters
Surviving the Lava Zone environment is just as important as managing the boss's HP bar. Use the following tactical considerations to minimize unnecessary damage.
| Feature | Strategic Impact |
|---|---|
| Telegraph Tracking | Watch the boss's limbs for glowing red cues before it executes heavy fire strikes. |
| Dodge Windows | Prioritize Perfect Dodges to trigger Time Slow, which is vital for resetting your positioning in Phase 2. |
| Elemental Synergy | Leverage non-Fire elements to capitalize on the boss's susceptibility, as it is a Fire Ethereal type. |
| Area Awareness | Keep an eye on the floor for environmental hazards that persist during the boss's movement phases. |
Optimizing Your Rotation
To consistently clear the Infernal Revenant, you should focus on your team's burst damage potential during the boss's recovery frames. Because the boss increases its tempo in the second phase, attempting to greed for extra hits often results in taking heavy damage. Instead, focus on short, high-impact rotations. When the boss enters its transition animation at the 01:38 mark, use that time to reposition your squad and prepare your ultimate abilities for the final push.

Free Zenless Zone Zero Codes
Current active codes and how to redeem them.

Michael Smith
Michael covers live-service games, events, reward systems, and efficient daily routines, turning frequent updates into clear actions for players.
COMMUNITY
Player Comments
152 players commented on this guide.
Nice guide. I am checking the other Zenless Zone Zero articles next.
This saved me time in the early game.
The explanation is clear, especially for beginners.
Can you add more details about strategy in a future update?